
How Long Between Well Pump Cycles: A Simple Guide
Quick Summary: The time between well pump cycles should ideally be consistent and last several minutes. Short cycling, where the pump turns on and off rapidly, indicates a problem like a waterlogged pressure tank or a leak. A healthy well pump system ensures a steady water supply and prevents premature pump failure.
Is your well pump turning on and off too often? This problem, called short cycling, can be frustrating and costly. A well pump that runs correctly provides a consistent water supply. But when things go wrong, you might find yourself dealing with fluctuating water pressure or even a complete lack of water. Don’t worry, fixing this is often straightforward. In this guide, I’ll walk you through how to determine the right cycle time for your well pump, what causes short cycling, and simple steps you can take to troubleshoot and fix the issue. Let’s get your water system running smoothly again!
Understanding Well Pump Cycles
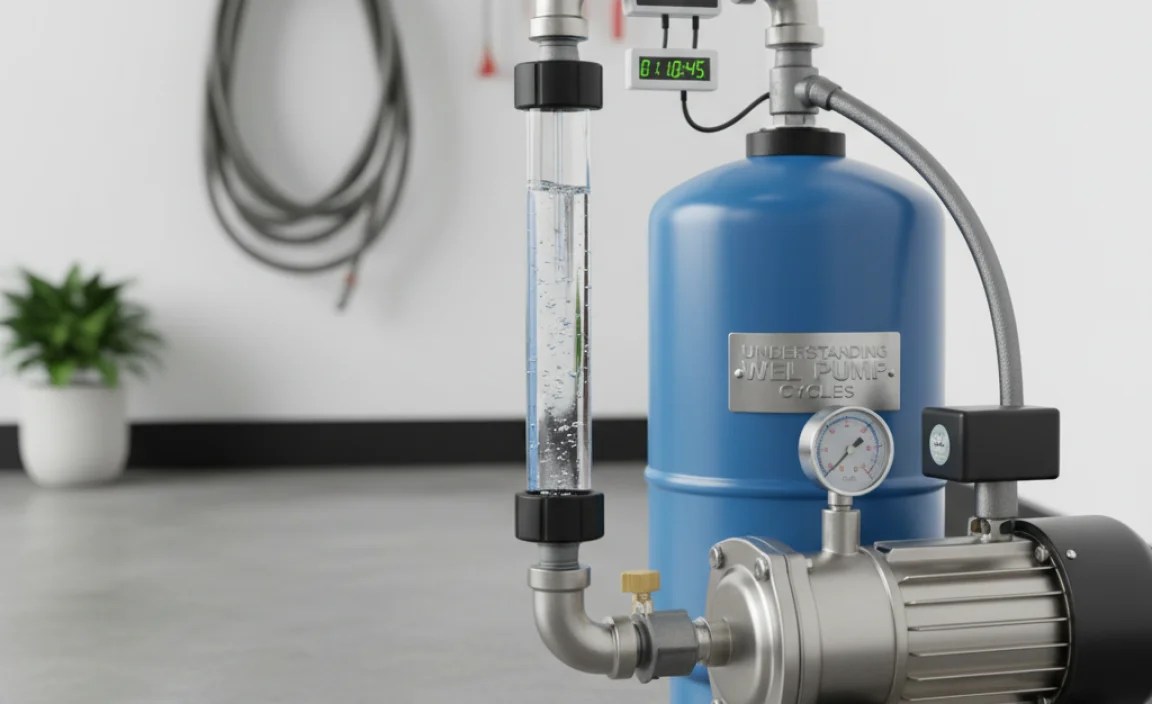
A well pump cycle refers to the process of your well pump turning on to draw water from the well and then turning off once the pressure in the system reaches a set level. Understanding what’s normal will help you identify problems quickly.
What is a Normal Well Pump Cycle?
A normal well pump cycle involves the pump turning on, running for a period, and then turning off. The duration of the cycle depends on several factors:
- Well Depth: Deeper wells require longer cycles.
- Tank Size: Larger tanks mean less frequent cycles.
- Water Usage: Higher water demand leads to more frequent cycles.
Generally, a healthy well pump should run for at least one to two minutes each cycle. The time between cycles depends on water usage but should ideally be consistent. If you notice the pump is turning on and off rapidly (short cycling), it’s a sign that something is wrong.
Factors Affecting Cycle Frequency
Several factors can influence how often your well pump cycles. Here are some of the most common:
- Water Demand: The more water your household uses, the more frequently the pump will cycle.
- Pressure Tank Size: A larger tank stores more water, reducing the frequency of pump cycles.
- Pressure Switch Settings: The pressure switch controls when the pump turns on and off. Incorrect settings can cause short cycling.
- Leaks: Leaks in the system can cause the pump to cycle more frequently to maintain pressure.
Identifying Short Cycling

Short cycling is a common issue that can lead to premature pump failure. Recognizing the signs early can save you time and money.
What is Short Cycling?
Short cycling occurs when your well pump turns on and off too frequently in a short period. Instead of running for a minute or two, it might turn on for just a few seconds and then shut off, repeating this process rapidly.
Signs of Short Cycling
Here are some common signs that your well pump is short cycling:
- Rapid On/Off Cycles: The pump turns on and off quickly and repeatedly.
- Fluctuating Water Pressure: Inconsistent water pressure in your home.
- Pump Overheating: The pump motor becomes excessively hot due to frequent starts and stops.
- Unusual Noises: Strange sounds from the pump or pressure tank.
Why is Short Cycling Bad?
Short cycling puts excessive strain on the well pump motor and other components. Each start-up draws a significant amount of power, and frequent starts can cause the motor to overheat and wear out quickly. This can significantly shorten the lifespan of your well pump and lead to costly repairs or replacements.
Troubleshooting Short Cycling

If you suspect your well pump is short cycling, there are several troubleshooting steps you can take to identify and resolve the issue.
Check the Pressure Tank
The pressure tank is a critical component of your well system. It stores water under pressure, reducing the need for the pump to cycle on and off constantly.
- Locate the Pressure Tank: Find the pressure tank, usually located near the well pump.
- Check the Air Charge: Use a tire pressure gauge to check the air pressure in the tank. It should be 2 PSI below the pump’s cut-in pressure (usually 38 PSI if the cut-in pressure is 40 PSI).
- Adjust Air Pressure: If the air pressure is too low, use an air compressor to add air. If it’s too high, release some air.
- Test the Tank: Tap on the side of the tank. A hollow sound at the top and a solid sound at the bottom indicate proper air and water separation. If it sounds full of water, the bladder might be damaged.
Inspect the Pressure Switch
The pressure switch controls when the well pump turns on and off based on the water pressure in the system.
- Locate the Pressure Switch: Find the pressure switch, usually mounted on the pressure tank or nearby piping.
- Check for Debris: Remove the cover and inspect for sediment or debris that could be interfering with the switch’s operation.
- Clean the Switch: Carefully clean the switch with a small brush or wire.
- Adjust Settings: If necessary, adjust the cut-in and cut-out pressure settings according to the manufacturer’s instructions.
Look for Leaks
Leaks in the plumbing system can cause the pump to cycle more frequently to maintain pressure.
- Inspect Pipes and Fittings: Check all visible pipes and fittings for signs of leaks.
- Check Faucets and Toilets: Look for dripping faucets or running toilets.
- Check Underground Pipes: If you suspect an underground leak, look for unusually wet areas in your yard.
- Repair Leaks: Repair any leaks you find promptly to prevent further issues.
Examine the Well Pump
The well pump itself could be the source of the problem.
- Listen to the Pump: Pay attention to any unusual noises coming from the pump.
- Check the Wiring: Ensure all electrical connections are secure and free from corrosion.
- Monitor Pump Performance: Observe how the pump cycles over a period. Note the duration of each cycle and the time between cycles.
- Consider Professional Inspection: If you suspect a problem with the pump itself, consult a qualified well pump technician.
Step-by-Step Guide to Fixing Short Cycling

Here’s a detailed guide to help you fix short cycling issues. Follow these steps to diagnose and resolve the problem.
Step 1: Check the Pressure Tank’s Air Charge
The air charge in the pressure tank is crucial for proper operation. A waterlogged tank is a common cause of short cycling.
- Turn Off the Pump: Disconnect the power to the well pump at the circuit breaker.
- Drain the Tank: Open a faucet or valve to drain the water from the pressure tank.
- Check Air Pressure: Use a tire pressure gauge to check the air pressure at the Schrader valve (usually located at the top of the tank).
- Adjust Air Pressure: The air pressure should be about 2 PSI below the pump’s cut-in pressure. Add or release air as needed using an air compressor.
- Recharge the Tank: Close the faucet or valve and turn the pump back on. Allow the tank to fill with water.
- Monitor Performance: Observe the pump cycles to see if the issue is resolved.
Step 2: Inspect and Clean the Pressure Switch
A dirty or malfunctioning pressure switch can cause erratic pump behavior.
- Turn Off the Pump: Disconnect the power to the well pump.
- Remove the Cover: Carefully remove the cover of the pressure switch.
- Inspect for Debris: Look for any sediment, rust, or debris inside the switch.
- Clean the Switch: Use a small brush or wire to gently clean the contacts and internal components.
- Reassemble: Replace the cover and secure it tightly.
- Restore Power: Turn the pump back on and monitor its performance.
Step 3: Locate and Repair Leaks
Even small leaks can cause the pump to cycle frequently.
- Check Visible Pipes: Inspect all accessible pipes and fittings for signs of leaks.
- Check Faucets and Toilets: Ensure faucets are not dripping and toilets are not running.
- Repair Leaks: Tighten loose connections or replace damaged pipes and fittings.
- Monitor Water Meter: If you suspect an underground leak, turn off all water-using appliances and check the water meter. If it continues to run, there may be a leak.
Step 4: Evaluate Well Pump Performance
Assess how the well pump is functioning to identify potential issues.
- Listen to the Pump: Pay attention to any unusual noises.
- Check Wiring: Ensure all electrical connections are secure.
- Monitor Cycles: Observe the pump cycles over a period, noting the duration and frequency.
- Consider Professional Help: If you suspect a problem with the pump itself, consult a professional.
Preventative Measures
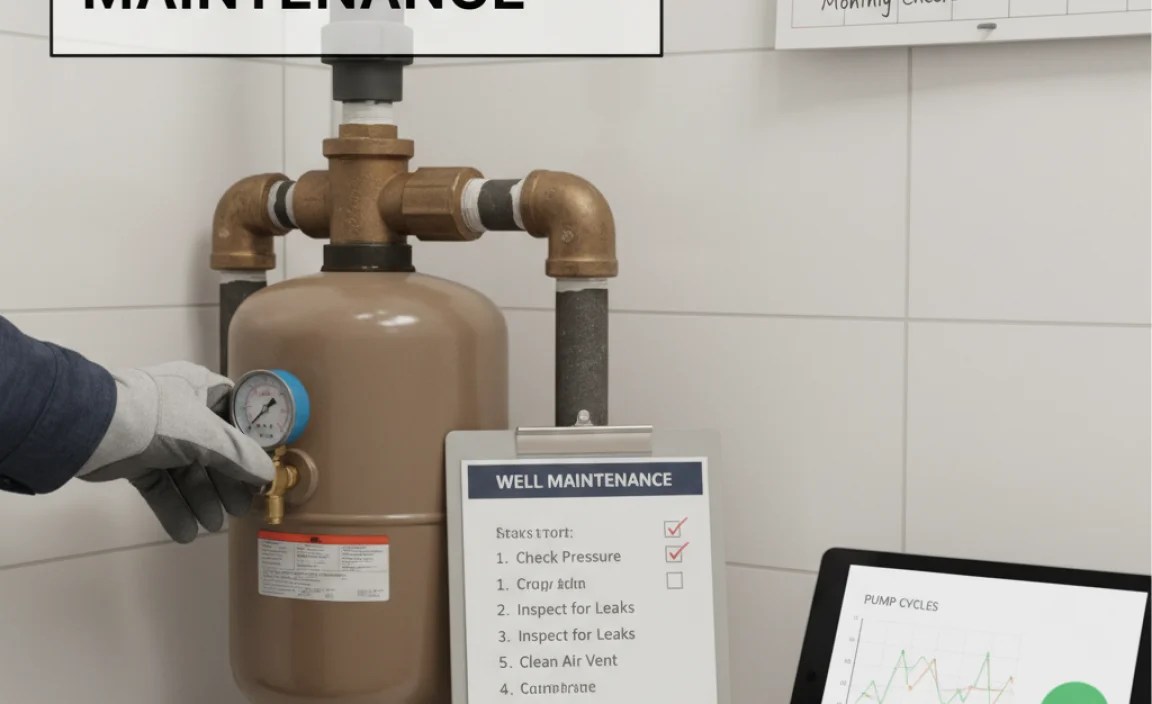
Preventing short cycling is better than fixing it. Regular maintenance can keep your well system running smoothly.
Regular Maintenance Tips
- Annual Inspection: Have your well system inspected annually by a qualified technician.
- Monitor Water Quality: Regularly test your water quality to detect any issues early.
- Check Pressure Tank: Check the air charge in the pressure tank every six months.
- Inspect Components: Regularly inspect pipes, fittings, and the pressure switch for leaks or damage.
Extending the Life of Your Well Pump
Proper maintenance can significantly extend the life of your well pump.
- Avoid Overuse: Use water efficiently to reduce the strain on the pump.
- Protect from Freezing: Insulate pipes and the pressure tank to prevent freezing in cold weather.
- Address Issues Promptly: Fix any leaks or problems as soon as they are detected.
When to Call a Professional
While many short cycling issues can be resolved with DIY troubleshooting, some situations require professional help.
Signs You Need Professional Help
- Persistent Short Cycling: If you’ve tried troubleshooting steps and the pump continues to short cycle.
- Pump Failure: If the pump is not working at all or is making unusual noises.
- Water Quality Issues: If you notice changes in water quality, such as cloudiness or unusual taste.
- Complex Repairs: If the problem requires specialized tools or expertise.
Finding a Qualified Technician
Choosing the right technician is essential for ensuring quality repairs.
- Check Credentials: Verify that the technician is licensed and insured.
- Read Reviews: Look for online reviews and testimonials from previous customers.
- Ask for Referrals: Ask friends, neighbors, or local contractors for recommendations.
- Get a Quote: Obtain a written estimate before work begins.
Cost Considerations
Understanding the costs associated with well pump maintenance and repairs can help you budget accordingly.
DIY vs. Professional Repairs
DIY repairs can save money, but professional repairs may be necessary for complex issues.
| Repair Type | DIY Cost | Professional Cost |
|---|---|---|
| Checking/Adjusting Air Charge | $0-20 (for gauge or air compressor) | $75-150 |
| Cleaning Pressure Switch | $0-10 (for brush or cleaner) | $100-200 |
| Repairing Minor Leaks | $10-50 (for fittings and pipes) | $150-300 |
| Replacing Pressure Tank | $150-400 | $400-800 |
| Replacing Well Pump | $300-1000 | $800-2500 |
Factors Affecting Repair Costs
Several factors can influence the cost of well pump repairs.
- Type of Repair: Simple repairs like adjusting the air charge are less expensive than replacing the pump.
- Pump Type: Submersible pumps can be more expensive to repair than jet pumps.
- Location: Labor costs vary by location.
- Emergency Service: Emergency repairs may incur additional fees.
Tools and Equipment
Having the right tools on hand can make troubleshooting and maintenance easier.
Essential Tools for Well Pump Maintenance
- Tire Pressure Gauge: For checking the air charge in the pressure tank.
- Air Compressor: For adding air to the pressure tank.
- Wrenches: For tightening or loosening fittings and pipes.
- Screwdrivers: For removing and replacing the pressure switch cover.
- Multimeter: For testing electrical connections.
- Plumber’s Tape: For sealing pipe threads.
Safety Gear
Safety should always be a priority when working on your well system.
- Safety Glasses: To protect your eyes from debris.
- Gloves: To protect your hands from dirt and chemicals.
- Electrical Tester: To ensure power is disconnected before working on electrical components.
FAQ
How often should my well pump cycle on and off?
A healthy well pump should run for at least one to two minutes each cycle. The frequency depends on water usage, but the time between cycles should be consistent. Rapid on/off cycles indicate a problem.
What causes short cycling in a well pump?
Short cycling is often caused by a waterlogged pressure tank, a faulty pressure switch, leaks in the plumbing system, or a problem with the well pump itself.
How do I check the air pressure in my pressure tank?
Turn off the pump, drain the tank, and use a tire pressure gauge to check the air pressure at the Schrader valve. The pressure should be 2 PSI below the pump’s cut-in pressure.
Can I fix short cycling myself?
Yes, many short cycling issues can be resolved with DIY troubleshooting. Check the pressure tank, inspect the pressure switch, and look for leaks. If the problem persists, consult a professional.
How do I know if my pressure tank is waterlogged?
Tap on the side of the tank. A hollow sound at the top and a solid sound at the bottom indicate proper air and water separation. If it sounds full of water, the bladder might be damaged.
Why is my well pump running constantly?
A well pump that runs constantly may have a leak in the system, a faulty pressure switch, or a problem with the pump itself. Check for leaks and inspect the pressure switch first.
How long should a well pump last?
With proper maintenance, a well pump can last 10-15 years or more. Regular inspections and prompt repairs can extend its lifespan.
Conclusion
Understanding how long between well pump cycles is normal and knowing how to identify and fix short cycling can save you from costly repairs and ensure a reliable water supply. By following the troubleshooting steps and preventative measures outlined in this guide, you can keep your well system running smoothly for years to come. Remember to prioritize safety and don’t hesitate to call a professional when needed. With a little knowledge and effort, you can maintain a healthy and efficient well system.
“`


