
RockShox Digital Shock Pump: Smart Pressure!
A RockShox digital shock pump lets you fine-tune your bike’s suspension with precision. This guide will walk you through using it correctly: attach the pump to your air valve, check the current pressure, inflate or deflate to reach your target PSI, and then carefully detach the pump. Regular checks ensure a smooth, controlled ride!
Getting your bike’s suspension dialed in just right can feel like magic. But what if you’re struggling to find that sweet spot? A RockShox digital shock pump can be a game-changer, giving you the accuracy you need to adjust your air pressure with confidence. Many riders find it tricky at first, but don’t worry! This article will break down each step, making it super easy to understand. Soon, you’ll be adjusting your suspension like a pro.
Ready to get started? We’ll cover everything from understanding the pump’s features to fine-tuning your suspension for the perfect ride. Let’s dive in!
Understanding Your RockShox Digital Shock Pump

Before we jump into using the pump, let’s get familiar with its parts and features. Knowing your tool is the first step to success!
Key Components
- Pump Head: This is the part that connects to your bike’s air valve. It usually has a two-stage system for secure attachment.
- Digital Gauge: The screen displays the current air pressure, usually in PSI (pounds per square inch) or Bar.
- Inflation Valve: The main valve used to add air to the suspension system.
- Bleed Valve: A small button or screw that allows you to release small amounts of air for precise adjustments.
- Handle: Used to pump air into the suspension.
- Hose: Connects the pump to the pump head.
Why Digital?
A digital shock pump offers more precise pressure readings compared to analog pumps. This accuracy is crucial for fine-tuning your suspension. Small pressure changes can significantly affect your ride quality, especially on mountain bikes.
Step-by-Step Guide: Using the RockShox Digital Shock Pump

Now, let’s get to the practical part. Follow these steps to inflate your suspension properly.
Step 1: Prepare Your Bike and Pump
First, make sure your bike is stable. A bike stand helps, but leaning it against a wall works too. Check that the pump’s hose is free of kinks and the pump head is clean.
Step 2: Locate the Air Valve
Find the air valve on your fork or rear shock. It’s usually covered with a small cap to keep dirt out. Unscrew the cap and set it aside in a safe place. These caps are small and easy to lose!
Step 3: Attach the Pump Head
This is a crucial step. Carefully thread the pump head onto the valve. Most RockShox pumps use a two-stage system:
- Thread the pump head onto the valve until it’s snug.
- Tighten the locking lever or twist the pump head to create an airtight seal.
Make sure the connection is secure to avoid air leaks.
Step 4: Check the Current Pressure
Once the pump is attached, the digital gauge will display the current air pressure in your suspension. Take note of this reading. It’s your starting point.
Step 5: Inflate to the Desired Pressure
Now, check the recommended air pressure for your fork or shock. This information is usually found on a sticker on the suspension itself or in the manufacturer’s specifications. You can also find it on the RockShox website or in their mobile app.
Begin pumping. Watch the digital gauge as you add air. Use smooth, consistent strokes. Avoid over-pumping! It’s better to add small amounts of air and check frequently.
Step 6: Fine-Tune the Pressure
If you accidentally over-inflate, use the bleed valve to release small amounts of air. Press the bleed valve gently and watch the gauge. Release air in short bursts to avoid letting out too much.
Step 7: Detach the Pump
Once you reach the desired pressure, carefully detach the pump. Most pumps lose a small amount of air (10-20 PSI) when disconnected. This is normal, so aim for slightly above your target pressure.
Quickly close the valve by re-attaching the dust cap. This prevents dirt and debris from entering the valve.
Step 8: Re-Check and Ride
After detaching the pump, double-check the pressure with the pump again. If it’s correct, you’re good to go! Take your bike for a short ride and see how the suspension feels. You may need to make further adjustments based on your riding style and the terrain.
Troubleshooting Common Issues
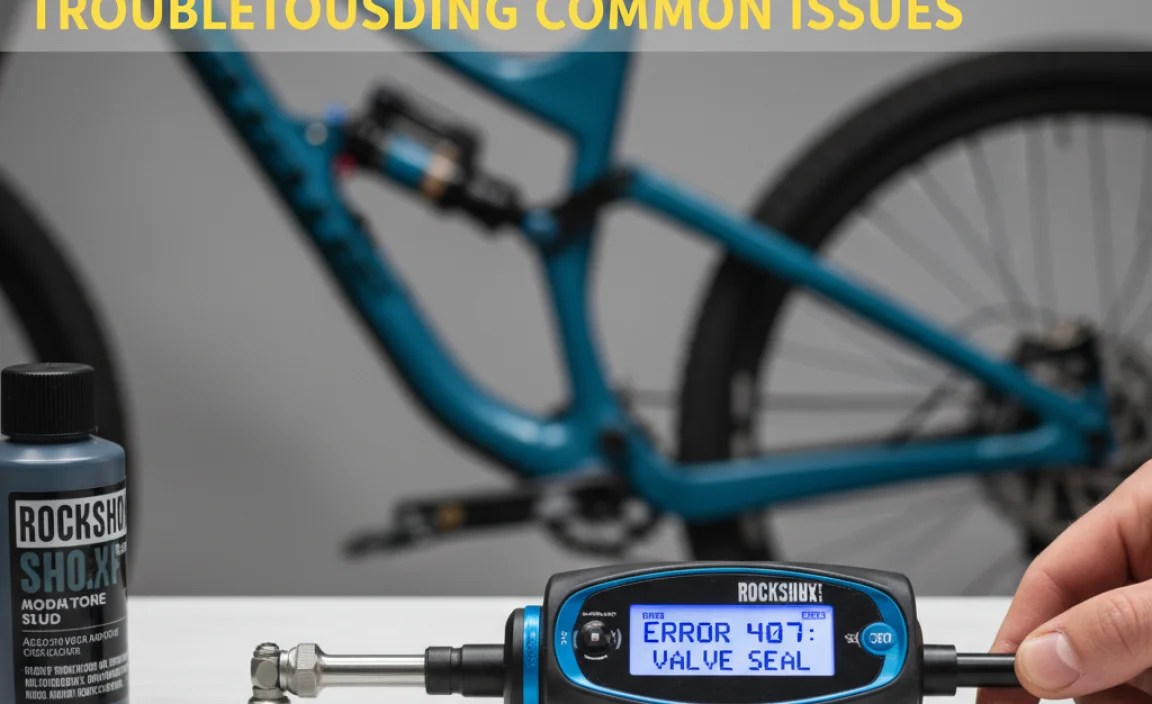
Sometimes, things don’t go as planned. Here are some common problems and how to fix them.
Air Leaks
If you hear air leaking when attaching the pump, check the following:
- Pump Head Connection: Make sure the pump head is securely attached to the valve.
- Valve Condition: Inspect the valve for damage or dirt.
- Pump Head Seal: The seal inside the pump head may be worn or damaged. Consider replacing it.
Incorrect Pressure Readings
If the pressure reading seems off, try these steps:
- Battery Check: Replace the battery in the digital gauge.
- Recalibration: Some pumps have a calibration feature. Refer to the user manual.
- Compare Pumps: If possible, compare the reading with another pump to verify accuracy.
Pump Not Building Pressure
If the pump isn’t building pressure, check these:
- Pump Internals: The pump’s internal seals or valves may be damaged. Consider servicing or replacing the pump.
- Hose Condition: Inspect the hose for cracks or leaks.
Maintaining Your RockShox Digital Shock Pump

A little maintenance goes a long way. Keep your pump in good condition with these tips.
- Clean the Pump Head: Regularly clean the pump head to remove dirt and debris.
- Store Properly: Store the pump in a clean, dry place.
- Replace Seals: Replace worn or damaged seals as needed.
- Check the Battery: Replace the battery in the digital gauge when it gets low.
Understanding Air Pressure and Suspension Setup

Setting the correct air pressure is just one part of the equation. Understanding how air pressure affects your suspension is key to a comfortable and controlled ride.
Sag
Sag is the amount your suspension compresses when you sit on the bike. It’s a critical factor in setting up your suspension properly. Too little sag, and the ride will be harsh. Too much sag, and the bike will bottom out easily.
To measure sag:
- Set the O-ring (or zip tie) on your fork stanchion or shock shaft against the seal.
- Carefully sit on your bike in a normal riding position.
- Dismount without bouncing.
- Measure the distance the O-ring has moved. This is your sag.
Refer to your suspension manufacturer’s recommendations for the correct sag for your fork and shock. Usually, this is expressed as a percentage of the total travel.
Air Pressure vs. Ride Feel
Here’s how air pressure affects your ride:
- Higher Pressure: Firmer ride, less sag, more support for bigger hits.
- Lower Pressure: Softer ride, more sag, better small bump compliance.
Experiment with small pressure changes to find what works best for you. Keep a record of your settings so you can easily return to a setup you like.
Advanced Suspension Tuning
Once you’re comfortable with basic air pressure adjustments, you can explore more advanced tuning options.
Volume Spacers
Volume spacers are small plastic tokens that you can add to your fork or shock to change the air spring’s progressivity. More spacers make the suspension ramp up more towards the end of the travel, preventing bottoming out on big hits.
Rebound Damping
Rebound damping controls how quickly your suspension returns after compression. Too little rebound, and the suspension will feel bouncy. Too much rebound, and it will pack up over repeated bumps.
Compression Damping
Compression damping controls how easily your suspension compresses. It’s usually adjusted with a dial on your fork or shock. More compression damping makes the suspension feel firmer and more controlled.
Recommended RockShox Digital Shock Pumps
If you’re in the market for a new digital shock pump, here are a couple of recommended models:
| Pump Model | Key Features | Approximate Price |
|---|---|---|
| RockShox Digital High-Pressure Pump | Precise digital gauge, bleed valve, durable construction | $60-80 |
| Topeak Digital Shock ‘n Roll | Compact design, dual-stage inflation, digital gauge | $70-90 |
Consider your budget and needs when choosing a pump. A reliable digital gauge and a precise bleed valve are essential features.
Air Pressure Charts and Resources
Finding the right air pressure can seem daunting, but thankfully, resources are available!
- RockShox Website: The official RockShox website often has setup guides and pressure charts specific to their forks and shocks.
- Bike Shops: Your local bike shop can offer personalized advice based on your bike and riding style.
- Online Forums: Online cycling forums can be a great source of information and tips from other riders.
Remember, these charts are a starting point. You may need to adjust the pressure based on your weight, riding style, and terrain.
Safety Precautions
Working with pressurized systems requires caution. Here are some important safety tips:
- Wear Eye Protection: Protect your eyes from potential air blasts or debris.
- Don’t Over-Inflate: Never exceed the maximum pressure rating for your fork or shock.
- Inspect Equipment: Regularly inspect your pump and suspension components for damage.
- Seek Professional Help: If you’re unsure about any step, consult a qualified bike mechanic.
FAQ: RockShox Digital Shock Pump
Here are some frequently asked questions about using a RockShox digital shock pump:
What PSI should my RockShox fork be?
The correct PSI varies depending on your weight, bike model, and riding style. Check the manufacturer’s recommendations on the fork itself or the RockShox website. Start with their suggested pressure and adjust from there.
How often should I check my shock pressure?
Ideally, check it before every ride, especially if you notice a change in your suspension’s performance. At a minimum, check it weekly.
Why does my shock lose air overnight?
A small amount of air loss is normal, especially with high-pressure systems. However, significant air loss indicates a potential leak. Check the valve core and seals.
Can I use a regular tire pump for my shock?
No, you shouldn’t. Tire pumps deliver a high volume of air at low pressure, while shocks need low volume at high pressure. A shock pump provides the necessary precision.
What does the bleed valve do?
The bleed valve allows you to release small amounts of air for fine-tuning. It’s essential for achieving the perfect pressure.
How do I know if my shock needs service?
If you notice a significant change in performance, such as excessive sag, unusual noises, or oil leaks, it’s time for a service. Follow the manufacturer’s recommended service intervals.
Is it normal for air to escape when I detach the pump?
Yes, it’s normal for a small amount of air to escape when detaching the pump. This is due to the valve mechanism. Aim for slightly above your target pressure to compensate.
Conclusion
Using a RockShox digital shock pump might seem intimidating at first, but with a little practice, it becomes second nature. The ability to fine-tune your suspension is a game-changer, allowing you to optimize your bike for any trail or riding style. Remember to start with the manufacturer’s recommendations, check your sag, and experiment with small pressure changes. Regular maintenance will keep your pump working smoothly, and always prioritize safety when working with pressurized systems. With these tips, you’ll be dialing in your suspension like a pro and enjoying a smoother, more controlled ride in no time!


