
Easy: How to Avoid Pump Head Damaging Valve Threads
Have you ever tried to pump up a tire and felt it slip? Did you worry you might break something? Learning how to avoid pump head damaging valve threads is important. It keeps your bike and gear in good shape. It also saves you money in the long run.
Have you ever wondered why some bike tires lose air quickly? Sometimes, the problem is not the tire itself. The valve threads might be damaged. This damage can happen when attaching a pump head. We will learn how to prevent this.
Imagine you are about to go on a fun bike ride. You grab your pump, but the connection feels wrong. You force it, and then you hear a snap! Now your valve is broken. This article will show you easy steps. You can keep your valves safe.
Key Takeaways
- Always align the pump head straight onto the valve to avoid thread damage.
- Use gentle movements when attaching or detaching the pump head.
- Check your pump head regularly for wear and replace it if needed.
- Understanding how to avoid pump head damaging valve threads saves money.
- Keep valve threads clean and free from dirt to prevent damage.
Understanding Valve Thread Types
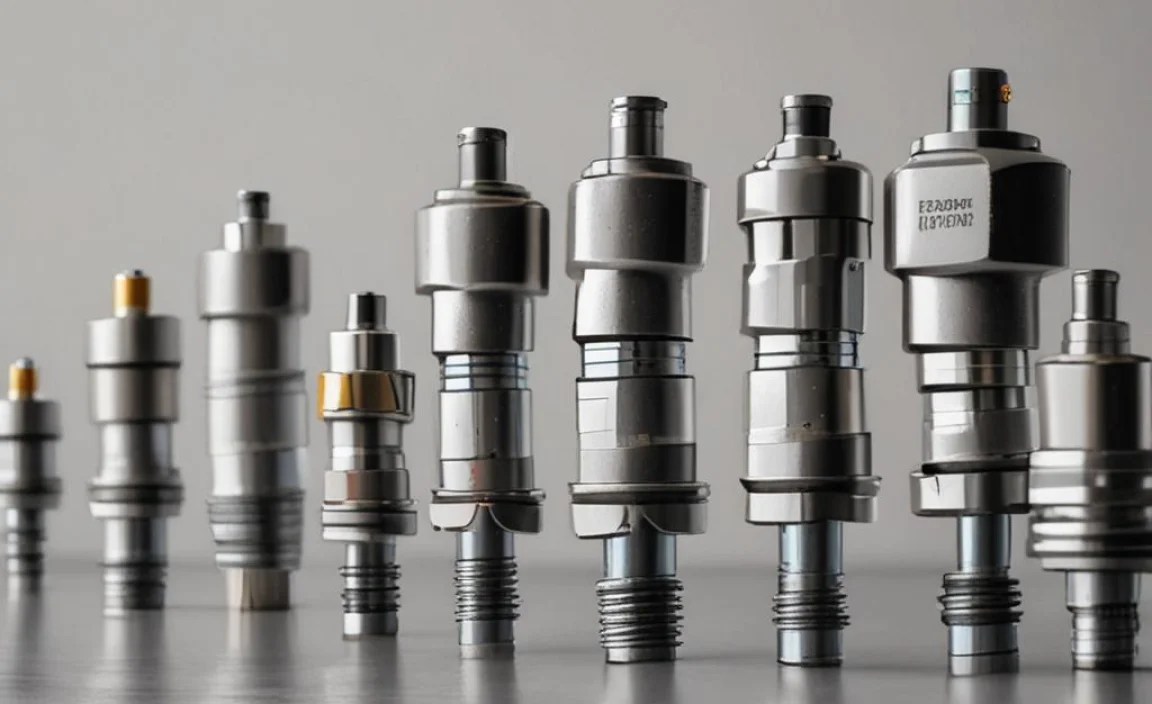
Knowing about valve types is the first step. This helps you understand how to avoid pump head damaging valve threads. There are mainly three types of valves. These are Presta, Schrader, and Dunlop valves. Presta valves are common on road bikes. They are narrow and have a locking nut. Schrader valves are like car tire valves. They are wider and more robust. Dunlop valves are often found on older bikes. Each valve type needs a different approach. Using the wrong pump head can cause damage. For example, forcing a Schrader pump on a Presta valve. It could bend or break the delicate Presta threads. Always check what kind of valve you have. Use the correct pump head. This simple step can prevent many problems. Taking care of your valves means they will last longer.
- Presta valves are thin with a locking nut.
- Schrader valves are wider, like car tires.
- Dunlop valves are common on older bikes.
- Use the right pump head for each valve.
- Wrong pump heads can damage threads.
Choosing the right pump is also important. Some pumps have adapters for different valves. Make sure the adapter is correctly installed. If you are unsure, ask a bike shop for help. They can show you the right way to attach the pump head. Learning this now will save you headaches later. Taking good care of your bike keeps it running smoothly. It also makes riding more fun. Understanding valve types is a small thing. But it makes a big difference. Happy and safe cycling!
Fun Fact or Stat: Presta valves were invented in France. They are named after the inventor, Sclaverand.
Why Valve Type Matters
Have you ever tried using a wrench that was too big or too small? It probably slipped and didn’t work well. The same idea applies to bike valves and pump heads. Using the wrong pump head can damage the valve. Presta valves are delicate. They need a pump head that fits snugly. Schrader valves are tougher, but still need the right fit. Why does this matter? Damaged valve threads can cause leaks. Leaks mean you have to pump up your tires more often. They can even lead to flat tires. A flat tire is never fun, especially during a ride. So, knowing your valve type and using the correct pump head is important. It keeps your tires inflated and your rides enjoyable.
Checking for Valve Compatibility
Imagine you have a puzzle, and the pieces don’t fit together. You wouldn’t force them, right? The same is true for pump heads and valves. Before you attach the pump, check if they are compatible. Look at the valve type. Is it Presta or Schrader? Now, look at your pump head. Does it have the right adapter? Many pumps have dual heads. These can work for both Presta and Schrader valves. But make sure the adapter is correctly set. If you’re not sure, read the pump’s instructions. It’s better to take a minute to check than to damage your valve. A little caution can save you from a lot of trouble.
Adapters for Different Valves
Have you ever used a universal remote control? It can work with many different TVs. Pump adapters are similar. They let one pump work with different valve types. Adapters are small parts that fit onto the pump head. They change the shape of the opening. This makes it fit snugly onto the valve. Some adapters screw on. Others just push in. Make sure the adapter is secure before pumping. A loose adapter can damage the valve threads. It can also make it hard to inflate the tire. Keep your adapters in a safe place. You don’t want to lose them when you need them most! Adapters make life easier and keep your valves safe.
Proper Pump Head Attachment
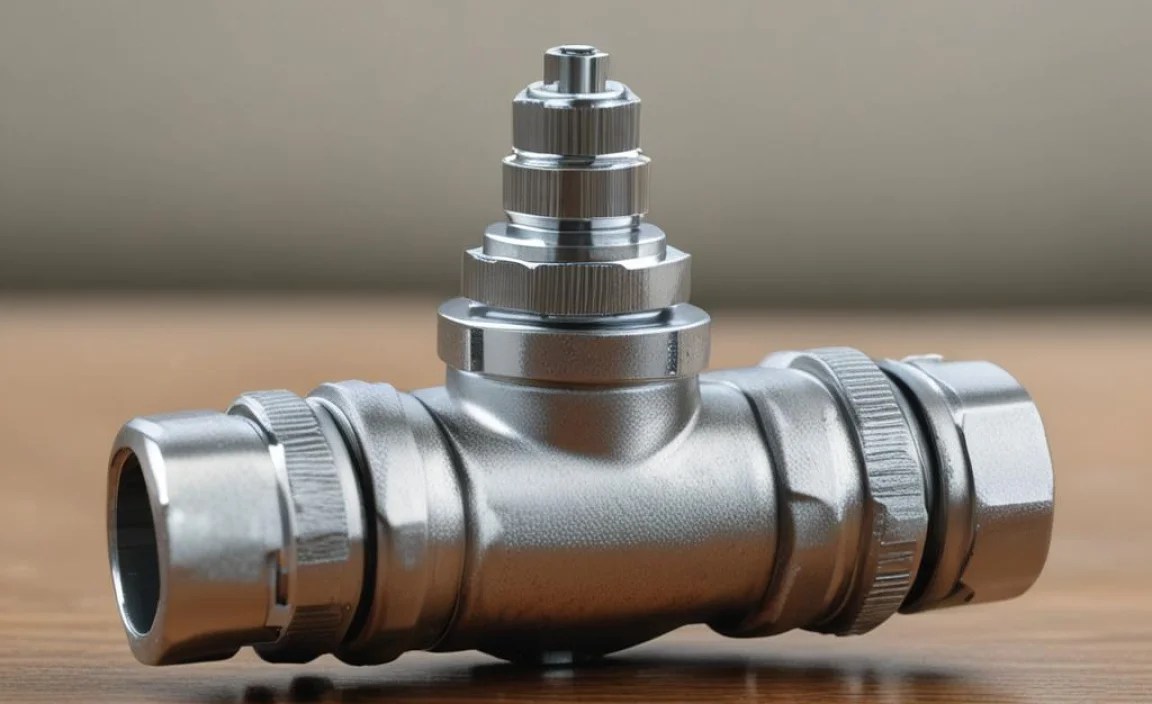
Attaching the pump head correctly is vital. This is key to how to avoid pump head damaging valve threads. First, make sure the pump head is clean. Dirt and debris can damage the threads. Align the pump head straight with the valve. Avoid tilting or angling it. This can cause cross-threading. Push the pump head firmly onto the valve. Listen for a click or feel a secure connection. If it feels loose, adjust it. Do not force it. For Presta valves, unscrew the valve nut slightly before attaching the pump. This opens the valve. After inflating, remember to tighten the nut. A secure connection prevents air leaks. It also protects the valve threads. Taking your time and being careful makes a big difference.
- Clean the pump head before attaching it.
- Align the pump head straight with the valve.
- Push the pump head firmly but gently.
- Tighten the Presta valve nut after inflating.
- Avoid tilting the pump head during attachment.
Sometimes, the pump head is hard to attach. This could be because of dirt or damage. Check the pump head regularly. Clean it with a cloth if needed. If it is damaged, replace it. A new pump head is cheaper than a new tire or valve. Also, consider the type of pump. Floor pumps are often easier to use than hand pumps. They provide more leverage. This makes it easier to attach the pump head correctly. Remember, gentle movements are best. Avoid sudden or forceful actions. These can damage the valve threads.
Fun Fact or Stat: The first bicycle pump was invented in the 1800s. It was much larger and heavier than modern pumps.
Aligning the Pump Head Straight
Imagine trying to put a key in a lock when it’s upside down. It won’t work, right? And if you force it, you might bend the key. The same idea applies to attaching a pump head. If the pump head is not aligned straight, it won’t fit properly. Forcing it can damage the valve threads. So, take a moment to make sure everything is lined up. Look closely at the valve and the pump head. Are they perfectly aligned? If not, gently adjust the pump head until it is. This simple step can prevent a lot of frustration and damage. Always align, then attach.
Gentle Attachment Techniques
Have you ever opened a jar that was stuck? You probably didn’t yank it open with all your might. Instead, you used gentle, steady pressure. Attaching a pump head is similar. Use gentle movements, not force. When you push the pump head onto the valve, do it smoothly. Avoid sudden jerks or wiggles. If it doesn’t seem to fit, don’t force it. Instead, take it off and try again. Check the alignment. Make sure there is no dirt or debris. Gentle attachment protects the valve threads. It also ensures a good seal.
Checking for Secure Connection
Think about building with LEGO bricks. You know the connection is good when you hear a click. That click means the bricks are securely attached. When attaching a pump head, you also want to feel a secure connection. This might be a click, or it might just be a feeling of firmness. The pump head should not wiggle or feel loose. If it does, it’s not properly attached. A loose connection can cause air leaks. It can also damage the valve threads. So, before you start pumping, give the pump head a gentle tug. If it stays in place, you’re good to go.
Avoiding Cross-Threading Issues
Cross-threading is a common problem. It can easily damage valve threads. Knowing how to avoid pump head damaging valve threads includes understanding this. Cross-threading happens when the threads of the pump head do not line up correctly with the valve threads. Forcing them together ruins the threads. This makes it hard to attach the pump in the future. It can also cause air leaks. The key is to be patient. Make sure the pump head is perfectly aligned. Turn it gently until you feel the threads engage smoothly. If you feel resistance, stop. Back off and try again. Never force the pump head. This will only make the problem worse. Regular cleaning of the threads also helps.
- Align the pump head perfectly.
- Turn the pump head gently.
- Stop if you feel resistance.
- Clean the valve threads regularly.
- Never force the pump head.
- Use thread lubricant sparingly.
Another tip is to use a thread lubricant. A small amount of grease can help the threads engage smoothly. Be careful not to use too much. Excess lubricant can attract dirt. This can cause more problems. Also, consider the quality of your pump head. Cheap pump heads may have poorly made threads. This makes cross-threading more likely. Investing in a good quality pump is worth it. It will last longer and protect your valves. Taking these steps will help you avoid cross-threading. It will also keep your valves in good condition.
Fun Fact or Stat: Cross-threading is a common problem in many mechanical applications. It’s not just limited to bike valves!
Recognizing Cross-Threading
Imagine you’re trying to screw a lid onto a jar, but it just won’t go on straight. You feel resistance, and it seems like the threads are fighting each other. That’s similar to what happens with cross-threading. When you’re attaching a pump head, pay attention to how it feels. If you feel any resistance or if it seems like it’s not going on smoothly, stop immediately. Don’t force it! Cross-threading can ruin the valve threads. So, it’s better to take a moment to check the alignment and start again. Recognizing the signs of cross-threading early can save you from a lot of trouble.
Correcting Misaligned Threads
Have you ever tried to untangle a knot in a string? You don’t just pull harder, right? You gently work at it, trying to loosen the knot. The same approach works for correcting misaligned threads. If you feel resistance when attaching a pump head, don’t force it. Instead, gently back it off. Then, realign the pump head and try again. Sometimes, a little wiggle can help the threads find their way. But always be gentle. If you’re still having trouble, check for any dirt or debris on the threads. Clean them off and try again. Patience and a gentle touch are key to correcting misaligned threads.
Using Thread Lubricants
Think about oiling a squeaky door hinge. A little lubricant can make a big difference. It helps the hinge move smoothly and quietly. Thread lubricants work in a similar way. A small amount of grease on the valve threads can help the pump head attach more easily. It reduces friction and prevents cross-threading. But be careful not to use too much lubricant. Excess grease can attract dirt and grime. This can actually make the problem worse. A tiny dab of grease is all you need. Apply it sparingly and wipe off any excess. Thread lubricants can make attaching a pump head smoother and easier.
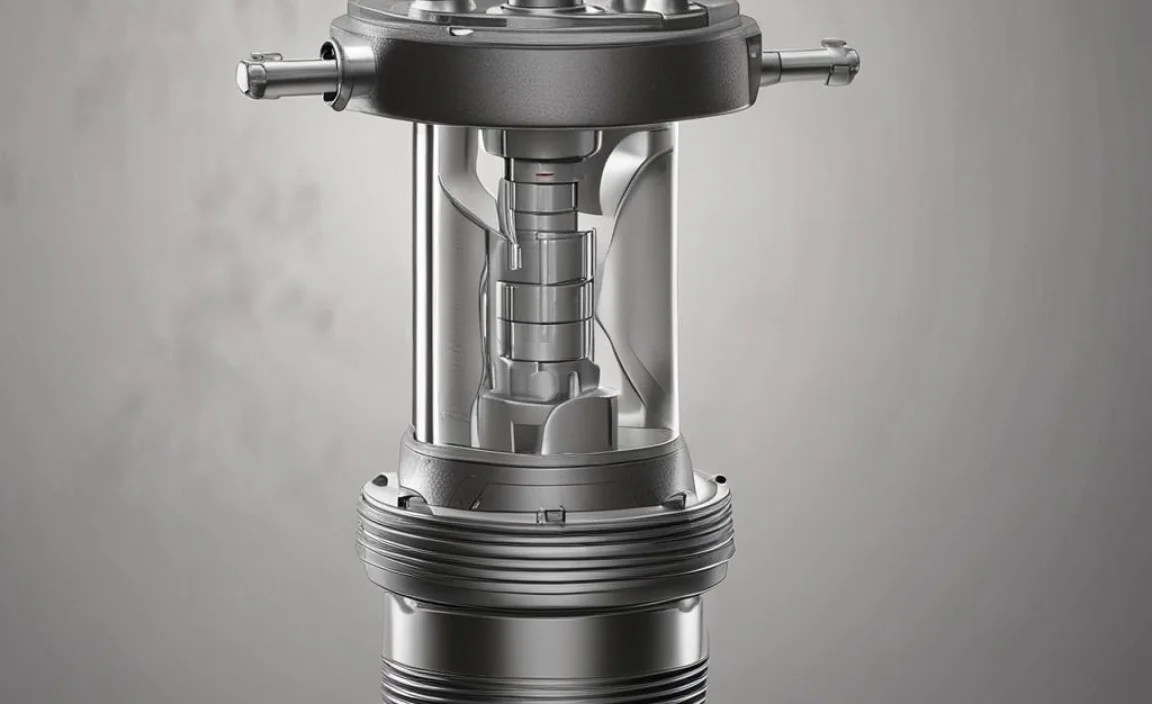
Regular Pump Head Maintenance
Taking care of your pump head is crucial. This helps you learn how to avoid pump head damaging valve threads. A dirty or worn pump head can damage valve threads. Check your pump head often. Look for dirt, cracks, or wear. Clean it with a cloth. Use a small brush to remove dirt from the threads. If you see cracks or wear, replace the pump head. A new pump head is inexpensive. It is much cheaper than replacing a valve or tire. Also, store your pump in a clean, dry place. This protects it from the elements. Regular maintenance keeps your pump working well. It also protects your bike’s valves.
- Check for dirt and wear often.
- Clean the pump head with a cloth.
- Replace the pump head if damaged.
- Store the pump in a dry place.
- Use a small brush to clean threads.
- Inspect the pump head seal.
The pump head seal is also important. This is the rubber or plastic part that makes the connection. If the seal is worn, it will not make a tight seal. This can cause air leaks. Replace the seal if it is damaged. Some pumps have replaceable seals. Others require you to replace the entire pump head. Check your pump’s manual for instructions. Regular maintenance extends the life of your pump. It also protects your bike’s valves.
Fun Fact or Stat: Some high-end bike pumps have built-in pressure gauges. These help you inflate your tires to the perfect pressure.
Cleaning the Pump Head
Imagine you’re about to paint a picture, but your paintbrush is covered in old, dried paint. You wouldn’t start painting, right? You’d clean the brush first. The same idea applies to your pump head. Before you attach it to your valve, make sure it’s clean. Dirt and grime can damage the valve threads. Use a clean cloth to wipe down the pump head. Pay special attention to the threads. Use a small brush to remove any stubborn dirt. A clean pump head ensures a good connection and protects your valves.
Inspecting for Wear and Tear
Have you ever checked the tires on your bike for wear? You look for cracks or thin spots. This tells you when it’s time to replace them. You should also inspect your pump head for wear and tear. Look for cracks in the plastic or rubber parts. Check the threads for damage. If anything looks worn or broken, it’s time for a new pump head. A worn pump head can damage your valves. It’s better to replace it before it causes problems. Regular inspections keep your pump working well.
Storing the Pump Properly
Think about how you store your bike. You probably keep it in a garage or shed to protect it from the weather. You should also store your pump properly. Keep it in a dry place, away from direct sunlight. Sunlight can damage the plastic and rubber parts. Moisture can cause rust and corrosion. A good storage spot is in a toolbox or on a shelf in your garage. Proper storage keeps your pump in good condition. It also extends its lifespan. A well-stored pump is always ready when you need it.
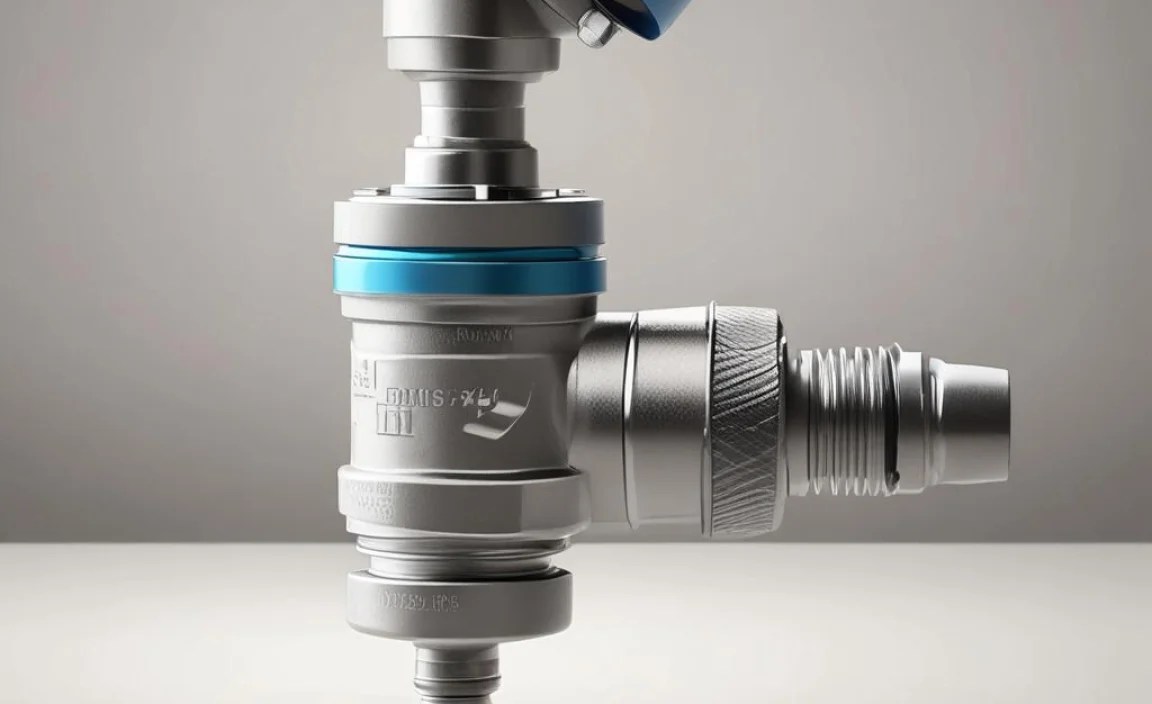
Using Quality Pumps and Accessories

Using good quality pumps matters a lot. This is another point on how to avoid pump head damaging valve threads. Cheap pumps may have poorly made parts. The threads may not be precise. This can lead to cross-threading. Invest in a pump from a reputable brand. These pumps are made with better materials. They are also more accurate. Quality accessories, like valve adapters, also help. Make sure they are made of durable materials. Cheap adapters can break easily. This can damage the valve threads. A good pump and accessories are worth the investment. They protect your valves. They also make inflating your tires easier.
| Feature | Quality Pump | Cheap Pump |
|---|---|---|
| Material | Durable metal or high-quality plastic | Low-grade plastic |
| Threads | Precisely machined | Poorly made, rough edges |
| Lifespan | Lasts for years | Breaks easily |
| Accuracy | Precise pressure readings | Inaccurate readings |
- Invest in a pump from a good brand.
- Use quality valve adapters.
- Check the pump’s reviews before buying.
- Avoid cheap, poorly made pumps.
- Replace worn accessories promptly.
Read reviews before buying a pump. Other users can share their experiences. This can help you choose a good pump. Also, take care of your pump. Clean it regularly. Store it properly. This will extend its life. Remember, a good pump is an investment. It will save you money in the long run. It will also make your bike rides more enjoyable.
Fun Fact or Stat: Some professional cyclists use special pumps. These pumps can inflate tires to very high pressures.
Choosing Reputable Brands
Imagine you’re buying a new pair of shoes. You probably wouldn’t choose the cheapest pair you can find. You’d look for a brand known for quality and comfort. The same idea applies to bike pumps. Choosing a reputable brand can make a big difference. These brands have a reputation to uphold. They use better materials and have stricter quality control. This means their pumps are more durable and reliable. They also tend to have better customer service. So, do your research and choose a brand you can trust.
Assessing Material Quality
Have you ever held something that just felt cheap and flimsy? You probably didn’t expect it to last very long. The same is true for bike pumps. The quality of the materials used can make a big difference in how long the pump lasts. Look for pumps made from durable materials like metal or high-quality plastic. Avoid pumps made from cheap, brittle plastic. These are more likely to break or wear out quickly. Assessing the material quality is an important step in choosing a good pump.
Reading User Reviews
Think about buying something online. You probably read the user reviews before making a decision. Reviews can give you valuable insights into the product’s quality and performance. The same is true for bike pumps. Read reviews from other cyclists before you buy a pump. See what they have to say about its durability, ease of use, and reliability. Pay attention to any common complaints. This can help you avoid making a bad purchase. User reviews are a great way to get honest feedback.
Understanding Air Pressure and Inflation
Knowing about air pressure is also important. This is part of how to avoid pump head damaging valve threads. Over-inflating your tires can damage the valve. It can also make the tire explode. Under-inflating your tires can cause flats. Check the recommended pressure for your tires. It is usually printed on the tire sidewall. Use a pump with a pressure gauge. This helps you inflate your tires to the correct pressure. Avoid using gas station air compressors. They often deliver too much pressure too quickly. This can damage your tires and valves. Correct inflation pressure makes your ride safer. It also extends the life of your tires.
- Check the recommended tire pressure.
- Use a pump with a pressure gauge.
- Avoid gas station air compressors.
- Inflate tires gradually.
- Check pressure regularly.
- Do not over-inflate.
Also, check your tire pressure regularly. Tires lose air over time. Check the pressure before each ride. This ensures your tires are properly inflated. Proper inflation improves your bike’s performance. It also makes your ride more comfortable. Taking the time to understand air pressure is worth it. It keeps you safe and your bike in good condition.
Fun Fact or Stat: The unit of measure for tire pressure is PSI (pounds per square inch) or BAR (a metric unit).
Finding Recommended Tire Pressure
Imagine you’re cooking a recipe, and it tells you exactly how much of each ingredient to use. If you follow the recipe, the dish will turn out great. Finding the recommended tire pressure is similar. Your tires have a “recipe” printed on the sidewall. This tells you the ideal pressure range for your tires. Look for numbers like “40-65 PSI” or “2.8-4.5 BAR.” This is the range of pressure your tires should have. Following this “recipe” ensures your tires perform their best. It also keeps you safe.
Using Pressure Gauges Effectively
Have you ever used a measuring cup to bake a cake? It helps you add the right amount of each ingredient. A pressure gauge is like a measuring cup for your tires. It tells you how much air is inside. When you’re inflating your tires, watch the gauge closely. Stop when the needle reaches the recommended pressure. Avoid over-inflating or under-inflating. A pressure gauge helps you get the pressure just right. This improves your bike’s performance and safety.
Avoiding Over-Inflation Risks
Think about blowing up a balloon. If you blow too much air into it, it will pop! Over-inflating your tires is similar. It can damage the tires and even cause them to explode. Over-inflation also makes the ride uncomfortable. The tires become too stiff. This reduces traction and makes it harder to control the bike. Always stay within the recommended pressure range. Avoid the temptation to add “just a little more” air. Over-inflation is a risky practice.
Safe Pump Head Removal Techniques
Removing the pump head carefully is also key. This completes our guide on how to avoid pump head damaging valve threads. After inflating, release the pump head lever or clamp. This releases the pressure. Then, pull the pump head straight off the valve. Avoid twisting or wiggling it. This can damage the threads. If the pump head is stuck, gently wiggle it back and forth. Do not force it. Check for any dirt or debris. Clean the valve and pump head. Then, try again. Safe removal protects the valve threads. It also extends the life of your valves.
- Release the pump head lever.
- Pull the pump head straight off.
- Avoid twisting or wiggling.
- Gently wiggle if stuck.
- Clean valve and pump head.
- Store the pump properly.
Also, store your pump in a safe place after use. This protects it from damage. A damaged pump head can damage your valves. Remember, taking care of your equipment is important. It keeps you safe and your bike running smoothly.
Fun Fact or Stat: Some modern pumps have quick-release levers. These make removing the pump head easier and safer.
Releasing Pressure Before Removal
Imagine you’re opening a can of soda. You hear a hissing sound as the pressure is released. Releasing the pressure before removing a pump head is similar. It makes the process easier and safer. Most pump heads have a lever or button that releases the pressure. Use this before you try to pull the pump head off the valve. This reduces the force needed to remove the pump head. It also prevents damage to the valve threads. Always release the pressure first.
Pulling Straight, Not Twisting
Have you ever tried to remove a nail from a piece of wood? You pull it straight out, not twist it. Twisting can bend the nail and damage the wood. The same idea applies to removing a pump head. Pull it straight off the valve, not twist it. Twisting can damage the valve threads. It can also make it harder to remove the pump head. A straight pull is the safest and most effective method.
Troubleshooting Stuck Pump Heads
Think about trying to open a door that’s jammed. You don’t just keep pulling harder and harder. You try to figure out what’s causing the problem. If a pump head is stuck, don’t force it. Gently wiggle it back and forth. This can help loosen it. Check for any dirt or debris. Clean the valve and pump head. If it’s still stuck, try using a little bit of lubricant. A stuck pump head can be frustrating. But patience and a gentle approach are key.
Summary
Learning how to avoid pump head damaging valve threads is easy. First, know your valve type. Use the right pump head. Align it straight. Avoid cross-threading. Clean and maintain your pump head. Use quality pumps and accessories. Understand air pressure. Remove the pump head carefully. These steps protect your valves. They also keep your bike in good condition. Following these tips makes inflating your tires easier and safer. Taking good care of your bike equipment is important. It makes your rides more enjoyable.
Conclusion
Protecting your valve threads is simple. Use the right tools and techniques. A little care goes a long way. By following these tips, you can avoid damage. This helps you learn how to avoid pump head damaging valve threads. You will save money. You will also keep your bike running smoothly. Happy riding!
Frequently Asked Questions
Question No 1: Why is it important to avoid damaging valve threads?
Answer: Damaging valve threads can cause air leaks. This means you have to pump up your tires more often. It can also lead to flat tires. Damaged threads can make it hard to attach the pump head. This can be frustrating. Repairing or replacing valves can be costly. Taking care of your valve threads saves you time and money. It also keeps your bike rides enjoyable. Learning how to avoid pump head damaging valve threads helps keep your bike in good shape.
Question No 2: What are the different types of bike valves?
Answer: There are mainly three types of bike valves. These are Presta, Schrader, and Dunlop valves. Presta valves are thin and have a locking nut. They are common on road bikes. Schrader valves are wider, like car tires. Dunlop valves are often found on older bikes. Each valve type needs a different pump head. Using the wrong pump head can damage the valve threads. Knowing your valve type is important. This helps you choose the right pump and avoid damage. Taking the time to learn about valve types is a good investment.
Question No 3: How can I tell if my pump head is compatible with my valve?
Answer: Look at the valve type. Is it Presta or Schrader? Then, look at your pump head. Does it have the right adapter? Many pumps have dual heads. These can work for both Presta and Schrader valves. But make sure the adapter is correctly set. If you’re not sure, read the pump’s instructions. The pump head should fit snugly onto the valve. It should not be loose or wobbly. If it feels forced, it’s probably not compatible. Using the wrong pump head can damage the valve threads. Always check compatibility before pumping.
Question No 4: What should I do if the pump head is stuck on the valve?
Answer: If the pump head is stuck, don’t force it. Gently wiggle it back and forth. This can help loosen it. Check for any dirt or debris. Clean the valve and pump head. If it’s still stuck, try using a little bit of lubricant. A small amount of grease can help. Be patient and gentle. Forcing the pump head can damage the valve threads. If you can’t remove it, ask a bike shop for help. They have tools and experience to remove it safely. Learning how to avoid pump head damaging valve threads starts with gentle handling.
Question No 5: How often should I clean my pump head?
Answer: You should clean your pump head regularly. How often depends on how much you use it. If you ride often, clean it every few weeks. If you ride less often, clean it every few months. Use a clean cloth to wipe down the pump head. Pay special attention to the threads. Use a small brush to remove any stubborn dirt. A clean pump head ensures a good connection. It also protects your valves. Regular cleaning keeps your pump working well. It also makes inflating your tires easier. You can avoid many problems by keeping your equipment clean.
Question No 6: Can over-inflating my tires damage the valve threads?
Answer: Over-inflating your tires can damage the entire tire and valve system. While the primary risk from over-inflation is tire explosion or damage to the tire casing, it can indirectly affect the valve. The added pressure can stress the valve stem and threads. It may cause them to weaken or crack over time. Always stay within the recommended pressure range printed on your tire. Using a pump with a pressure gauge helps you avoid over-inflation. Following these guidelines helps you avoid pump head damaging valve threads and keeps your ride safe.


