
Floor Shock Pump 350psi: Get Yours Today!
Quick Summary: A floor shock pump with a 350psi capacity lets you precisely adjust the air pressure in your bike’s suspension. To use it, attach the pump head securely to the shock valve, pump to your desired pressure (check your suspension manufacturer’s recommendations), and carefully detach the pump. Always double-check the pressure with the pump gauge for accurate results.
Is your bike’s suspension feeling a bit soft, or maybe too stiff? Fine-tuning the air pressure in your shocks can dramatically improve your ride quality and control. Using a floor shock pump, especially one capable of reaching 350psi, gives you the precision you need. Don’t worry if it sounds complicated! This guide will walk you through each step, ensuring you get the perfect suspension setup for your needs. We’ll cover everything from choosing the right pump to dialing in the ideal pressure, so you can confidently hit the trails or roads.
Understanding Your Shock Pump
Before we dive into using a floor shock pump, let’s cover some basics. Understanding what a shock pump does and its components will make the process much smoother.
What is a Shock Pump?
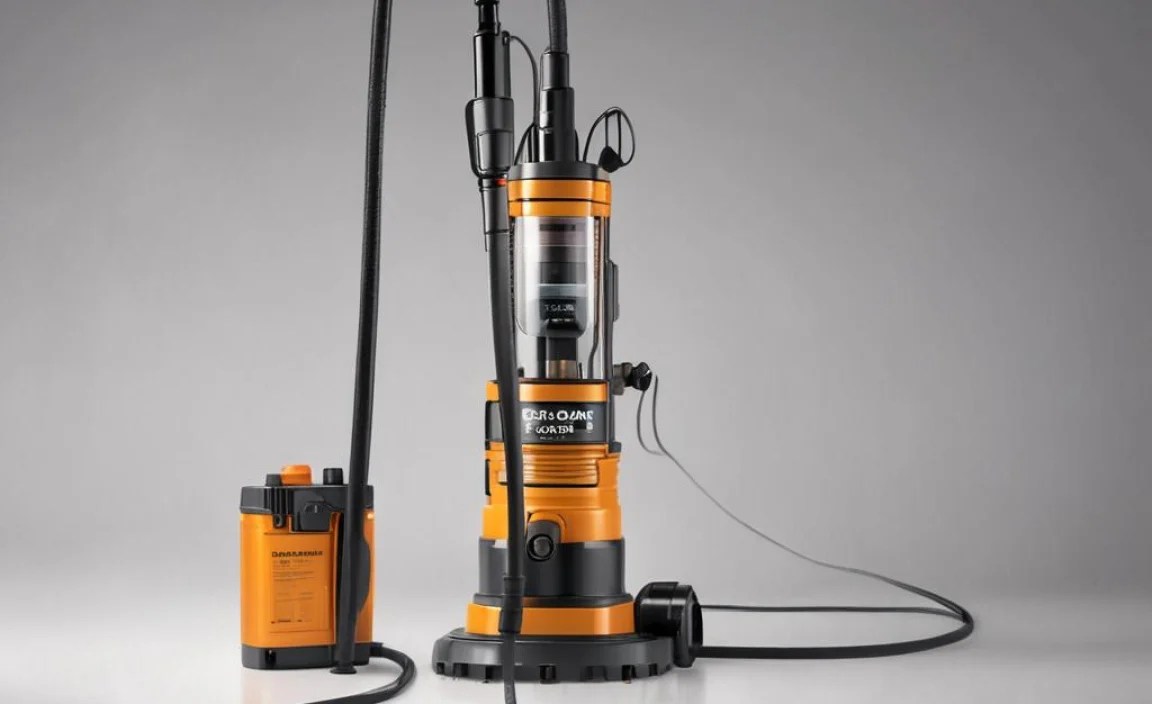
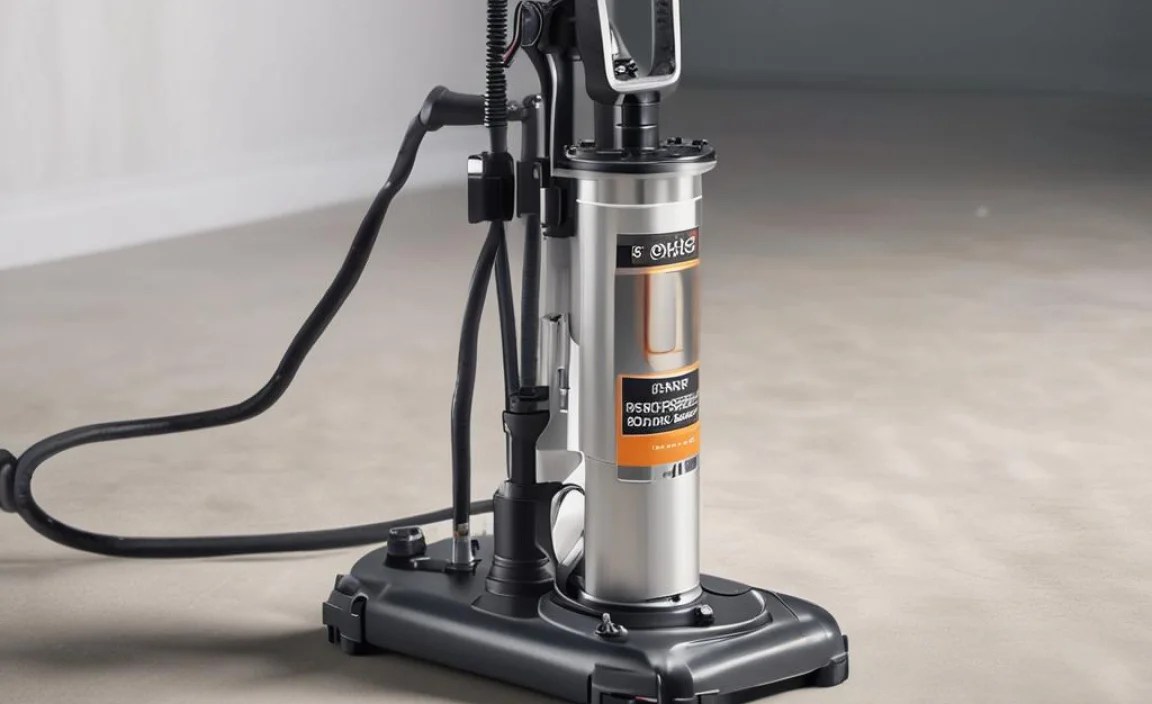
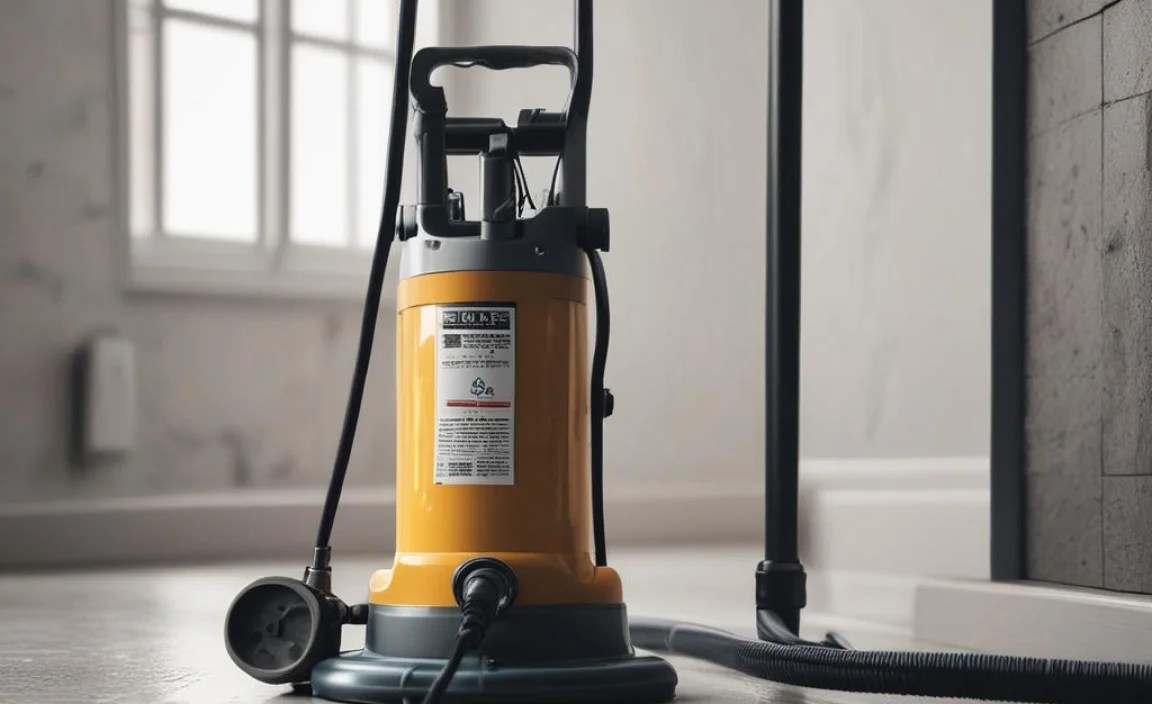
A shock pump is a specialized hand pump designed to inflate the air chambers in suspension forks and rear shocks on bikes. Unlike regular tire pumps, shock pumps deliver very high pressures (up to 350psi or more) in small increments, allowing for precise adjustments. They also feature a “no-loss” chuck, which minimizes air loss when disconnecting the pump.
Key Features of a 350psi Floor Shock Pump
- High Pressure Capacity: Reaching up to 350psi, suitable for most mountain bike and some high-performance road bike suspension systems.
- Precision Gauge: An accurate gauge is crucial for setting the correct pressure. Look for pumps with clear, easy-to-read gauges.
- “No-Loss” Chuck: This feature prevents air from escaping when you disconnect the pump from the valve.
- Bleed Valve: Allows you to release small amounts of air to fine-tune the pressure.
- Floor Pump Design: Offers stability and ease of use compared to smaller hand-held shock pumps.
Why Choose a Floor Shock Pump Over a Hand Pump?
While hand-held shock pumps are portable, floor shock pumps offer several advantages:
- Stability: The floor-mounted design provides a stable platform, making it easier to pump accurately.
- Ergonomics: Floor pumps are generally more comfortable to use, especially when inflating to higher pressures.
- Gauge Visibility: The gauge is usually larger and easier to read on a floor pump.
Essential Tools and Preparations
Before you start adjusting your suspension, gather the necessary tools and information.
Tools You’ll Need
- 350psi Floor Shock Pump: Make sure it’s in good working condition.
- Rag or Clean Cloth: For wiping down the shock and pump.
- Your Bike’s Manual or Suspension Manufacturer’s Guide: This will provide recommended pressure settings.
- Safety Glasses: To protect your eyes.
Preparing Your Bike and Work Area
- Clean the Shock Valve: Use a clean rag to wipe any dirt or debris from around the shock valve.
- Consult the Manual: Find the recommended air pressure range for your weight and riding style.
- Prepare your Workspace: Ensure you have adequate lighting and a stable surface to work on.
Step-by-Step Guide to Using a Floor Shock Pump

Follow these steps to safely and accurately adjust your bike’s suspension.
Step 1: Attaching the Pump
- Locate the Shock Valve: This is usually on the top of the fork leg or on the rear shock body.
- Remove the Valve Cap: Unscrew the valve cap and set it aside in a safe place.
- Attach the Pump Head: Firmly press the pump head onto the valve. Ensure it’s fully seated to create a good seal. Some pumps have a lever to lock the head in place; engage this lever.
Step 2: Inflating to the Correct Pressure
- Start Pumping: Use smooth, even strokes to inflate the shock. Keep an eye on the pressure gauge.
- Refer to the Pressure Chart: Consult your bike’s manual or the suspension manufacturer’s guide for recommended pressure settings based on your weight and riding style.
- Overshoot Slightly: It’s better to slightly overshoot the desired pressure, as you can easily release air using the bleed valve.
Step 3: Fine-Tuning the Pressure
- Use the Bleed Valve: If you’ve overinflated, gently press the bleed valve to release small amounts of air until you reach the desired pressure.
- Check the Gauge: Double-check the pressure reading to ensure accuracy.
- Repeat if Necessary: If you’ve released too much air, re-inflate and repeat the fine-tuning process.
Step 4: Detaching the Pump and Finishing Up
- Disengage the Locking Lever (if applicable): If your pump has a locking lever, disengage it.
- Carefully Remove the Pump Head: Pull the pump head straight off the valve. The “no-loss” chuck should prevent significant air loss.
- Replace the Valve Cap: Screw the valve cap back onto the valve to protect it from dirt and debris.
- Test the Suspension: Compress the suspension a few times to ensure it feels right.
Troubleshooting Common Issues
Sometimes, things don’t go as planned. Here are some common issues and how to resolve them.
Problem: Air Leaking When Attaching the Pump
Possible Causes:
- Pump head not properly seated on the valve.
- Damaged or worn pump head seal.
- Debris on the valve.
Solutions:
- Ensure the pump head is firmly pressed onto the valve.
- Inspect the pump head seal for damage and replace if necessary.
- Clean the valve with a clean rag.
Problem: Difficulty Reaching High Pressures
Possible Causes:
- Pump not designed for high pressures.
- Leaking pump seals.
- Valve issues.
Solutions:
- Ensure your pump is rated for at least 350psi.
- Inspect the pump seals for wear and replace if necessary.
- Check the valve for damage or blockage.
Problem: Inaccurate Pressure Readings
Possible Causes:
- Faulty gauge.
- Incorrect pump usage.
Solutions:
- Try a different pump to verify the reading.
- Ensure you’re pumping smoothly and steadily.
- Consider replacing the pump if the gauge is consistently inaccurate.
Advanced Suspension Tuning Tips

Once you’re comfortable with the basics, you can start experimenting with more advanced tuning techniques.
Understanding Sag
Sag is the amount the suspension compresses under your weight when you’re sitting on the bike. Setting the correct sag is crucial for optimal performance. Generally, mountain bikes use 15-25% sag for the front and rear suspension. Road bikes usually require less sag.
To measure sag:
- Set the O-ring on your shock against the seal.
- Sit on your bike in a normal riding position.
- Carefully dismount without compressing the suspension further.
- Measure the distance the O-ring has moved.
- Adjust the air pressure to achieve the correct sag.
Adjusting Rebound Damping
Rebound damping controls how quickly the suspension returns to its extended position after being compressed. Too little rebound damping can result in a bouncy ride, while too much can cause the suspension to pack up over repeated bumps.
Most shocks have an external rebound adjustment knob. Experiment with different settings to find what works best for you.
Volume Spacers
Volume spacers (or tokens) can be added to the air chamber of some suspension forks and shocks to adjust the spring rate. Adding volume spacers makes the suspension more progressive, meaning it becomes stiffer deeper in the travel. This can be useful for riders who frequently bottom out their suspension.
Choosing the Right 350psi Floor Shock Pump
With so many options available, selecting the right shock pump can be challenging. Here’s what to consider.
Key Considerations
- Pressure Range: Ensure the pump can reach at least 350psi.
- Gauge Accuracy: Look for pumps with a reputation for accurate pressure readings.
- Build Quality: A durable pump will last longer and provide more consistent performance.
- Ease of Use: Consider the ergonomics and ease of attaching the pump head.
- Price: Balance your budget with the features and quality you need.
Recommended Brands and Models
Here are a few highly-regarded 350psi floor shock pumps:
- Topeak JoeBlow Shock 350psi: Known for its durability and accurate gauge.
- RockShox High Pressure Shock Pump: A reliable option from a leading suspension manufacturer.
- Park Tool Shock Pump: Quality construction and precise pressure adjustments.
Maintaining Your Floor Shock Pump
Proper maintenance will keep your shock pump working accurately and reliably for years.
Regular Maintenance Tasks
- Clean the Pump: Wipe down the pump with a clean cloth after each use.
- Inspect the Seals: Check the pump head and piston seals for wear or damage. Replace as needed.
- Lubricate the Piston: Apply a small amount of silicone grease to the piston to keep it moving smoothly.
- Store Properly: Store the pump in a clean, dry place to prevent corrosion.
Replacing Seals and O-Rings
Over time, the seals and O-rings in your shock pump may wear out and need to be replaced. Most pump manufacturers offer replacement seal kits.
- Disassemble the Pump: Follow the manufacturer’s instructions to disassemble the pump.
- Remove the Old Seals: Use a small pick or screwdriver to carefully remove the old seals.
- Install the New Seals: Lubricate the new seals with silicone grease and install them in the correct locations.
- Reassemble the Pump: Follow the manufacturer’s instructions to reassemble the pump.
Pressure Settings Table
Here’s a general pressure setting table. Always refer to your bike’s manual or suspension manufacturer’s guide for specific recommendations.
| Rider Weight (lbs) | Fork Pressure (psi) | Rear Shock Pressure (psi) |
|---|---|---|
| 120-140 | 60-70 | 80-90 |
| 140-160 | 70-80 | 90-100 |
| 160-180 | 80-90 | 100-110 |
| 180-200 | 90-100 | 110-120 |
| 200-220 | 100-110 | 120-130 |
Pros and Cons of Using a Floor Shock Pump
Here’s a quick overview of the advantages and disadvantages of using a floor shock pump.
Pros
- Increased Accuracy: Floor pumps generally have more accurate gauges than hand pumps.
- Easier to Use: The floor-mounted design provides stability and leverage.
- More Comfortable: Less strenuous than using a hand pump, especially at high pressures.
- Durable: Typically built to last, providing years of reliable service.
Cons
- Higher Cost: Floor shock pumps are generally more expensive than hand pumps.
- Less Portable: Not ideal for carrying on rides.
- Takes Up More Space: Requires more storage space compared to a hand pump.
FAQ: Using a Floor Shock Pump (350psi)
Q: What does PSI mean?
A: PSI stands for “pounds per square inch.” It’s a unit of pressure used to measure the air pressure in your bike’s suspension.
Q: Can I use a regular tire pump for my shocks?
A: No, you should not use a regular tire pump. Tire pumps don’t deliver air at the low volumes and high pressures needed for shocks, and they lack the “no-loss” chuck feature.
Q: How often should I check my shock pressure?
A: Check your shock pressure before each ride, especially if you notice a change in suspension performance. Air can slowly leak over time.
Q: What happens if I overinflate my shocks?
A: Overinflating can make your suspension too stiff and reduce traction. It can also potentially damage the shock seals. Always use the bleed valve to fine-tune the pressure.
Q: How do I know what pressure to use?
A: Refer to your bike’s manual or the suspension manufacturer’s guide. These resources provide recommended pressure settings based on your weight and riding style. Many manufacturers also have online resources to help guide you like this guide from SRAM.
Q: What is a “no-loss” chuck?
A: A “no-loss” chuck is a feature on shock pumps that minimizes air loss when you disconnect the pump from the valve. It helps maintain accurate pressure settings.
Q: Can I use a shock pump on my car tires?
A: While technically possible in an emergency, it’s not recommended. Shock pumps are designed for low-volume, high-pressure applications, while car tires require higher volumes of air. It would take a very long time, and is not the designed usage for the pump.
Conclusion
Using a floor shock pump to adjust your bike’s suspension is a simple yet crucial part of bike maintenance. By following these steps and tips, you can fine-tune your suspension for optimal performance and comfort. Remember to always consult your bike’s manual and suspension manufacturer’s guide for specific recommendations. With a little practice, you’ll be confidently dialing in your suspension and enjoying a smoother, more controlled ride in no time!


