
Pump Design Types: Find the Perfect Powerful Pump
**Quick Summary:** Bike pumps come in various designs, each suited for different needs. Floor pumps are best for home use and quickly inflating tires. Hand pumps are portable for on-the-go inflation. CO2 inflators offer rapid inflation but require cartridges. Mini pumps balance portability and efficiency. Understanding these designs helps you choose the right pump for your cycling style and ensures your tires are always ready for the road.
Hey there, cycling friends! Raymond Ammons here, from BicyclePumper.com. Ever felt overwhelmed trying to pick the right bike pump? You’re not alone! With so many options, it’s tough to know which one fits your needs. It can be frustrating to end up with a pump that doesn’t work well or isn’t right for your bike.
In this guide, we’ll break down the different types of bike pumps. We’ll explore floor pumps, hand pumps, CO2 inflators, and mini pumps. By the end, you’ll know exactly which pump design is best for your cycling adventures. Let’s get rolling!
Understanding Different {pump design types} for Your Bike

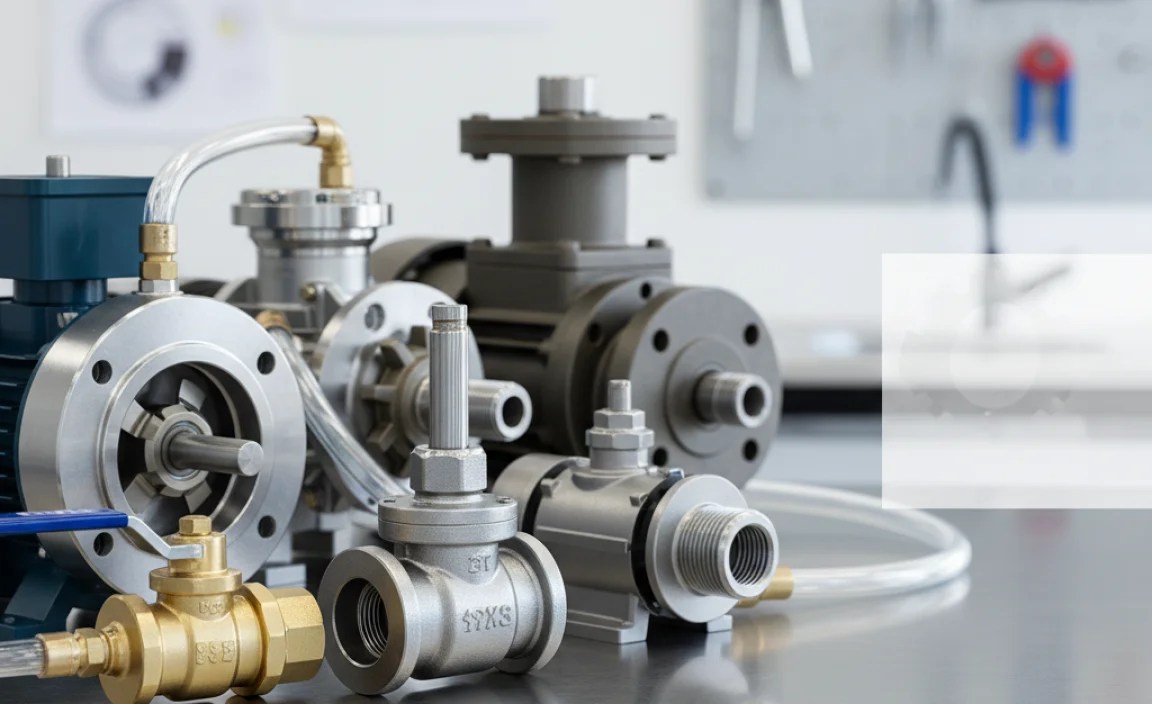
Choosing the right bike pump is crucial for maintaining your tires and enjoying a smooth ride. Different pump designs cater to various needs, from quick home inflation to on-the-go repairs. Let’s dive into the main types and their specific advantages.
Floor Pumps: The Home Mechanic’s Best Friend
Floor pumps, also known as track pumps, are designed for efficient and easy inflation at home. Their large size and stable base make them ideal for getting your tires to the correct pressure quickly.
Key Features of Floor Pumps
* **High Volume:** Floor pumps deliver a large volume of air with each stroke, reducing the time it takes to inflate your tires.
* **Built-in Gauge:** Most floor pumps come with an integrated pressure gauge, allowing you to accurately inflate your tires to the recommended PSI (pounds per square inch) or BAR.
* **Stable Base:** The wide base provides stability, making it easier to pump without the risk of tipping over.
* **Ergonomic Handle:** The comfortable handle reduces hand fatigue during extended use.
Pros and Cons of Floor Pumps
| Pros | Cons |
|---|---|
| Efficient inflation | Not portable |
| Accurate pressure readings | Can be bulky to store |
| Durable and long-lasting | More expensive than hand pumps |
When to Use a Floor Pump
* **Home Maintenance:** Perfect for regular tire inflation before rides.
* **Setting Optimal Pressure:** Ideal for fine-tuning tire pressure for different riding conditions.
* **Tubeless Setups:** Many floor pumps are designed to seat tubeless tires.
Hand Pumps: Portable Inflation for On-the-Go Repairs
Hand pumps are compact and lightweight, making them essential for cyclists who need to make roadside repairs. They are designed to be carried in a backpack or mounted on your bike frame.
Key Features of Hand Pumps
* **Portability:** Small and lightweight for easy transport.
* **Compact Design:** Fits easily into a backpack or mounts on your bike frame.
* **Versatility:** Suitable for both Presta and Schrader valves with adaptors or dual heads.
Pros and Cons of Hand Pumps
| Pros | Cons |
|---|---|
| Highly portable | Less efficient than floor pumps |
| Affordable | Can be tiring to use |
| Good for emergency repairs | May not reach high pressures easily |
Types of Hand Pumps
* **Standard Hand Pumps:** Basic models that offer reliable inflation.
* **Mini Pumps:** Ultra-compact designs for minimal weight and size.
* **Hybrid Pumps:** Combine features of hand and floor pumps for improved efficiency.
When to Use a Hand Pump
* **Roadside Repairs:** Essential for fixing flats while on a ride.
* **Quick Adjustments:** Useful for minor pressure adjustments during a ride.
* **Backpacking:** Great for cyclists who need to carry minimal gear.
CO2 Inflators: Rapid Inflation for Race Day
CO2 inflators use compressed carbon dioxide cartridges to quickly inflate tires. They are popular among racers and cyclists who need to get back on the road as fast as possible.
Key Features of CO2 Inflators
* **Rapid Inflation:** Inflates tires in seconds.
* **Compact and Lightweight:** Easy to carry in a saddlebag or pocket.
* **Simple to Use:** Requires minimal effort to operate.
Pros and Cons of CO2 Inflators
| Pros | Cons |
|---|---|
| Extremely fast inflation | Requires CO2 cartridges |
| Lightweight and portable | Can be expensive in the long run |
| Easy to use | No pressure gauge |
How to Use a CO2 Inflator
1. **Attach the Inflator:** Screw the CO2 inflator onto the valve.
2. **Pierce the Cartridge:** Activate the inflator to release the CO2.
3. **Inflate the Tire:** Control the flow of CO2 to inflate the tire to the desired pressure.
Safety Tips for Using CO2 Inflators
* **Wear Gloves:** CO2 cartridges can get very cold during use, potentially causing frostbite.
* **Control the Flow:** Release CO2 in short bursts to avoid over-inflation.
* **Dispose of Cartridges Properly:** Used cartridges are recyclable but can be dangerous if mishandled.
When to Use a CO2 Inflator
* **Racing:** Ideal for quick tire changes during races.
* **Time-Sensitive Repairs:** Perfect when you need to get back on the road quickly.
* **Emergency Situations:** Useful for rapid inflation in remote locations.
Mini Pumps: The Balance of Portability and Efficiency
Mini pumps are designed to be a compromise between the portability of hand pumps and the efficiency of floor pumps. They are small enough to carry easily but provide more inflation power than standard hand pumps.
Key Features of Mini Pumps
* **Compact Size:** Small enough to fit in a jersey pocket or saddlebag.
* **Efficient Inflation:** Designed to provide more air per stroke than standard hand pumps.
* **Versatile Valve Compatibility:** Many models work with both Presta and Schrader valves.
Pros and Cons of Mini Pumps
| Pros | Cons |
|---|---|
| More efficient than standard hand pumps | Still requires manual effort |
| Highly portable | May not reach very high pressures easily |
| Good balance of size and performance | Can be more expensive than basic hand pumps |
Types of Mini Pumps
* **Standard Mini Pumps:** Compact and lightweight for easy carrying.
* **Telescoping Mini Pumps:** Extendable designs for increased air volume per stroke.
* **Mini Floor Pumps:** Compact models with a fold-out footrest for added stability.
When to Use a Mini Pump
* **Everyday Riding:** Great for cyclists who want a reliable and portable pump.
* **Long Rides:** Ideal for cyclists who need a pump that can handle multiple inflations.
* **Gravel and Adventure Cycling:** Perfect for cyclists who need a pump that can handle varying terrain.
Valve Types and Pump Compatibility
Understanding the different valve types on your bike is essential for choosing the right pump. The two main types are Presta and Schrader valves.
Presta Valves
Presta valves are commonly found on high-performance road bikes and some mountain bikes. They are narrower than Schrader valves and have a locking nut at the tip.
Key Features of Presta Valves
* **Narrow Design:** Requires a smaller hole in the rim, making it suitable for narrow road bike rims.
* **Locking Nut:** Seals the valve and prevents air from leaking.
* **High-Pressure Compatibility:** Designed to handle high tire pressures.
How to Inflate a Presta Valve
1. **Unscrew the Locking Nut:** Loosen the nut at the tip of the valve.
2. **Push the Valve Tip:** Gently push the valve tip to release any pressure.
3. **Attach the Pump Head:** Securely attach the pump head to the valve.
4. **Inflate the Tire:** Pump until you reach the desired pressure.
5. **Tighten the Locking Nut:** Tighten the nut to seal the valve after inflation.
Schrader Valves
Schrader valves are commonly found on mountain bikes, hybrid bikes, and some commuter bikes. They are similar to the valves found on car tires and are wider than Presta valves.
Key Features of Schrader Valves
* **Wider Design:** More robust and easier to inflate.
* **Spring-Loaded Core:** Prevents air from leaking.
* **Common Availability:** Compatible with most gas station air compressors.
How to Inflate a Schrader Valve
1. **Remove the Valve Cap:** Unscrew the cap from the valve.
2. **Attach the Pump Head:** Securely attach the pump head to the valve.
3. **Inflate the Tire:** Pump until you reach the desired pressure.
4. **Replace the Valve Cap:** Screw the cap back onto the valve after inflation.
Valve Adapters
If your pump is not compatible with your bike’s valve type, you can use a valve adapter. These small, inexpensive devices allow you to inflate either Presta or Schrader valves with a pump designed for the other type.
Types of Valve Adapters
* **Presta to Schrader Adapters:** Allow you to inflate Presta valves with a Schrader pump.
* **Schrader to Presta Adapters:** Allow you to inflate Schrader valves with a Presta pump.
Essential Features to Look for in a Bike Pump

When choosing a bike pump, consider these essential features to ensure you get the best performance and durability.
Pressure Gauge Accuracy
A reliable pressure gauge is crucial for accurate inflation. Look for pumps with easy-to-read gauges that display both PSI and BAR. Digital gauges offer the highest accuracy but can be more expensive.
* **Analog Gauges:** Traditional gauges that use a needle to indicate pressure.
* **Digital Gauges:** Provide precise pressure readings on a digital display.
Pump Head Design
The pump head is the part that attaches to the valve. Look for pump heads that are easy to use and provide a secure seal.
* **Dual Head Pumps:** Compatible with both Presta and Schrader valves without the need for adapters.
* **Thread-On Heads:** Screw onto the valve for a secure connection.
* **Lever-Lock Heads:** Use a lever to clamp onto the valve.
Build Quality and Materials
The durability of your pump depends on the quality of its materials and construction. Look for pumps made from high-quality materials like aluminum or steel.
* **Aluminum Barrels:** Lightweight and durable.
* **Steel Barrels:** More robust and long-lasting.
* **Composite Bases:** Provide a stable and lightweight base.
Ergonomics and Comfort
A comfortable pump will make inflating your tires easier and more enjoyable. Look for pumps with ergonomic handles and stable bases.
* **Ergonomic Handles:** Designed to reduce hand fatigue.
* **Wide Bases:** Provide stability during use.
* **Footrests:** Add stability to mini floor pumps.
Additional Features
Some pumps come with additional features that can enhance their usability.
* **Integrated Storage:** Some pumps have built-in storage for tools or spare parts.
* **Inflation Hoses:** Flexible hoses make it easier to reach valves.
* **Pressure Release Valves:** Allow you to fine-tune tire pressure.
Maintaining Your Bike Pump for Longevity

Proper maintenance will keep your bike pump working efficiently for years to come. Here are some tips for maintaining your pump:
Regular Cleaning
Clean your pump regularly to remove dirt and debris that can clog the valve and reduce its efficiency.
* **Wipe Down:** Use a damp cloth to wipe down the pump after each use.
* **Clean the Pump Head:** Use a small brush to clean the pump head and remove any dirt or debris.
Lubrication
Lubricate the moving parts of your pump to keep them working smoothly.
* **Apply Lubricant:** Use a silicone-based lubricant to lubricate the piston and other moving parts.
* **Avoid Oil-Based Lubricants:** Oil-based lubricants can attract dirt and damage the pump.
Check for Leaks
Regularly check your pump for leaks and repair them promptly.
* **Inspect the Hose:** Look for cracks or damage in the hose.
* **Check the Seals:** Replace any worn or damaged seals.
Proper Storage
Store your pump in a dry and protected location to prevent damage.
* **Avoid Extreme Temperatures:** Store your pump away from direct sunlight and extreme temperatures.
* **Protect from Moisture:** Keep your pump in a dry location to prevent rust and corrosion.
Troubleshooting Common Pump Problems
Even with proper maintenance, you may encounter some common problems with your bike pump. Here are some troubleshooting tips:
Pump Not Inflating
* **Check the Valve Connection:** Ensure the pump head is securely attached to the valve.
* **Inspect the Valve Core:** Make sure the valve core is not clogged or damaged.
* **Check for Leaks:** Look for leaks in the hose or pump head.
Pump Leaking Air
* **Tighten Connections:** Ensure all connections are tight.
* **Replace Seals:** Replace any worn or damaged seals.
* **Check the Hose:** Look for cracks or damage in the hose.
Pump Difficult to Use
* **Lubricate Moving Parts:** Lubricate the piston and other moving parts.
* **Check for Obstructions:** Remove any dirt or debris that may be obstructing the pump.
* **Ensure Proper Alignment:** Make sure all parts are properly aligned.
{pump design types}: Choosing the Right One for Your Needs
Choosing the right bike pump depends on your specific needs and riding style. Here’s a quick guide to help you decide:
* **Floor Pumps:** Best for home use and regular maintenance.
* **Hand Pumps:** Ideal for on-the-go repairs and emergency situations.
* **CO2 Inflators:** Perfect for racers and cyclists who need rapid inflation.
* **Mini Pumps:** A good balance of portability and efficiency for everyday riding.
Consider your budget, riding frequency, and the types of valves on your bikes when making your decision. Investing in a high-quality pump will ensure you’re always ready to hit the road. You might want to check out resources like the [REI guide to bike pumps](https://www.rei.com/learn/expert-advice/bike-pump.html) for more detailed information.
FAQ About {pump design types}
* **What is the difference between Presta and Schrader valves?**
* Presta valves are narrow and have a locking nut, commonly found on road bikes. Schrader valves are wider, like car tire valves, and are common on mountain and hybrid bikes.
* **Can I use a floor pump on a mountain bike?**
* Yes, floor pumps are suitable for both road and mountain bikes. Ensure the pump head is compatible with your bike’s valve type (Presta or Schrader).
* **How do I know what PSI to inflate my tires to?**
* Check the sidewall of your tire for the recommended PSI range. Use a pump with a built-in gauge to accurately inflate your tires within this range.
* **Are CO2 inflators better than hand pumps?**
* CO2 inflators offer rapid inflation, ideal for racing or quick repairs. Hand pumps are reusable and don’t require cartridges, making them better for general use.
* **How often should I maintain my bike pump?**
* Clean your pump regularly (every few weeks) and lubricate the moving parts every few months to keep it working efficiently.
* **What should I do if my pump isn’t inflating my tire?**
* Check that the pump head is securely attached to the valve, ensure the valve core isn’t clogged, and look for any leaks in the hose or pump head.
* **Can I use a car tire pump on my bike?**
* Yes, if your bike has Schrader valves, you can use a car tire pump. However, car pumps often deliver air at a higher volume and pressure, so be careful not to over-inflate your tires. For Presta valves, you’ll need an adapter.
Conclusion
Choosing the right bike pump doesn’t have to be a chore. By understanding the different {pump design types} – floor pumps, hand pumps, CO2 inflators, and mini pumps – you can select the perfect tool for your cycling needs. Whether you’re a casual rider, a daily commuter, or a competitive racer, having the right pump ensures you’re always ready to hit the road with confidence.
Remember to consider the valve types on your bike, the essential features of the pump, and the importance of regular maintenance. With the right knowledge and a little care, your bike pump will be a reliable companion for many rides to come. Now get out there and enjoy the road!


