
How to Attach a Mini Pump to Bike Valve: Easy Guide
Quick Summary:
Attaching a mini pump to your bike valve is simple! First, identify your valve type (Presta or Schrader). For Presta, loosen the valve nut. Then, firmly press the pump head onto the valve, ensuring a tight seal. Engage the locking lever if your pump has one. Finally, start pumping until you reach your desired tire pressure.
Ever been stuck on the side of the road with a flat tire and a mini pump that seems more like a toy than a tool? It’s a common frustration for cyclists, especially when you’re eager to get back on the road. The good news is, attaching a mini pump correctly is easier than you might think. Once you get the hang of it, you’ll be back riding in no time.
This guide will walk you through the process step-by-step, making sure you know exactly what to do, no matter what type of valve your bike has. We’ll cover everything from identifying your valve type to achieving the perfect tire pressure. Let’s get started!
Understanding Bike Valves

Before you grab your mini pump, it’s crucial to know which type of valve your bike has. The two main types are Presta and Schrader. Knowing the difference will save you a lot of frustration.
Presta Valves
Presta valves are commonly found on road bikes and higher-end mountain bikes. They are narrower and have a small nut at the top that you need to loosen before inflating.
- Appearance: Slimmer, with a threaded tip.
- Usage: Road bikes, high-performance bikes.
- Key Feature: Requires loosening the valve nut before inflation.
Schrader Valves
Schrader valves are the same type you find on car tires. They are wider and more robust.
- Appearance: Wider, similar to car tire valves.
- Usage: Mountain bikes, hybrid bikes, and some kids’ bikes.
- Key Feature: Simple push-to-inflate mechanism.
Identifying your valve type is the first step to a successful inflation. Now, let’s move on to the tools you’ll need.
Gathering Your Tools
Having the right tools makes the job much easier. Here’s what you’ll need:
- Mini Pump: Choose a reliable mini pump that fits both Presta and Schrader valves, or one specifically designed for your valve type.
- Multi-Tool (Optional): A multi-tool with a valve core removal tool can be handy for maintenance.
- Rag: To keep your hands clean.
Having these tools ready will ensure a smooth and efficient process. Next, let’s look at how to attach the mini pump to each type of valve.
Step-by-Step: Attaching the Mini Pump to a Presta Valve

Presta valves can be a bit trickier than Schrader valves, but with these steps, you’ll get it right every time.
- Prepare the Valve:
- Remove the valve cap.
- Loosen the valve nut at the top by turning it counter-clockwise.
- Press the valve tip briefly to release a small amount of air. This ensures the valve isn’t stuck.
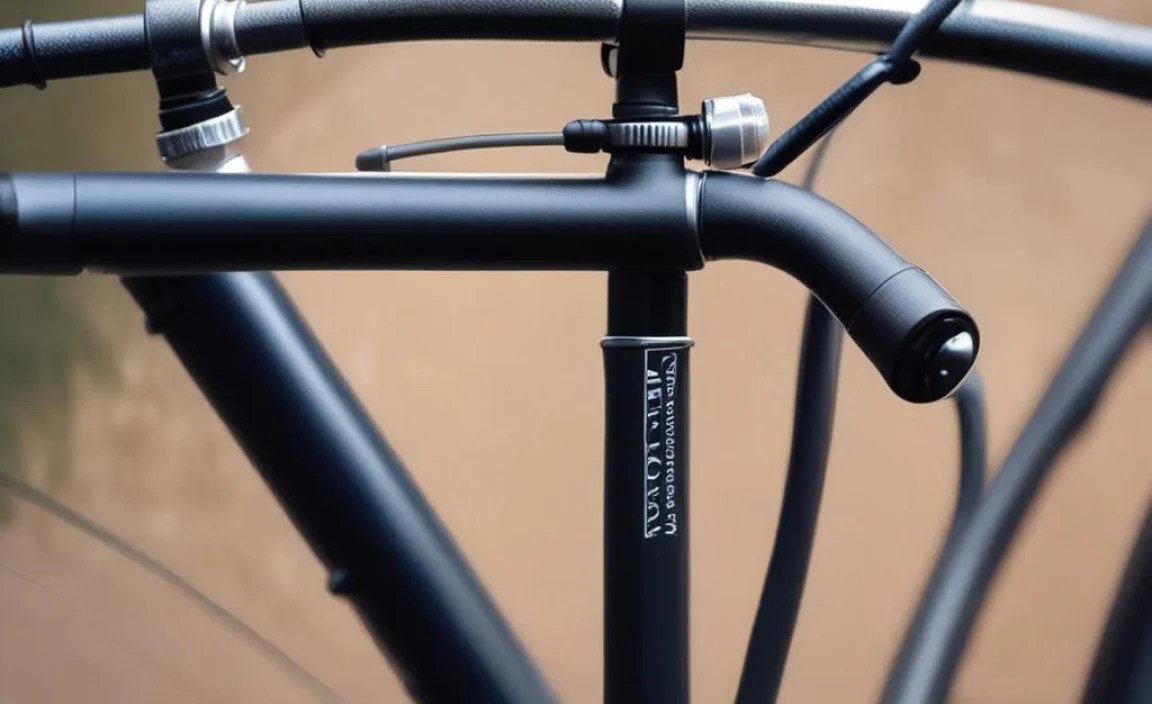
- Attach the Pump Head:
- Make sure the pump head is set for Presta valves. Some pumps have a reversible head or an adapter.
- Firmly press the pump head onto the valve. Ensure it’s straight and snug to avoid air leaks.
- Engage the Locking Lever (if applicable):
- Many mini pumps have a locking lever. Flip it to secure the pump head to the valve. This creates a tighter seal.
- Inflate the Tire:
- Hold the pump steady and begin pumping. Use smooth, full strokes.
- Check the tire pressure periodically by squeezing the tire or using a pressure gauge if your pump has one.
- Detach the Pump:
- Disengage the locking lever (if used).
- Carefully remove the pump head from the valve.
- Tighten the valve nut clockwise until it’s snug (but not too tight).
- Replace the valve cap.
Following these steps will help you inflate your tires quickly and efficiently with a Presta valve. Now, let’s look at Schrader valves.
Step-by-Step: Attaching the Mini Pump to a Schrader Valve

Schrader valves are more straightforward, but it’s still important to get the connection right to avoid leaks.
- Prepare the Valve:
- Remove the valve cap.
- No need to loosen any nuts – Schrader valves are ready to go.
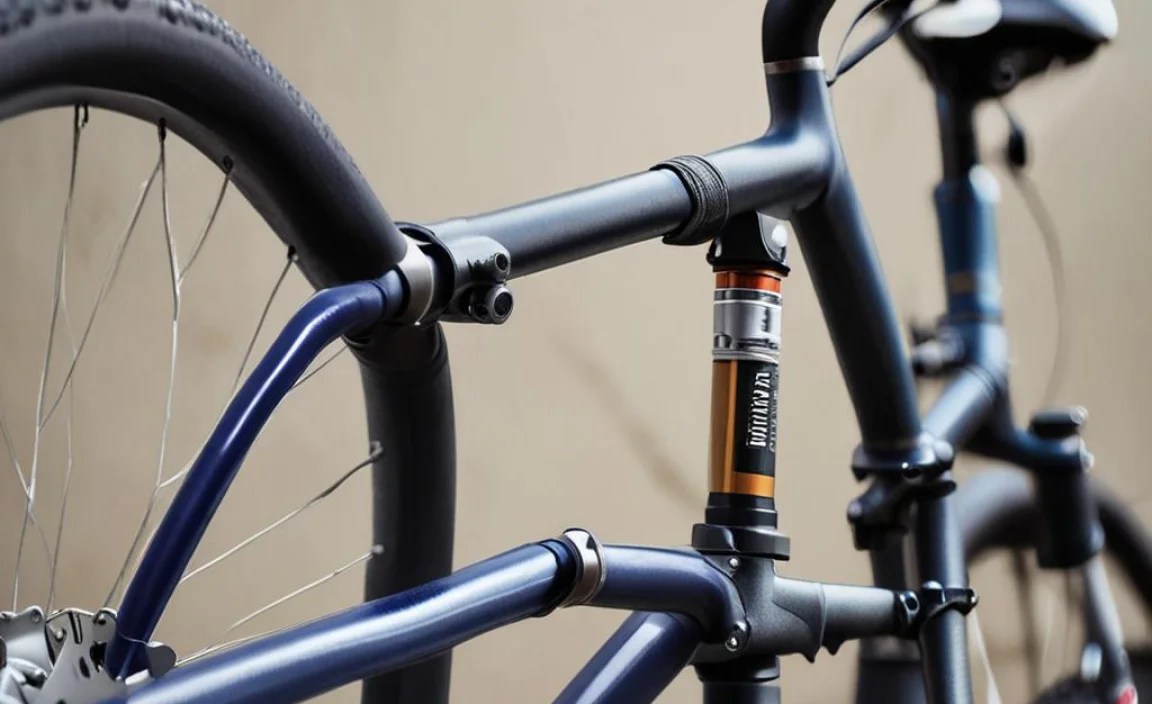
- Attach the Pump Head:
- Ensure the pump head is set for Schrader valves.
- Firmly press the pump head straight onto the valve. Make sure it’s a snug fit.
- Engage the Locking Lever (if applicable):
- If your pump has a locking lever, engage it to secure the connection.
- Inflate the Tire:
- Begin pumping with smooth, full strokes.
- Check the tire pressure periodically.
- Detach the Pump:
- Disengage the locking lever (if used).
- Carefully remove the pump head from the valve.
- Replace the valve cap.
With these steps, inflating a tire with a Schrader valve will be a breeze. Next, let’s discuss common problems and how to troubleshoot them.
Troubleshooting Common Issues
Sometimes, things don’t go as planned. Here are some common issues and how to fix them:
- Air Leaking:
- Problem: Air escapes while pumping.
- Solution: Ensure the pump head is securely attached. Check if the locking lever is engaged. The pump head’s rubber seal might be worn out or damaged. Replace the seal or the entire pump head.
- Pump Not Attaching:
- Problem: The pump head won’t fit onto the valve.
- Solution: Double-check that the pump head is set to the correct valve type (Presta or Schrader). Some pumps require you to reverse internal parts to switch between valve types.
- Valve Core Issues:
- Problem: Air hisses even after detaching the pump.
- Solution: The valve core might be loose or damaged. Use a valve core tool to tighten or replace it.
- Pump Overheating:
- Problem: The pump gets hot during use.
- Solution: Stop pumping and let the pump cool down. Overheating can damage the pump’s internal components. This is more common with high-volume tires.
Knowing how to troubleshoot these issues can save you time and frustration on the road. Now, let’s consider some tips for maintaining your mini pump.
Maintaining Your Mini Pump
A little maintenance goes a long way in keeping your mini pump in top condition.
- Clean Regularly: Wipe down your pump with a damp cloth to remove dirt and grime.
- Check the Seals: Inspect the rubber seals in the pump head for wear and tear. Replace them as needed.
- Lubricate: Apply a small amount of silicone-based lubricant to the pump’s moving parts to keep them working smoothly.
- Store Properly: Store your pump in a dry place to prevent rust and corrosion.
Regular maintenance ensures your mini pump is always ready when you need it. Next, let’s look at some recommended mini pumps.
Recommended Mini Pumps
Choosing the right mini pump can make a big difference. Here are a few recommended options:
| Pump | Features | Pros | Cons |
|---|---|---|---|
| Lezyne Road Drive | High-pressure, compact design | Lightweight, efficient | Higher price point |
| Topeak Micro Rocket AL | Ultra-small, aluminum construction | Very portable, durable | Lower volume per stroke |
| Blackburn Mammoth 2FL | High-volume, dual-stroke action | Inflates tires quickly, good for mountain bikes | Slightly bulkier |
| Crankbrothers Sterling LG | High-volume/high-pressure switch | Versatile, easy to switch modes | Can be a bit stiff |
These pumps offer a range of features and benefits to suit different needs and preferences. Now, let’s explore some advanced techniques for using your mini pump.
Advanced Techniques for Efficient Pumping
To get the most out of your mini pump, consider these advanced techniques:
- Use Your Body Weight: Lean over the pump and use your body weight to generate more force.
- Find a Stable Position: Place the tire on the ground and brace yourself against the bike for stability.
- Short, Rapid Strokes: For high-volume tires, use short, rapid strokes to build pressure quickly.
- Check Pressure Regularly: Use a separate pressure gauge for accurate readings, especially for road bikes. A good digital pressure gauge provides precise measurements.
These techniques can make pumping easier and more efficient, especially when you’re on the road. Next, let’s address some frequently asked questions.
Frequently Asked Questions (FAQ)
1. How do I know if my mini pump is compatible with my valve type?
Check the pump head. Most mini pumps have a reversible head or come with adapters to fit both Presta and Schrader valves. Look for markings or instructions on the pump itself.
2. Why is air leaking when I try to pump?
This usually means the pump head isn’t properly sealed. Make sure it’s firmly attached and the locking lever (if present) is engaged. Also, check the rubber seal inside the pump head for damage.
3. How much pressure should I put in my tires?
Check the sidewall of your tire for the recommended pressure range (usually in PSI). Use a pressure gauge to ensure you’re within this range. Road bikes typically require higher pressure than mountain bikes.
4. Can I use a mini pump to inflate tubeless tires?
While possible, it’s generally difficult. Tubeless tires often require a large volume of air to seat the bead. A floor pump or a CO2 inflator is usually more effective for tubeless setups.
5. What should I do if my Presta valve is stuck?
Gently press the valve tip to release a small amount of air before attaching the pump. This can help loosen a stuck valve. Be careful not to damage the valve in the process.
6. How often should I replace my mini pump?
A well-maintained mini pump can last for years. However, if you notice a significant decrease in performance or frequent air leaks, it may be time for a replacement. Also, inspect the internal seals and replace them as needed to extend the pump’s lifespan.
7. Is there a difference between mini pumps for road bikes and mountain bikes?
Yes, road bike pumps typically focus on high pressure (PSI), while mountain bike pumps focus on high volume. Choose a pump that matches the type of riding you do most often. Some pumps offer a switch to toggle between high-pressure and high-volume modes.
Conclusion
Attaching a mini pump to your bike valve might seem daunting at first, but with a little practice, it becomes second nature. Knowing your valve type, having the right tools, and following the steps outlined in this guide will ensure you can quickly and efficiently inflate your tires whenever and wherever you need to. Remember to maintain your pump and troubleshoot any issues that arise.
With these tips and techniques, you’ll be well-prepared to handle any inflation situation on the road or trail, keeping your rides smooth and enjoyable. Now get out there and ride with confidence, knowing you’ve got the skills to handle a flat tire!


