
Easy: How to Use Hand Pump to Inflate a Basketball
Quick Summary:
To inflate a basketball with a hand pump, moisten the needle, insert it straight into the valve, and pump until the ball reaches the recommended PSI (usually around 7-9 PSI, check the ball). Remove the needle carefully to avoid air leaks. It’s easy with the right steps!
Ever found yourself ready for a game of basketball, only to discover the ball is flat? It’s a common frustration, but don’t worry! Inflating a basketball with a hand pump is a simple skill that every player should know. It doesn’t require special strength or technical knowledge.
This guide will walk you through each step, ensuring you get your ball inflated correctly and ready for action. We’ll cover everything from preparing the needle to achieving the perfect bounce. Let’s get that ball game ready!
What You’ll Need

Before you start, make sure you have these items:
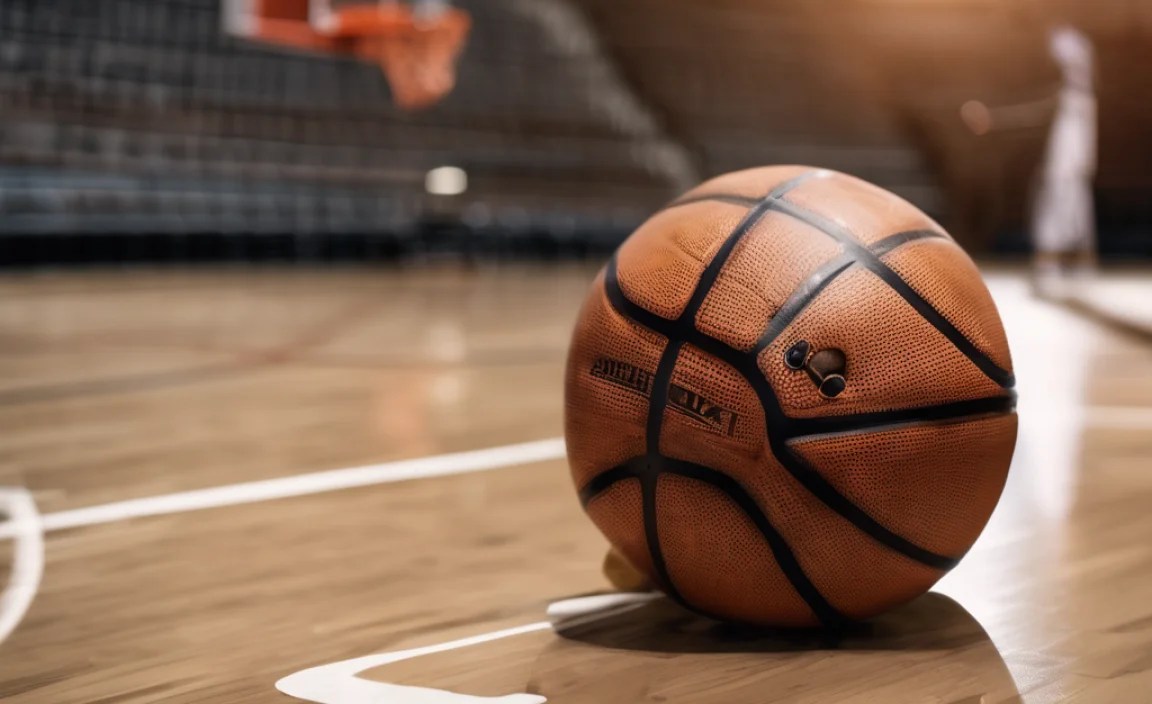
- Basketball: The ball you want to inflate.
- Hand Pump: A standard hand pump with a needle attachment.
- Inflation Needle: A separate needle can be useful if your pump’s needle is damaged.
- Lubricant (optional): A bit of saliva or silicone lubricant.
- Pressure Gauge (optional): To check the PSI for optimal inflation.
Step-by-Step Guide to Inflating a Basketball

Step 1: Prepare the Needle
The needle is crucial for inflating the basketball. Proper preparation ensures it slides in smoothly without damaging the valve.
- Moisten the Needle: The easiest way is to simply moisten the needle with a bit of saliva. Alternatively, use a drop of silicone lubricant. This helps the needle slide into the valve without causing damage.
- Why Lubricate? Lubrication reduces friction. Without it, you risk pushing the valve into the ball or creating leaks.
Step 2: Locate the Valve
The valve is a small opening on the surface of the basketball. It’s where you’ll insert the needle to pump air into the ball.
- Identify the Valve: Look for a small rubber or plastic opening, usually marked with a small indentation.
- Clean the Area: Wipe the area around the valve with a clean cloth to remove any dirt or debris. This prevents dirt from entering the ball.
Step 3: Insert the Needle
Inserting the needle correctly is essential to avoid damaging the basketball’s valve. A straight, gentle insertion is key.
- Align the Needle: Hold the pump and align the needle straight with the valve.
- Insert Gently: Push the needle straight into the valve with a smooth, steady motion. Avoid bending or forcing it, which can damage the valve.
- How Deep? Insert the needle fully, but not so forcefully that you feel resistance.
Step 4: Begin Pumping
With the needle inserted, you can start pumping air into the basketball. Use consistent, full strokes for efficient inflation.
- Hold the Pump Securely: Place the basketball on a stable surface and hold the pump handle firmly.
- Pump Steadily: Use a full range of motion to pump air into the ball. Avoid short, jerky movements.
- Listen and Feel: Pay attention to the sound and feel of the ball inflating. You’ll notice the ball becoming firmer as you pump.
Step 5: Check the Pressure
Over-inflating or under-inflating the basketball can affect its performance. Regularly check the pressure to ensure it’s within the recommended range.
- Find the Recommended PSI: Look for the recommended PSI (pounds per square inch) printed near the valve. It’s usually between 7 and 9 PSI.
- Use a Pressure Gauge: If you have a pressure gauge, use it to check the PSI regularly as you pump. Insert the gauge needle into the valve to get a reading.
- Adjust as Needed: If the pressure is too low, continue pumping. If it’s too high, carefully release some air by gently pressing the valve with the needle partially inserted.
Step 6: Remove the Needle
Removing the needle properly prevents air leaks and prolongs the life of the basketball’s valve.
- Pull Straight Out: Grip the pump firmly and pull the needle straight out of the valve in one smooth motion. Avoid wiggling or bending the needle.
- Check for Leaks: Listen for any hissing sounds, which indicate an air leak. If you hear a leak, re-insert the needle briefly and then remove it again. Sometimes, this reseats the valve.
Step 7: Test the Bounce
The final step is to test the bounce of the basketball. This helps you determine if the pressure is correct and the ball is ready for play.
- Bounce Test: Hold the ball at chest height and drop it to the floor. Observe how high it bounces back up.
- Optimal Bounce: A properly inflated basketball should bounce back up to about two-thirds of its original height.
- Adjust if Necessary: If the bounce is too low, add more air. If it’s too high, release some air until you achieve the optimal bounce.
Troubleshooting Common Issues
Sometimes, you might encounter issues while inflating a basketball. Here are some common problems and how to solve them:
Problem 1: Needle Won’t Insert
- Cause: The needle might be bent, or the valve could be blocked.
- Solution: Inspect the needle for bends and straighten it if possible. Moisten the needle thoroughly or use lubricant. Gently try to insert the needle again, ensuring it’s aligned straight with the valve. If the valve seems blocked, try using a different needle or consult a sports equipment professional.
Problem 2: Air Leaking After Removing Needle
- Cause: The valve might not be sealing properly.
- Solution: Re-insert the needle briefly and remove it again. This can sometimes reseat the valve. If the leak persists, the valve might be damaged and require replacement.
Problem 3: Pump Not Inflating the Ball
- Cause: The pump might be faulty, or the connection between the needle and pump isn’t tight.
- Solution: Check the pump for any visible damage. Ensure the needle is securely attached to the pump. Try a different pump or needle to rule out equipment issues.
Choosing the Right Hand Pump

Not all hand pumps are created equal. Here’s what to consider when choosing a hand pump for your basketball:
- Needle Quality: Look for pumps with durable, high-quality needles that resist bending or breaking.
- Pump Efficiency: Some pumps are more efficient, allowing you to inflate the ball with fewer strokes.
- Ergonomics: Choose a pump with a comfortable handle for easy gripping and pumping.
- Pressure Gauge: A built-in pressure gauge can help you achieve the perfect inflation level.
Here is a comparison table of different hand pump types and their features:
| Type of Hand Pump | Pros | Cons | Recommended Use |
|---|---|---|---|
| Standard Hand Pump | Affordable, lightweight, easy to use | Can be less efficient, requires more strokes | General use, beginners |
| Dual-Action Pump | Inflates on both push and pull strokes, more efficient | Slightly more expensive than standard pumps | Frequent use, quicker inflation |
| Pump with Pressure Gauge | Ensures accurate inflation, prevents over-inflation | May be slightly bulkier | Serious players, precise inflation |
Maintaining Your Basketball and Pump

Proper maintenance extends the life of your basketball and hand pump. Here are some tips:
- Store the Basketball Properly: Keep the basketball in a cool, dry place away from direct sunlight. This prevents the rubber from drying out and cracking.
- Clean the Ball Regularly: Wipe the ball with a damp cloth to remove dirt and grime. This improves grip and prevents wear.
- Inspect the Pump: Check the pump regularly for any signs of damage. Replace the needle if it’s bent or broken.
- Lubricate the Pump: Occasionally lubricate the pump’s moving parts with silicone lubricant to keep it working smoothly.
Basketball Inflation: PSI and Performance
Achieving the correct PSI is crucial for optimal basketball performance. Here’s how PSI affects the ball’s playability:
PSI and Bounce
- Too Low (Under-inflated):
- Poor bounce
- Feels sluggish
- Difficult to dribble
- Too High (Over-inflated):
- Excessive bounce
- Feels hard and difficult to control
- Increased risk of injury
- Just Right (Recommended PSI):
- Optimal bounce
- Good grip and control
- Consistent performance
Recommended PSI by Basketball Size
| Basketball Size | Recommended PSI | Typical User |
|---|---|---|
| Size 7 (Official Size) | 7-9 PSI | Men’s basketball, ages 15 and up |
| Size 6 (Intermediate Size) | 7-9 PSI | Women’s basketball, ages 12 and up |
| Size 5 (Youth Size) | 6-8 PSI | Ages 9-11 |
| Size 3 (Mini Size) | 4-6 PSI | Ages 8 and under |
Note: Always check the specific recommendations printed on your basketball, as PSI levels can vary slightly by brand and model.
Advanced Tips for Basketball Maintenance
Want to take your basketball maintenance skills to the next level? Here are some advanced tips:
Tip 1: Use a Valve Tool
A valve tool can help you tighten or replace a loose or damaged valve. This is a small, inexpensive tool that can save you from having to replace the entire basketball.
Tip 2: Invest in a Digital Pressure Gauge
For the most accurate pressure readings, consider a digital pressure gauge. These gauges provide precise measurements, ensuring your basketball is always inflated to the optimal PSI.
Tip 3: Rotate Your Basketballs
If you have multiple basketballs, rotate them regularly to ensure even wear. This prevents one ball from becoming overly worn while others sit unused.
Tip 4: Store Basketballs in a Climate-Controlled Environment
Extreme temperatures can damage basketballs. Store them in a climate-controlled environment to prevent cracking or deformation.
Tip 5: Consider the Basketball Material
Different basketball materials require different care. Leather basketballs, for example, may need occasional conditioning to maintain their grip and prevent cracking. [Learn more about basketball materials.] (Spalding)
FAQ: Inflating Your Basketball
Question 1: Can I use a bike pump to inflate a basketball?
Yes, you can use a bike pump if it has a compatible needle attachment. Just make sure the needle fits snugly into the basketball’s valve, and follow the same steps for lubrication and insertion.
Question 2: How do I know if my basketball is properly inflated?
Check the recommended PSI printed on the ball near the valve. Use a pressure gauge to measure the PSI. Also, test the bounce – a properly inflated ball should bounce back up about two-thirds of its original height when dropped from chest level.
Question 3: What happens if I over-inflate my basketball?
Over-inflating can make the ball too hard, reducing grip and control. It can also increase the risk of injury and potentially damage the ball. If you over-inflate, carefully release some air until you reach the recommended PSI.
Question 4: How often should I inflate my basketball?
It depends on how often you use it. Check the pressure before each game or practice session. Basketballs naturally lose air over time, so regular inflation helps maintain optimal performance.
Question 5: Can cold weather affect the pressure of my basketball?
Yes, cold weather can decrease the air pressure inside the ball, making it feel under-inflated. Check the pressure more frequently in cold weather and add air as needed to maintain the correct PSI.
Question 6: What should I do if the needle breaks inside the valve?
This is a tricky situation. Try using needle-nose pliers to carefully extract the broken piece. If you can’t remove it, you might need to consult a sports equipment professional or consider replacing the basketball.
Question 7: Is there a special lubricant I should use on the needle?
While saliva works in a pinch, silicone lubricant is a better option. It’s non-corrosive and provides smoother insertion, protecting the valve from damage. You can find silicone lubricant at most sports stores or online.
Conclusion
Inflating a basketball with a hand pump is a simple yet essential skill for any player. By following these steps and tips, you can ensure your ball is always game-ready. Remember to prepare the needle, insert it carefully, check the pressure regularly, and maintain both the ball and pump for long-lasting performance. Now you’re equipped to keep your basketball in top condition, so you can focus on your game and enjoy playing. Grab your pump, get that ball inflated, and hit the court with confidence!


