
How to Re-Grease Hand Pump Piston Like a Pro
Quick Summary: Re-greasing your hand pump piston keeps it working smoothly and efficiently. First, take apart the pump to reach the piston. Clean off the old grease, then add fresh grease to the piston and cylinder walls. Put the pump back together carefully, making sure everything fits right. Test the pump to make sure it’s working well. Regular re-greasing will make your pump last longer and work better.
Is your bike pump getting harder to use? Does it feel like you’re fighting against it every time you inflate your tires? A common cause is dried-up or dirty grease in the pump’s piston. Don’t worry, this is an easy fix! Re-greasing the piston will bring your pump back to life, making tire inflation a breeze again. You don’t need to be a bike mechanic to do this.
In this guide, I’ll walk you through each step. We’ll take the pump apart, clean and re-grease the piston, and put everything back together. With a few simple tools and a little bit of time, you’ll have your pump working like new. Let’s get started!
Why Re-Grease Your Hand Pump Piston?

Before we dive into the “how-to,” let’s talk about why this maintenance is important. Regular re-greasing of your hand pump piston offers several key benefits:
- Smoother Operation: Fresh grease reduces friction, making each pump stroke easier and more efficient.
- Extended Pump Life: Less friction means less wear and tear on the pump’s internal parts, prolonging its lifespan.
- Consistent Performance: Proper lubrication ensures the pump delivers the correct amount of air with each stroke.
- Prevents Damage: Old, dried-up grease can cause the piston to seize or the cylinder walls to become scratched.
Think of it like changing the oil in your car. Regular maintenance keeps everything running smoothly and prevents bigger problems down the road. A well-lubricated pump is a happy pump!
Tools and Materials You’ll Need

To re-grease your hand pump piston, gather these tools and materials:
- Appropriate Grease: Use a high-quality grease that is safe for rubber and plastic parts. Silicone grease or a bicycle-specific grease are excellent choices. Avoid petroleum-based grease, which can damage rubber seals.
- Screwdrivers: You’ll likely need both Phillips head and flathead screwdrivers, depending on your pump’s design.
- Allen Wrenches (Hex Keys): Some pumps use Allen bolts to hold parts together. Have a set of Allen wrenches on hand.
- Clean Rags or Paper Towels: For wiping away old grease and cleaning parts.
- Small Brush or Cotton Swabs: Useful for cleaning tight spaces.
- Work Gloves: To keep your hands clean.
- Pliers (Optional): May be needed to remove stubborn parts.
- A Clean Work Surface: Protect your table or workbench with a drop cloth or newspaper.
Having everything organized before you start will make the process much smoother. Let’s move on to the step-by-step instructions.
Step-by-Step Guide: Re-Greasing Your Hand Pump Piston
Follow these steps to re-grease your hand pump piston. Remember to take your time and pay attention to how the parts fit together. If you’re unsure about something, take a picture before you disassemble it!
Step 1: Disassemble the Pump
- Release the Pressure: Make sure there’s no air pressure in the pump before you start.
- Remove the Base: Most pumps have a base that screws or clips onto the cylinder. Remove it to access the pump’s internal components.
- Detach the Handle: Depending on your pump, the handle might be held in place by a screw, a nut, or a clip. Remove the fastener and carefully pull the handle off.
- Extract the Internal Components: Gently slide out the internal parts of the pump. This usually includes the piston, piston rod, and various seals and washers. Pay attention to the order in which these parts come out.
Step 2: Identify the Piston
The piston is the part that moves up and down inside the cylinder to pump air. It’s usually made of plastic or rubber and has one or more seals or O-rings around it. Identify the piston and set it aside.
Step 3: Clean the Piston and Cylinder
- Wipe Off Old Grease: Use a clean rag or paper towel to thoroughly wipe off all the old grease from the piston, piston rod, and the inside of the cylinder.
- Use a Brush or Cotton Swabs: For hard-to-reach areas, use a small brush or cotton swabs to remove any remaining grease or debris.
- Inspect for Damage: Carefully inspect the piston, seals, and cylinder walls for any signs of wear, cracks, or damage. If you find any damage, consider replacing the affected parts.
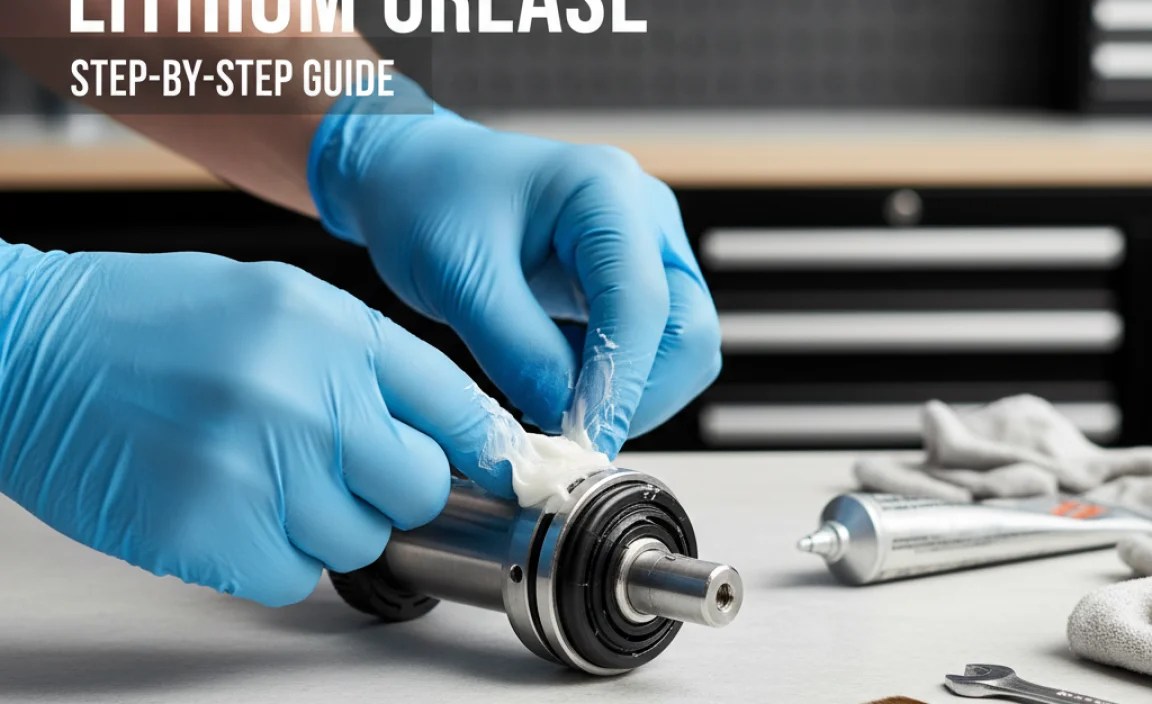
Step 4: Apply Fresh Grease
- Apply Grease to the Piston: Apply a thin, even layer of fresh grease to the piston and its seals or O-rings. Be careful not to use too much grease, as this can attract dirt and debris.
- Grease the Cylinder Walls: Apply a thin layer of grease to the inside of the cylinder walls. Again, use a small amount to avoid attracting dirt.
- Grease the Piston Rod: Apply a thin layer of grease to the piston rod where it will come into contact with any seals or bushings.
Step 5: Reassemble the Pump
- Insert the Piston Assembly: Carefully slide the piston assembly back into the cylinder, making sure the piston rod is properly aligned.
- Reattach the Handle: Reattach the handle and secure it with the screw, nut, or clip that you removed earlier.
- Reattach the Base: Reattach the base to the cylinder, making sure it’s securely fastened.
Step 6: Test the Pump
- Check for Smooth Operation: Pump the handle up and down to check for smooth operation. The pump should move freely without any binding or resistance.
- Test the Pressure: Attach the pump to a tire and inflate it to the desired pressure. Check the pressure gauge to make sure it’s working correctly.
- Listen for Air Leaks: Listen for any air leaks around the seals or connections. If you hear any leaks, tighten the connections or replace the seals.
If everything checks out, congratulations! You’ve successfully re-greased your hand pump piston. Your pump should now be working smoothly and efficiently.
Choosing the Right Grease
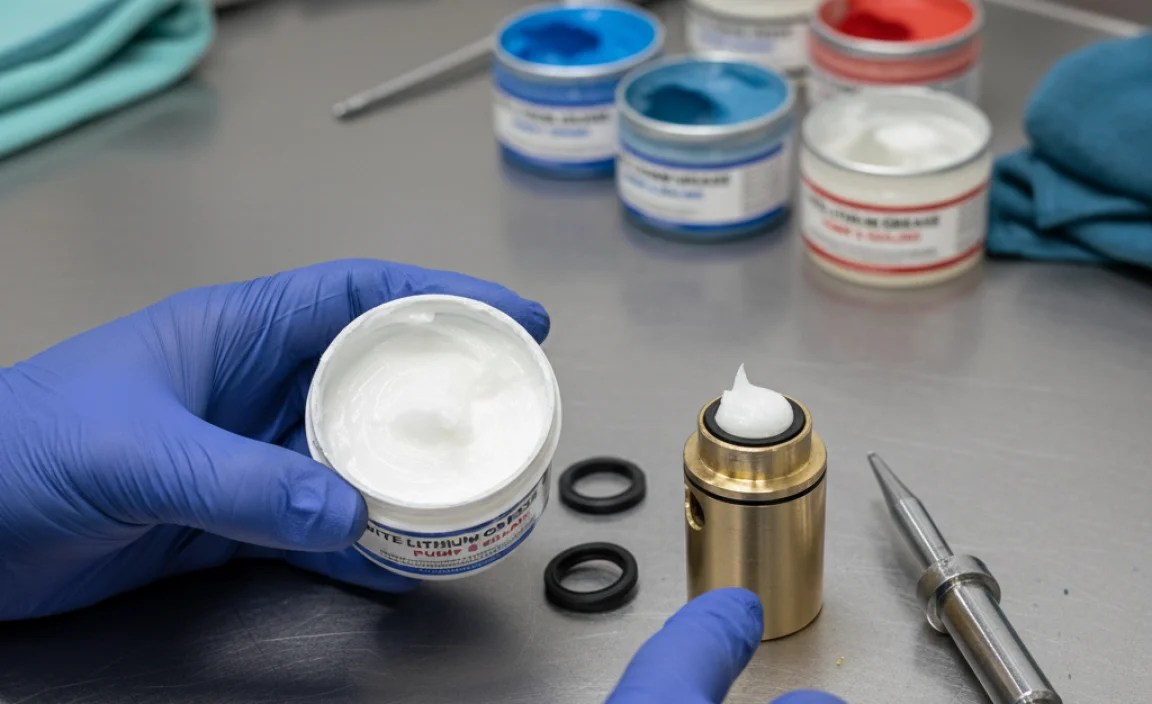
Selecting the right grease is crucial for the longevity and performance of your hand pump. Here’s a quick guide to help you choose:
| Grease Type | Pros | Cons | Best For |
|---|---|---|---|
| Silicone Grease | Safe for rubber and plastic, excellent water resistance, wide temperature range. | Can be more expensive than other types of grease. | Ideal for pumps with rubber or plastic seals, especially those used in wet conditions. |
| Bicycle-Specific Grease | Formulated for bicycle components, good lubrication, protects against corrosion. | Can be more expensive than general-purpose grease. | Great all-around choice for most hand pumps. |
| Lithium Grease | Good lubrication, water resistant, readily available, relatively inexpensive. | Can degrade some rubber and plastic components over time. | Suitable for pumps with metal pistons and cylinders, but avoid using on rubber seals. |
| Petroleum-Based Grease | Inexpensive, readily available. | Can damage rubber and plastic components, not water resistant. | Not recommended for hand pumps due to potential damage to seals and other parts. |
Always check the manufacturer’s recommendations for your specific pump model. When in doubt, choose silicone grease or a bicycle-specific grease to ensure compatibility and optimal performance.
Troubleshooting Common Issues
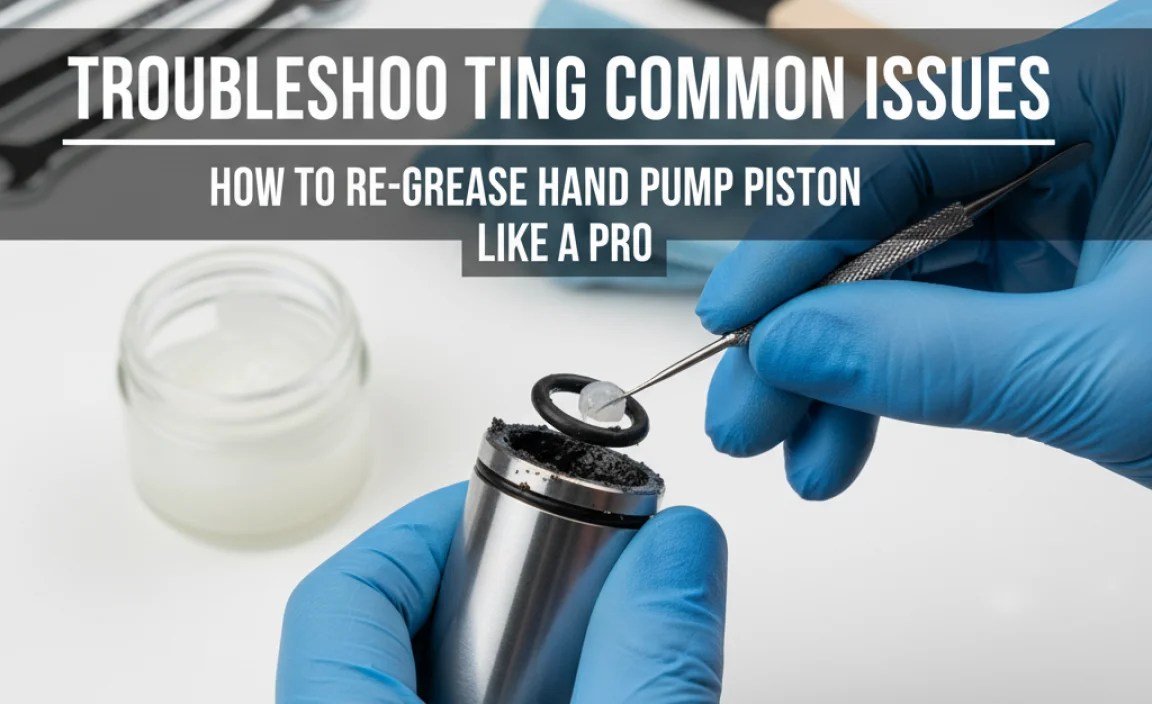
Sometimes, even after re-greasing, you might encounter issues with your hand pump. Here are some common problems and how to fix them:
- Pump is still hard to use:
- Possible Cause: Not enough grease, incorrect grease type, worn seals, damaged cylinder walls.
- Solution: Reapply grease, use the correct grease type, replace worn seals, consider replacing the pump if the cylinder walls are damaged.
- Pump isn’t building pressure:
- Possible Cause: Air leaks, damaged seals, loose connections.
- Solution: Tighten connections, replace damaged seals, check the pump head for proper engagement with the valve.
- Air is leaking from the pump:
- Possible Cause: Worn seals, loose connections, damaged hose.
- Solution: Replace worn seals, tighten connections, replace the hose if it’s damaged.
- Pressure gauge isn’t working:
- Possible Cause: Damaged gauge, loose connection.
- Solution: Check the connection between the gauge and the pump. If the gauge is damaged, replace it. Many pumps have replaceable gauges.
If you’re unable to resolve the issue, consult a professional bike mechanic for assistance. They can diagnose the problem and recommend the appropriate repairs or replacements.
Hand Pump Maintenance Tips
Regular maintenance is key to keeping your hand pump in top condition. Here are some tips to help you extend its lifespan and ensure reliable performance:
- Clean the pump regularly: Wipe down the pump’s exterior with a damp cloth to remove dirt and debris.
- Store the pump properly: Store the pump in a dry, clean place to prevent corrosion and damage.
- Inspect the seals and hoses: Regularly inspect the seals and hoses for signs of wear, cracks, or damage. Replace them as needed.
- Re-grease the piston regularly: Re-grease the piston every few months, or more often if you use the pump frequently.
- Use the correct valve adapter: Use the correct valve adapter for your tire valves to prevent damage to the pump head.
By following these maintenance tips, you can keep your hand pump working smoothly and efficiently for years to come.
FAQ: Re-Greasing Hand Pump Pistons
Here are some frequently asked questions about re-greasing hand pump pistons:
Q: How often should I re-grease my hand pump piston?
A: It depends on how often you use your pump. If you use it frequently (several times a week), re-grease it every 3-6 months. If you use it less often, re-grease it once a year.
Q: Can I use any type of grease for my hand pump?
A: No. Avoid petroleum-based greases, as they can damage rubber and plastic parts. Use silicone grease or a bicycle-specific grease.
Q: How do I know if my pump needs to be re-greased?
A: If the pump is hard to use, feels stiff, or isn’t building pressure properly, it probably needs to be re-greased.
Q: What if I use too much grease?
A: Too much grease can attract dirt and debris, which can actually make the pump work less efficiently. Apply a thin, even layer of grease.
Q: Can I replace the piston if it’s damaged?
A: Yes, in many cases you can replace the piston. Check with the pump manufacturer or a local bike shop to find a replacement piston that fits your pump model.
Q: Is it worth re-greasing a cheap pump, or should I just buy a new one?
A: Re-greasing is usually worth trying, even on a cheap pump. It’s a simple and inexpensive way to potentially extend the pump’s life. However, if the pump is severely damaged or worn, it might be more cost-effective to replace it.
Q: What other parts of my bike pump should I maintain?
A: Besides the piston, regularly inspect and maintain the pump head, hose, and seals. Replace any worn or damaged parts to ensure optimal performance.
Conclusion
Re-greasing your hand pump piston is a simple yet crucial maintenance task that can significantly improve your pump’s performance and extend its lifespan. By following the steps outlined in this guide, you can easily re-grease your pump and keep it working smoothly for years to come. Remember to use the right type of grease, clean the parts thoroughly, and reassemble the pump carefully. With a little bit of effort, you can save money on pump repairs and enjoy hassle-free tire inflation every time you ride. So, grab your tools, get your hands a little greasy, and give your trusty hand pump the TLC it deserves!


