
Mountain Bike Downhill Control Tips: Ride Fearless
Mountain Bike Downhill Control Tips: Ride with Confidence
Quick Summary: To control your mountain bike downhill, maintain a balanced, centered body position, use both brakes smoothly, look ahead, and choose the right line. Practice on easier trails first, and gradually increase the difficulty as your skills improve. Proper bike setup, including suspension and tire pressure, also plays a vital role.
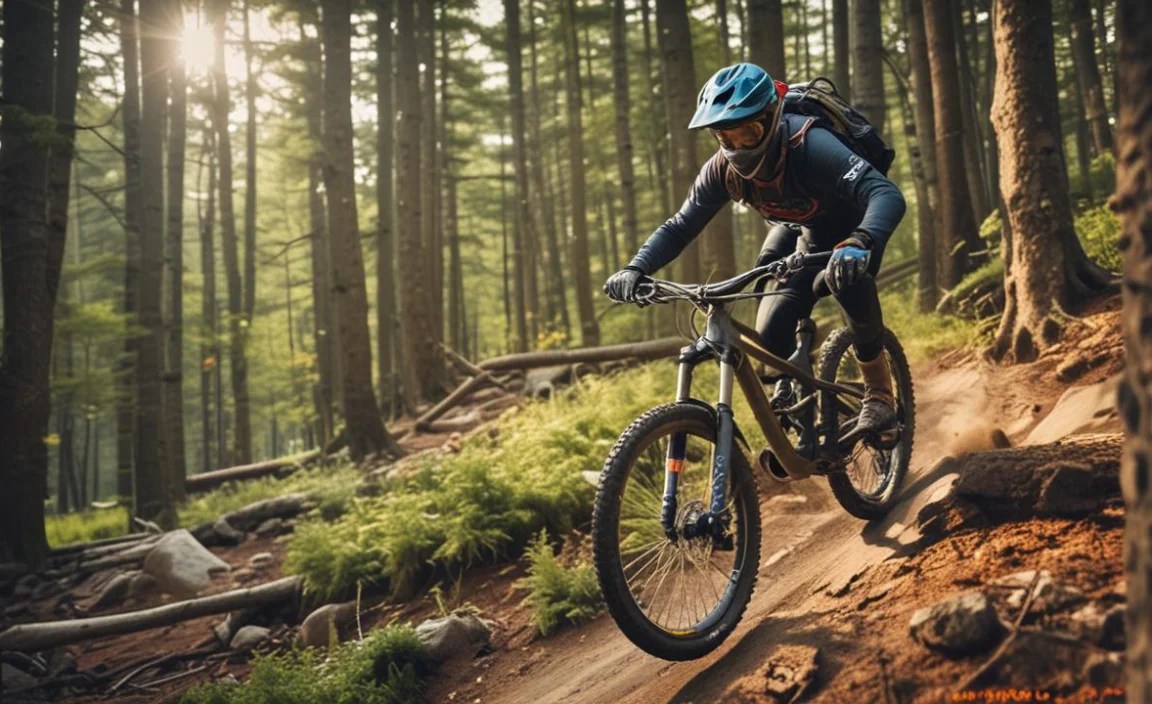
Riding downhill on a mountain bike can be thrilling, but it can also feel pretty scary if you don’t have the right techniques. Many beginner riders struggle with maintaining control, leading to crashes or a lack of confidence. The good news is, with the right knowledge and practice, anyone can learn to descend safely and enjoyably. We’ll break down essential tips to help you master downhill control and tackle those trails with confidence. Get ready to transform your downhill riding experience!
Essential Downhill Control Techniques
Mastering downhill control comes down to a combination of body positioning, braking technique, line choice, and mental preparation. Let’s dive into each of these areas.
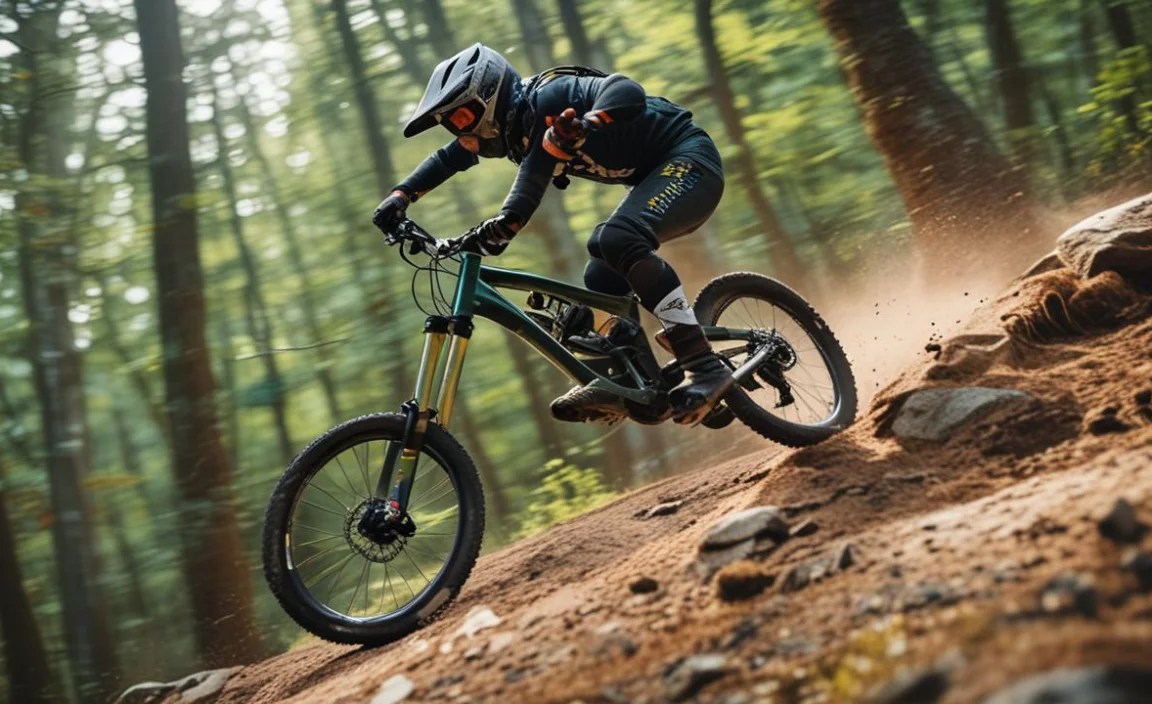
1. Body Position: The Key to Balance
Your body position is the foundation of good downhill control. It affects your balance, stability, and ability to react to changes in the terrain.
- Attack Position: Stand on your pedals with your knees and elbows slightly bent. This “attack position” allows you to absorb bumps and maintain balance.
- Weight Distribution: Keep your weight centered over the bike. Avoid leaning too far forward or backward. Think about keeping your belly button over the bottom bracket.
- Low Center of Gravity: Lower your center of gravity by bending your knees and hips. This increases your stability and makes you less likely to be thrown off balance.
- Look Ahead: Keep your eyes looking down the trail, scanning for obstacles and planning your line. Looking where you want to go helps your body naturally follow.
2. Braking Techniques: Smooth and Controlled
Braking is crucial for controlling your speed, but it’s important to use your brakes effectively. Improper braking can lead to skidding and loss of control.
- Use Both Brakes: Apply both front and rear brakes simultaneously, but modulate the pressure. The front brake provides most of your stopping power, but using it too aggressively can cause you to go over the handlebars.
- Feather the Brakes: Avoid grabbing the brakes suddenly. Instead, feather them by applying and releasing pressure in short bursts. This helps maintain traction and control.
- Brake Before Turns: Slow down before entering a turn, rather than braking in the middle of it. This allows you to maintain a smooth, controlled arc through the turn.
- Weight Shift: As you brake, shift your weight slightly backward to maintain balance and prevent the front wheel from washing out.
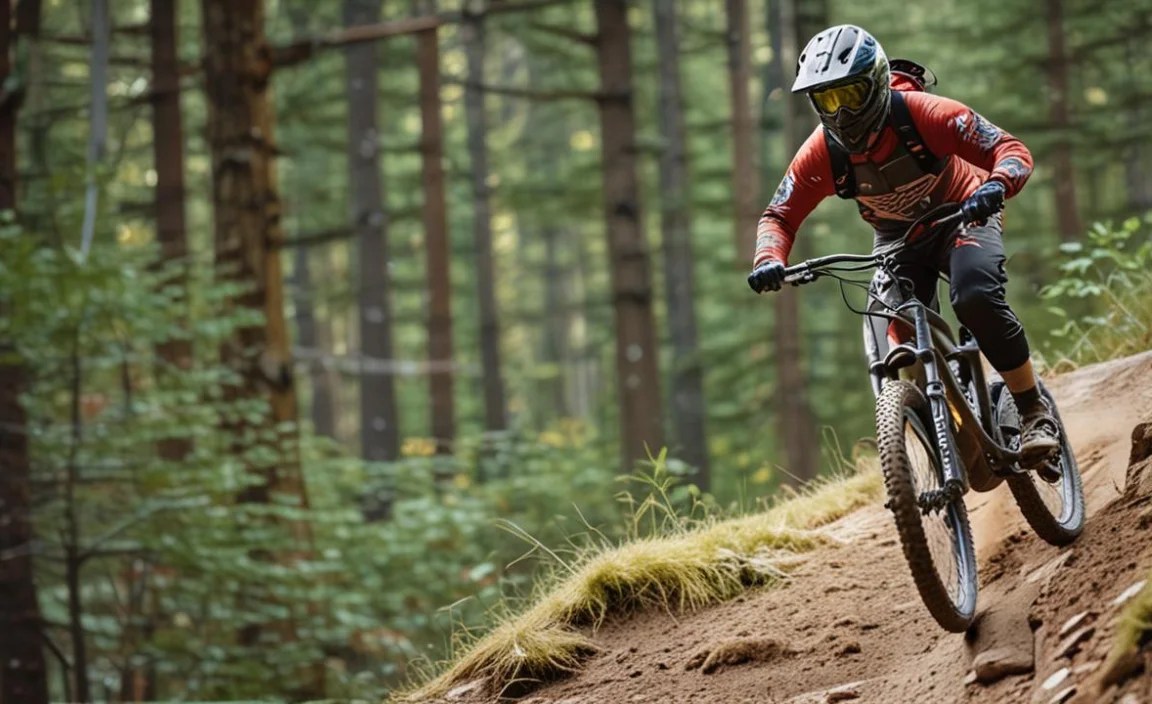
3. Line Choice: Picking the Right Path
Choosing the right line is essential for navigating downhill trails safely and efficiently. The right line can make a difficult section much easier.
- Scan the Trail: Before entering a section, scan the trail for the smoothest and safest path. Look for obstacles like rocks, roots, and holes.
- Choose the Path of Least Resistance: Aim for the smoothest line, avoiding large obstacles whenever possible. Sometimes, going around an obstacle is better than trying to go over it.
- Look for Traction: Choose lines that offer good traction, especially in wet or loose conditions. Avoid riding on slippery surfaces like mud or loose gravel.
- Plan Ahead: Look several feet ahead of your front wheel to anticipate changes in the terrain and adjust your line accordingly.
4. Mental Preparation: Confidence is Key
Downhill riding requires mental focus and confidence. Overcoming fear and staying calm can make a big difference in your performance.
- Start Small: Begin with easier trails and gradually progress to more challenging ones as your skills improve. Don’t try to tackle a black diamond trail before you’re ready.
- Visualize Success: Before riding a difficult section, visualize yourself successfully navigating it. This can help boost your confidence and reduce anxiety.
- Stay Relaxed: Tension can lead to mistakes. Try to stay relaxed and breathe deeply. Loosen your grip on the handlebars and let the bike move beneath you.
- Focus on the Present: Avoid dwelling on past mistakes or worrying about future ones. Focus on the task at hand and stay present in the moment.
Bike Setup for Downhill Control
Your bike’s setup can significantly impact your downhill control. Proper suspension, tire pressure, and cockpit setup can make a big difference in your confidence and performance.
1. Suspension Setup: Dialing in Your Ride
Properly adjusted suspension can absorb bumps and maintain traction, improving your control and comfort. This is especially important on a full-suspension mountain bike.
- Set Sag: Adjust your suspension sag according to the manufacturer’s recommendations. Sag is the amount the suspension compresses when you’re sitting on the bike.
- Adjust Rebound: Adjust the rebound damping so that your suspension returns to its original position quickly, but not so quickly that it bounces you off the trail.
- Experiment with Compression: Adjust the compression damping to control how easily your suspension compresses. More compression damping can improve pedaling efficiency, but less can improve bump absorption.
For more in-depth information, check out resources on RockShox Trailhead or Fox’s suspension setup guides.
2. Tire Pressure: Finding the Sweet Spot
Tire pressure affects your traction, rolling resistance, and comfort. Finding the right tire pressure is crucial for downhill control.
- Lower Pressure for Traction: Lower tire pressure provides more traction, especially in loose or wet conditions. However, too low pressure can lead to pinch flats.
- Higher Pressure for Rolling Resistance: Higher tire pressure reduces rolling resistance, making it easier to pedal. However, it also reduces traction and comfort.
- Consider Tire Width: Wider tires can be run at lower pressures without risking pinch flats, providing more traction and comfort.
- Experiment: Experiment with different tire pressures to find what works best for your riding style and the terrain. A good starting point is around 25-30 PSI for most riders.
Here’s a table showing suggested tire pressure ranges based on rider weight:
| Rider Weight (lbs) | Suggested Tire Pressure (PSI) |
|---|---|
| 120-150 | 22-25 |
| 150-180 | 25-28 |
| 180-210 | 28-31 |
| 210-240 | 31-34 |
3. Cockpit Setup: Comfort and Control
Your cockpit setup, including handlebar width, stem length, and lever position, can affect your comfort and control. A properly set up cockpit can improve your confidence and reduce fatigue.
- Handlebar Width: Wider handlebars provide more leverage and control, especially on steep and technical terrain. However, they can also make it harder to navigate tight spaces.
- Stem Length: Shorter stems provide quicker steering and more direct control, while longer stems provide more stability. Experiment with different stem lengths to find what feels best for you.
- Lever Position: Position your brake levers so that they’re easily accessible and comfortable to use. Angle them slightly downward so that you can reach them easily with one finger.
Practice Drills for Downhill Improvement

Practice is essential for improving your downhill control. These drills can help you develop the skills and confidence you need to tackle more challenging trails.
1. Braking Drills
Practice braking in a controlled environment to develop your technique and build confidence.
- Straight-Line Braking: Find a flat, smooth surface and practice braking in a straight line. Focus on applying both brakes smoothly and modulating the pressure.
- Threshold Braking: Practice braking just before the point of wheel lockup. This helps you develop a feel for the limits of your brakes and maintain maximum stopping power.
- Braking in Turns: Find a gentle turn and practice braking smoothly as you enter the turn. Focus on maintaining a consistent speed and avoiding sudden braking.
2. Body Position Drills
Practice maintaining a balanced and centered body position on different types of terrain.
- Attack Position Practice: Find a flat, smooth surface and practice maintaining the attack position. Focus on keeping your knees and elbows bent and your weight centered over the bike.
- Weight Shift Practice: Find a gentle slope and practice shifting your weight forward and backward as you ride. This helps you develop a feel for how your weight affects your balance and control.
- Obstacle Course: Set up a simple obstacle course with cones or other objects and practice navigating it while maintaining a balanced body position.
3. Line Choice Drills
Practice choosing the best line on different types of terrain.
- Trail Scan Practice: Practice scanning the trail for the smoothest and safest path. Focus on identifying obstacles and planning your line in advance.
- Line Selection Practice: Find a section of trail with multiple line options and practice riding each line. Compare the difficulty and speed of each line to determine which is the best choice.
- Obstacle Navigation: Practice navigating obstacles like rocks, roots, and holes. Focus on choosing the best line and maintaining a balanced body position.
Safety Gear: Protecting Yourself on the Trail

Wearing the right safety gear is essential for protecting yourself from injury while mountain biking. Always wear a helmet and consider additional protection, such as knee pads, elbow pads, and gloves.
- Helmet: A properly fitted helmet is the most important piece of safety gear. Choose a helmet that meets safety standards and fits snugly on your head.
- Knee Pads: Knee pads protect your knees from impacts and abrasions. Choose pads that are comfortable to wear and provide adequate protection.
- Elbow Pads: Elbow pads protect your elbows from impacts and abrasions. Choose pads that are comfortable to wear and provide adequate protection.
- Gloves: Gloves protect your hands from blisters and abrasions. Choose gloves that provide a good grip and allow you to maintain control of the handlebars.
- Eye Protection: Glasses or goggles protect your eyes from dust, debris, and the sun. Choose eyewear that provides good visibility and fits comfortably.
Common Mistakes to Avoid
Even experienced riders make mistakes sometimes. Being aware of these common mistakes can help you avoid them and improve your downhill control.
- Looking Down: Looking down at your front wheel can cause you to lose your balance and miss obstacles. Keep your eyes looking down the trail, scanning for obstacles and planning your line.
- Tensing Up: Tensing up can lead to mistakes and fatigue. Try to stay relaxed and breathe deeply. Loosen your grip on the handlebars and let the bike move beneath you.
- Over-Braking: Grabbing the brakes suddenly can cause you to skid and lose control. Feather the brakes by applying and releasing pressure in short bursts.
- Riding Beyond Your Ability: Trying to tackle trails that are too difficult for your skill level can lead to crashes and injuries. Start with easier trails and gradually progress to more challenging ones as your skills improve.
FAQ: Downhill Control Tips
Here are some frequently asked questions about downhill control:
- What’s the most important thing for downhill control?
- Maintaining a balanced body position is the most important factor. This allows you to react to changes in the terrain and maintain control of the bike.
- How much should I use my front brake vs. rear brake?
- The front brake provides most of your stopping power (around 70-80%), but use both brakes simultaneously and modulate the pressure to avoid skidding.
- What tire pressure should I use for downhill riding?
- Tire pressure depends on your weight, tire width, and the terrain. A good starting point is around 25-30 PSI for most riders, but experiment to find what works best for you.
- Should I stand or sit while riding downhill?
- Stand on your pedals in the attack position for most downhill sections. This allows you to absorb bumps and maintain balance. Sit for short, smooth sections where pedaling is required.
- What should I do if I start to lose control?
- Try to stay calm and focus on regaining your balance. Feather the brakes and look for a safe line to ride out of the situation. If necessary, bail off the bike and let it crash.
- How can I improve my confidence on downhill trails?
- Start with easier trails and gradually progress to more challenging ones as your skills improve. Practice drills to develop your technique and build confidence. Ride with experienced riders who can provide guidance and support.
- Is it okay to walk down a section I’m not comfortable riding?
- Absolutely! There’s no shame in walking down a section that you’re not comfortable riding. It’s better to be safe than sorry. As your skills improve, you can always come back and try it again later.
Conclusion
Mastering downhill control takes time and practice, but with the right techniques and mindset, you can become a confident and capable downhill rider. Remember to focus on your body position, braking technique, line choice, and mental preparation. Don’t be afraid to start small and gradually progress to more challenging trails as your skills improve. And most importantly, have fun and enjoy the ride! By following these mountain bike downhill control tips, you’ll be shredding those trails with confidence in no time. So get out there, practice, and enjoy the thrill of downhill mountain biking!


