
How to Choose the Right Glue for Tire Patches: Smart Guide
Choosing the right glue for tire patches is crucial for a lasting repair. For most standard inner tubes, a quality vulcanizing fluid is your best bet, creating a chemical bond for reliable adhesion. For tubeless tires, use a specific tubeless tire repair kit and follow the manufacturer’s directions to ensure a secure seal and prevent air leaks. Always clean and prepare the area before applying any glue!
Ever had a flat tire ruin your ride? It’s frustrating, especially when you thought you fixed it with a patch, only to have it fail again. Choosing the wrong glue is often the culprit. The type of glue matters, from standard inner tubes to tubeless setups. Using the incorrect adhesive can lead to patch failure, leaving you stranded.
This guide will walk you through selecting the best glue for your tire patches, ensuring a strong, reliable repair every time. We’ll cover different types of glue, how they work, and which ones are best for various tire types. Let’s get started and keep you rolling!
Understanding Tire Patch Glue: The Basics
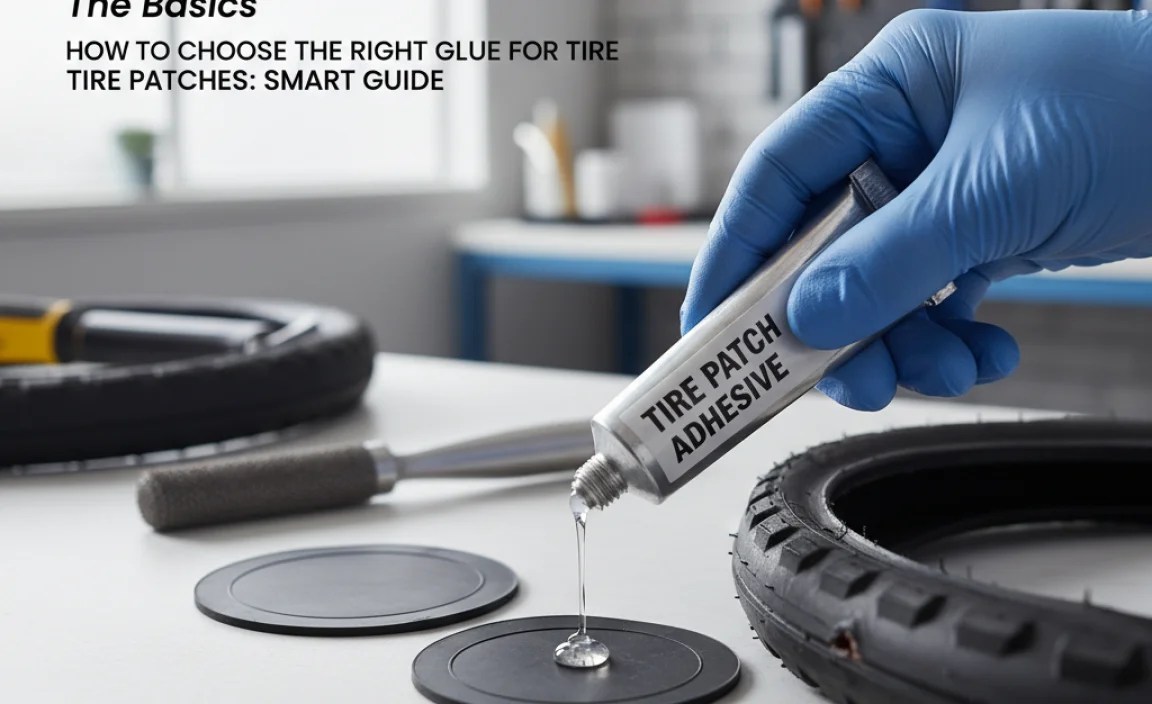
Tire patch glue isn’t just any adhesive; it’s specially formulated to create a strong, lasting bond between the patch and the tire. Understanding the basics will help you make the right choice.
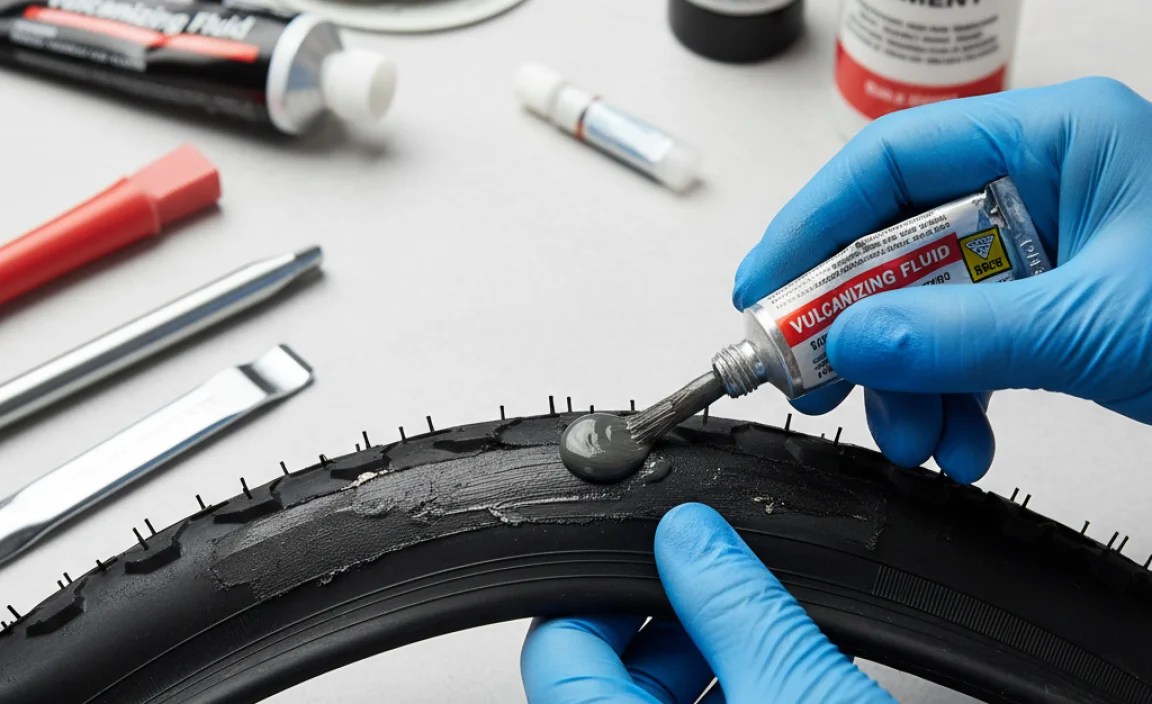
What is Vulcanizing Fluid?
Vulcanizing fluid is the most common type of glue used for tire patches. It works through a process called vulcanization, which creates a chemical bond between the rubber of the patch and the rubber of the inner tube. This bond is stronger and more durable than a simple adhesive bond.
How it works:
- Preparation: You rough up the area around the puncture with a metal tool or sandpaper to create a textured surface.
- Application: Apply a thin, even layer of vulcanizing fluid to the prepared area.
- Drying: Allow the fluid to become tacky but not completely dry.
- Patching: Apply the patch firmly and apply pressure.
The chemicals in the fluid react with the rubber, essentially melting the surfaces together to form one solid piece.
Why is Vulcanization Important?
Vulcanization creates a permanent bond that can withstand the stresses of inflation, pressure, and temperature changes. Without it, patches are more likely to peel off, especially during long rides or in extreme conditions.
What About “Self-Adhesive” Patches?
Self-adhesive patches are convenient for quick fixes on the road, but they don’t offer the same level of durability as vulcanized patches. They rely on a sticky adhesive rather than a chemical bond.
Pros:
- Easy to apply
- No need to wait for glue to dry
- Great for emergency repairs
Cons:
- Less durable than vulcanized patches
- More likely to fail under high pressure
- Can be affected by temperature and moisture
Choosing the Right Glue for Your Tire Type

The type of tire you have—inner tube or tubeless—will determine the best glue to use.
For Inner Tubes
For traditional inner tubes, vulcanizing fluid is the recommended choice. It provides the strongest and most reliable bond. Here’s what to look for:
- Quality: Choose a reputable brand known for producing reliable vulcanizing fluid.
- Freshness: Check the expiration date to ensure the fluid is still effective.
- Application: Ensure the fluid applies smoothly and evenly.
For Tubeless Tires
Tubeless tires require a different approach. Because they seal directly against the rim and use sealant to prevent air leaks, you need a glue that’s compatible with the sealant and the tire material.
Tubeless-Specific Patch Kits:
- Composition: These kits include patches and glue specifically designed for tubeless tires.
- Compatibility: The glue is formulated to work with tubeless sealants without causing degradation.
- Instructions: Always follow the manufacturer’s instructions for applying tubeless patches.
Using regular vulcanizing fluid on a tubeless tire can damage the tire or interfere with the sealant, leading to leaks and failure.
What About Tire Sealant?
Tire sealant, such as Stan’s NoTubes or Orange Seal, is a liquid that’s injected into tubeless tires to seal small punctures automatically. While it’s not a glue, it’s an essential part of tubeless tire maintenance.
How it works:
- When a puncture occurs, the escaping air forces the sealant towards the hole.
- The sealant contains particles that clog the hole, creating an airtight seal.
- Regularly check and replenish the sealant to maintain its effectiveness.
Step-by-Step: Applying Tire Patch Glue
Applying tire patch glue correctly is essential for a successful repair. Here’s a detailed guide:
Tools and Materials You’ll Need
- Tire levers
- Sandpaper or metal rasp
- Vulcanizing fluid (for inner tubes) or tubeless patch kit (for tubeless tires)
- Tire patches
- Clean cloth
- Inflation pump
Step 1: Remove the Wheel and Tire
- Deflate the tire completely.
- Use tire levers to carefully remove one side of the tire from the rim.
- Pull out the inner tube (for inner tube tires).
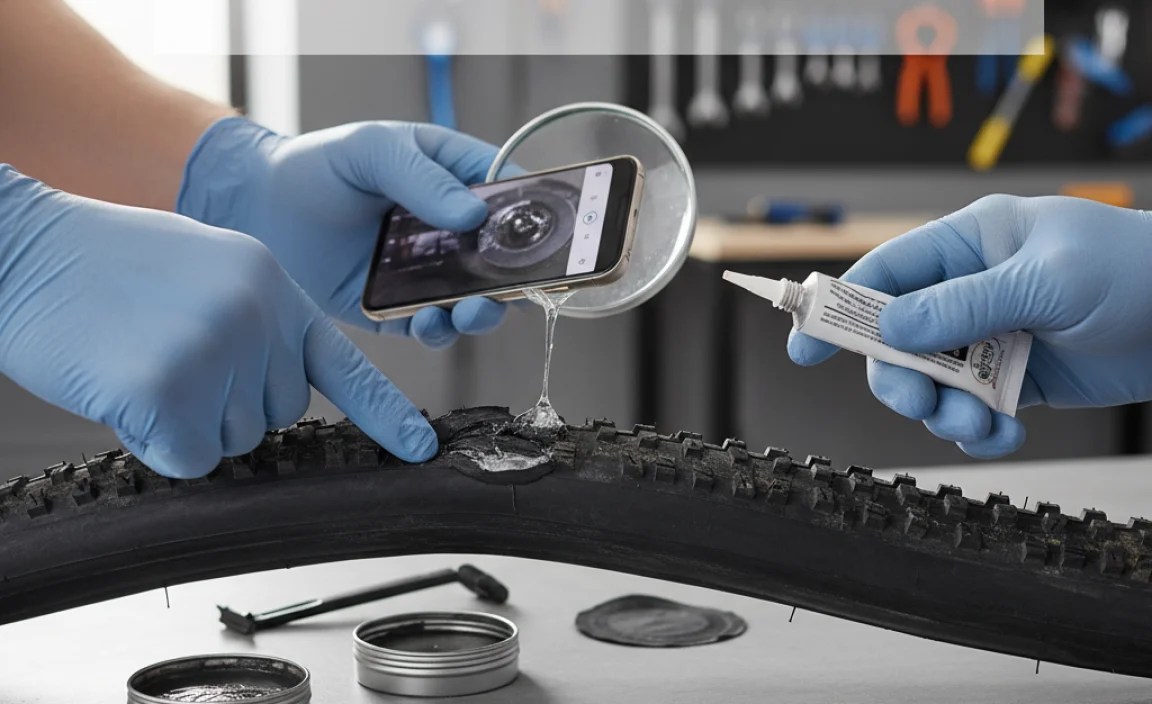
Step 2: Locate the Puncture
- Inflate the inner tube slightly and listen for the escaping air.
- If you can’t hear it, submerge the tube in water and look for bubbles.
- Mark the location of the puncture with a pen or marker.
Step 3: Prepare the Area
- Use sandpaper or a metal rasp to rough up the area around the puncture. This creates a textured surface for the glue to adhere to.
- Clean the area with a clean cloth to remove any dirt or debris.
Step 4: Apply the Glue
- Apply a thin, even layer of vulcanizing fluid to the prepared area. Make sure the glue covers an area slightly larger than the patch.
- For tubeless tires, follow the instructions provided with your tubeless patch kit.
Step 5: Wait for the Glue to Dry
- Allow the glue to become tacky but not completely dry. This usually takes a few minutes.
- The glue should feel sticky to the touch but not wet.
Step 6: Apply the Patch
- Remove the backing from the patch and carefully apply it to the glued area.
- Press firmly on the patch for at least 60 seconds to ensure a good bond.
- For tubeless tires, use a roller or smooth tool to press the patch firmly.
Step 7: Reassemble the Tire and Wheel
- Carefully reinsert the inner tube into the tire (for inner tube tires).
- Seat the tire back onto the rim using tire levers if needed.
- Inflate the tire to the recommended pressure.
Step 8: Check for Leaks
- Inspect the patch area for any signs of air leaks.
- If you find any leaks, deflate the tire and repeat the patching process.
Troubleshooting Common Issues
Even with the best glue and careful application, you might encounter some issues. Here’s how to troubleshoot them:
Patch Not Sticking
Possible Causes:
- Insufficient glue
- Glue not tacky enough
- Dirty surface
- Not enough pressure applied
Solutions:
- Apply more glue and ensure it covers the entire area.
- Wait for the glue to become tacky before applying the patch.
- Thoroughly clean the area before applying the glue.
- Apply firm, consistent pressure to the patch for at least 60 seconds.
Air Leaks After Patching
Possible Causes:
- Puncture not completely covered
- Patch not properly sealed
- Damage to the tire casing
Solutions:
- Ensure the patch is large enough to cover the entire puncture.
- Use a roller or smooth tool to press the patch firmly and ensure a good seal.
- Inspect the tire casing for any cuts or damage that may be causing the leak.
Glue Drying Too Quickly
Possible Causes:
- Hot weather
- Direct sunlight
- Old or degraded glue
Solutions:
- Work in a shaded area or cooler environment.
- Store glue in a cool, dry place.
- Use fresh glue that hasn’t expired.
Comparing Different Brands and Products
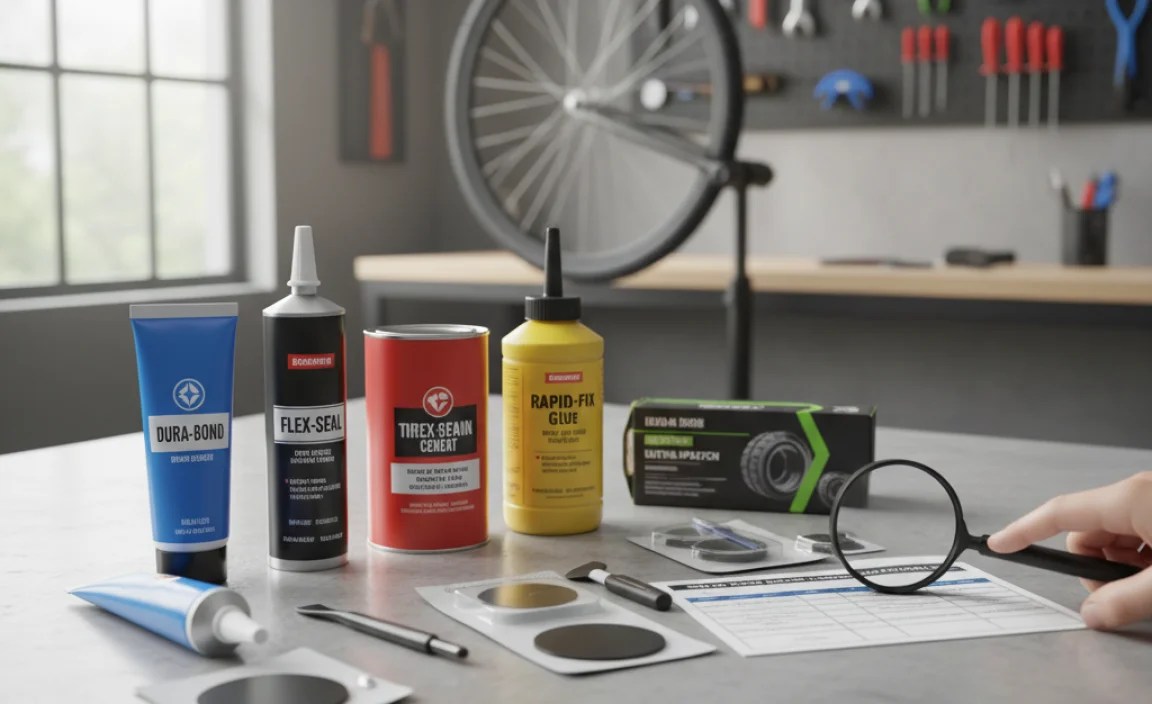
Choosing the right brand and product can make a significant difference in the quality and durability of your tire repair. Here’s a comparison of some popular options:
| Brand/Product | Type | Pros | Cons | Best For |
|---|---|---|---|---|
| Park Tool VP-1 Vulcanizing Patch Kit | Vulcanizing Fluid | Reliable, high-quality, easy to use | Can be a bit expensive | General inner tube repair |
| Rema Tip Top TT02 Touring Tire Repair Kit | Vulcanizing Fluid | Durable, long-lasting repairs, includes a variety of patch sizes | Slightly more complex application | Touring and long-distance cycling |
| Slime Self-Sealing Smart Tubes | Self-Adhesive | Convenient, quick repairs, no glue needed | Less durable than vulcanized patches | Emergency roadside repairs |
| Stan’s NoTubes Dart Tool | Tubeless Repair | Effective for sealing larger punctures in tubeless tires | Requires specific tool and darts | Tubeless tire repair |
| Orange Seal Tubeless Tire Sealant | Sealant | Seals small punctures automatically, long-lasting | Requires regular replenishment | Tubeless tire maintenance |
Tips for Extending the Life of Your Tire Patches
To ensure your tire patches last as long as possible, follow these tips:
- Proper Storage: Store your tire repair kit in a cool, dry place away from direct sunlight.
- Regular Inspection: Check your tires regularly for any signs of wear or damage.
- Correct Inflation: Maintain the correct tire pressure to prevent punctures and extend the life of your tires.
- Cleanliness: Keep your tires clean to prevent debris from causing punctures.
Safety Precautions
When working with tire patch glue, always follow these safety precautions:
- Ventilation: Work in a well-ventilated area to avoid inhaling fumes.
- Skin Contact: Avoid contact with skin. If contact occurs, wash thoroughly with soap and water.
- Eye Protection: Wear safety glasses to protect your eyes from splashes.
- Flammability: Keep glue away from open flames and heat sources.
- Storage: Store glue out of reach of children.
Environmental Considerations
Be mindful of the environmental impact of tire repair materials. Dispose of used patches and glue containers properly. Consider recycling options when available.
When to Replace vs. Repair
While patching can extend the life of your tires, there are situations where replacement is the better option.
When to Replace:
- Large cuts or tears in the tire casing
- Multiple punctures in the same area
- Sidewall damage
- Worn tread
If you’re unsure whether to repair or replace, consult with a professional bike mechanic.
Alternative Repair Methods
Besides traditional patches, there are other repair methods you might consider:
- Tire Boots: These are temporary fixes for larger cuts in the tire casing. They’re placed on the inside of the tire to prevent the tube from bulging out.
- Tire Liners: These are inserted between the tire and the tube to provide an extra layer of protection against punctures.
FAQ: Choosing the Right Glue for Tire Patches
What’s the difference between vulcanizing fluid and regular glue?
Vulcanizing fluid creates a chemical bond with the tire rubber, making it much stronger and more durable than regular glue, which only provides an adhesive bond.
Can I use super glue for tire patches?
No, super glue is not suitable for tire patches. It doesn’t create a flexible, durable bond and can damage the tire.
How long does tire patch glue take to dry?
Vulcanizing fluid typically takes a few minutes to become tacky but not completely dry. Follow the instructions on the glue container for best results.
Can I use the same glue for inner tubes and tubeless tires?
No, use vulcanizing fluid for inner tubes and tubeless-specific glue for tubeless tires. Regular glue can damage tubeless tires and interfere with the sealant.
How do I know if my tire patch is failing?
Signs of a failing tire patch include air leaks, bulging, or the patch peeling away from the tire.
Where should I store my tire patch kit?
Store your tire patch kit in a cool, dry place away from direct sunlight to prevent the glue from drying out or degrading.
What should I do if I get glue on my skin?
Wash the affected area thoroughly with soap and water. If irritation persists, consult a doctor.
Conclusion
Choosing the right glue for your tire patches is essential for a safe and reliable repair. Whether you’re dealing with traditional inner tubes or tubeless tires, understanding the properties of different glues and following the correct application steps will ensure a long-lasting fix. Remember to prioritize quality, compatibility, and safety when selecting your tire repair products. With the right knowledge and tools, you can confidently tackle flat tires and keep your bike rolling smoothly for miles to come.


