How to Apply Vulcanizing Solution Correctly: Easy Guide
Quick Summary: Applying vulcanizing solution correctly is key to a lasting bike tire repair. First, roughen the tube around the puncture. Apply a thin, even coat of vulcanizing solution and let it dry completely – it should look glossy, not wet. Then, firmly apply your patch. This creates a chemical bond, ensuring a reliable seal for your tire.
Ever get stuck on the road with a flat tire? It’s frustrating, right? But patching your tube is a skill every cyclist should have. The secret to a long-lasting patch isn’t just the patch itself, but how you apply the vulcanizing solution. Do it right, and you’ll be back on the road in minutes. Do it wrong, and you’ll be patching again soon. Don’t worry, this guide will walk you through each step. You’ll learn the right way to prepare your tube, apply the solution, and ensure your patch holds strong. Let’s get started!
Understanding Vulcanizing Solution
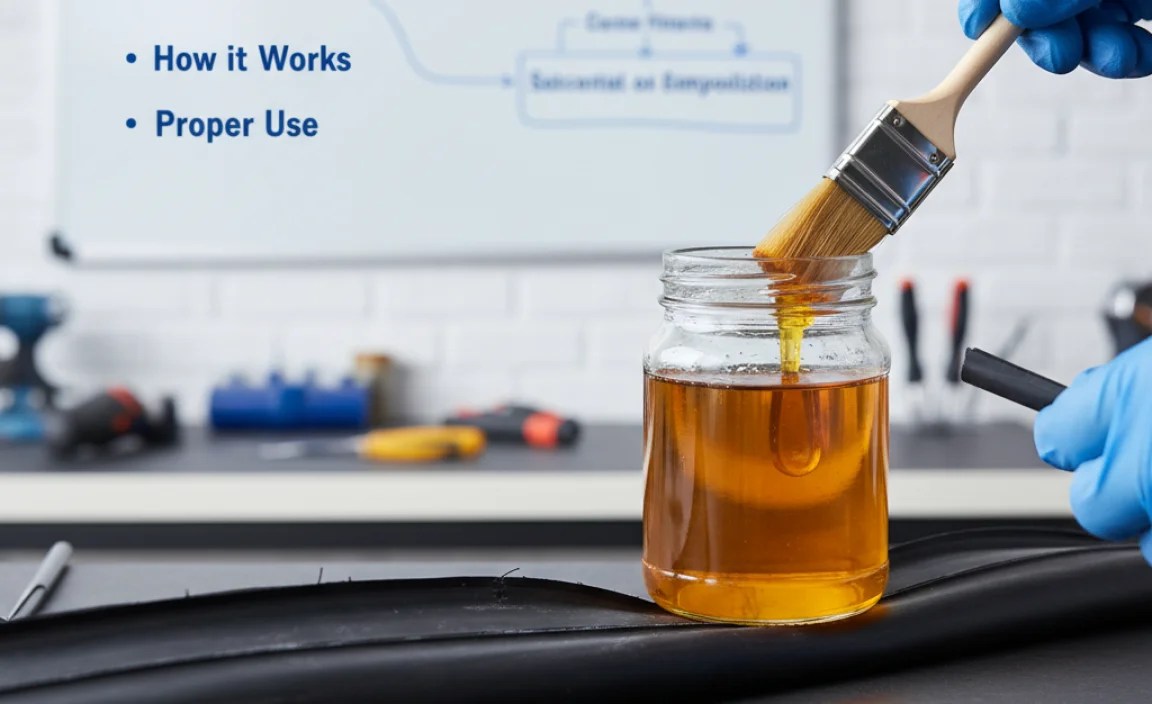
Vulcanizing solution isn’t just glue; it’s a special adhesive that creates a chemical bond between the rubber of your inner tube and the rubber patch. This process, called vulcanization, makes the patch a permanent part of the tube. Think of it like welding metal together, rather than just sticking it.
Why is Vulcanization Important?
- Strong Bond: Vulcanization creates a bond stronger than regular adhesives, meaning your patch is less likely to peel off.
- Flexibility: The vulcanized patch flexes with the tube, preventing cracking and air leaks.
- Durability: A properly vulcanized patch can last for the life of the tube.
Types of Vulcanizing Solutions
While the basic principle is the same, vulcanizing solutions can vary slightly in their formulation. Some are designed for specific types of rubber, while others are more general-purpose. Most bike repair kits come with a suitable solution, but if you’re buying separately, check the label to ensure it’s compatible with bicycle inner tubes.
Tools and Materials You’ll Need

Before you start patching, gather everything you’ll need. Having the right tools makes the job much easier and increases the chances of a successful repair.
- Vulcanizing Solution: The heart of the repair. Make sure it’s not dried out.
- Inner Tube Patches: Choose the right size and shape for the puncture.
- Sandpaper or Metal Scuffer: To roughen the tube surface.
- Tire Levers: For removing the tire from the rim.
- Pump: To inflate the tube after patching.
- Clean Rag: For wiping the tube clean.
- Container of Water: To find the leak.
Step-by-Step Guide to Applying Vulcanizing Solution
Now, let’s get to the heart of the matter: applying the vulcanizing solution correctly. Follow these steps for a reliable, long-lasting patch.
Step 1: Locate the Puncture
First, you need to find the hole in your inner tube. Inflate the tube slightly and listen for a hiss. If you can’t hear it, submerge sections of the tube in water. Bubbles will appear where the air is escaping.
- Inflate the tube: Add just enough air to give it some shape.
- Listen for hissing: Rotate the tube slowly, listening closely.
- Submerge in water: If you can’t hear the leak, try this method.
- Mark the hole: Use a pen or marker to circle the puncture.
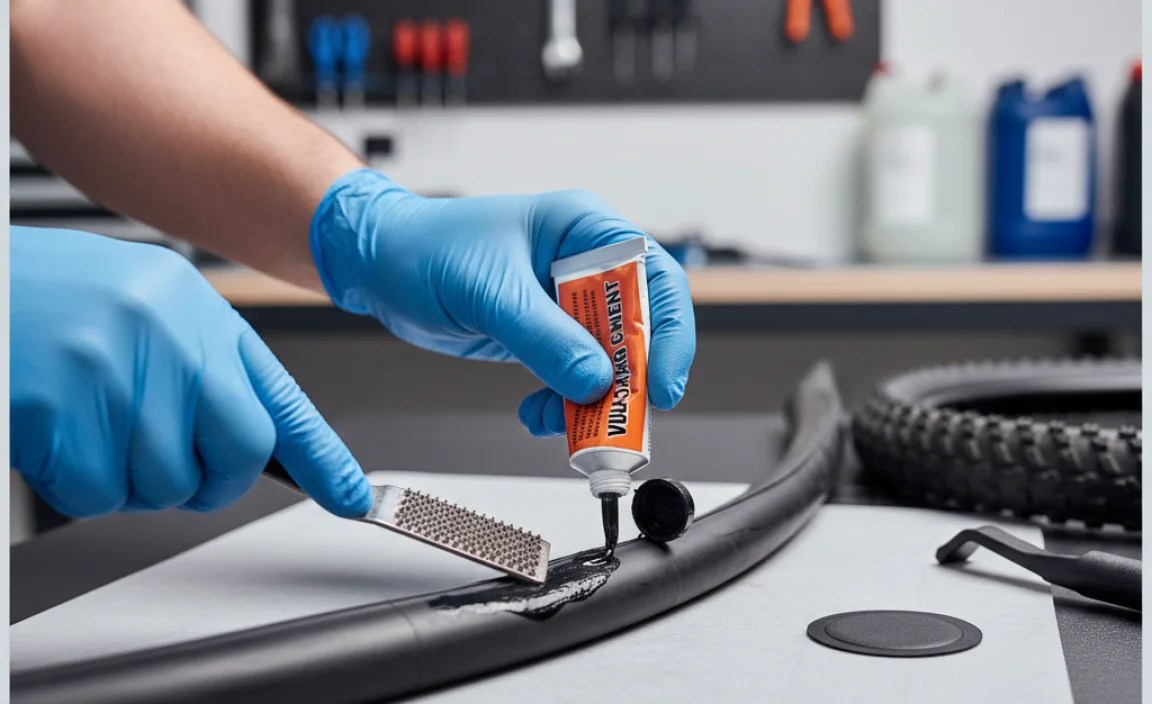
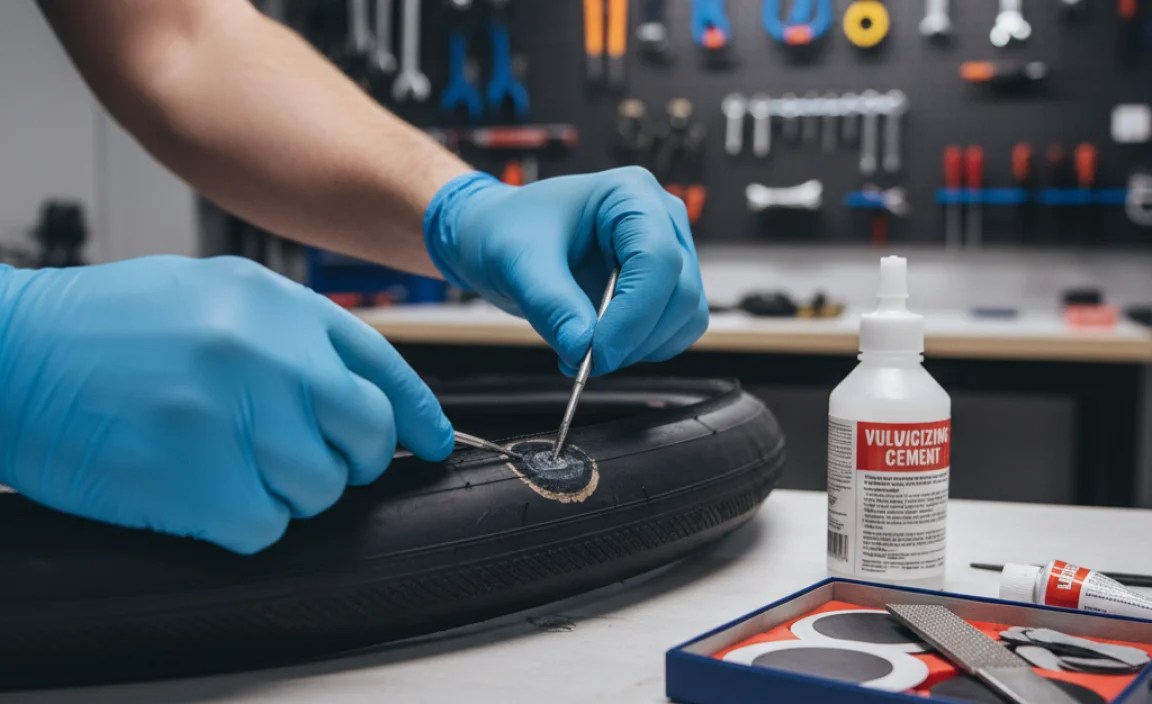
Step 2: Prepare the Area Around the Puncture
This step is crucial. The vulcanizing solution needs a clean, roughened surface to bond properly. If the tube is dirty or smooth, the patch won’t stick.
- Dry the tube: Make sure the area around the puncture is completely dry.
- Roughen the surface: Use sandpaper or a metal scuffer to gently roughen the rubber around the hole. You want to create a slightly textured surface.
- Clean the area: Wipe away any rubber dust or debris with a clean rag.
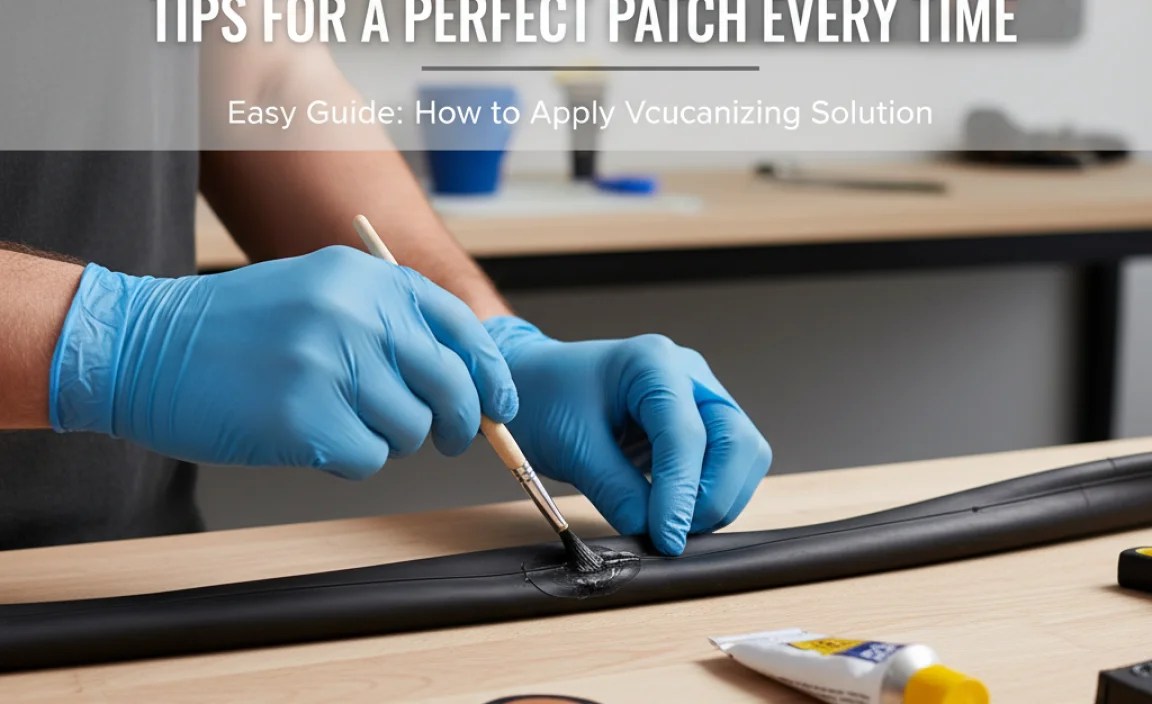
Step 3: Apply the Vulcanizing Solution
Now for the main event. Apply the vulcanizing solution carefully and evenly. Too much or too little can both cause problems.
- Shake the tube: Ensure the solution is well mixed.
- Apply a thin layer: Squeeze a small amount of solution onto the prepared area.
- Spread it evenly: Use the applicator (usually a brush or nozzle) to spread the solution in a thin, even layer that is slightly larger than the patch.
Step 4: Let the Solution Dry Completely
This is where many people go wrong. The vulcanizing solution needs to dry completely before you apply the patch. Don’t rush this step!
- Wait for it to dry: Leave the solution to dry for at least 2-3 minutes. The solution should change from a wet, shiny appearance to a dull, slightly tacky look. It should appear glossy, not wet.
- Check for dryness: Touch the surface lightly with your fingertip. It should feel tacky but not sticky.
Step 5: Apply the Patch
Once the solution is dry, carefully apply the patch. Avoid touching the adhesive side of the patch to keep it clean.
- Peel off the backing: Remove the foil or plastic backing from the patch, exposing the adhesive.
- Center the patch: Carefully align the patch over the puncture, making sure it’s centered.
- Press firmly: Press down firmly on the patch, starting from the center and working your way outwards. This helps to remove any air bubbles.
- Hold for a minute: Maintain pressure on the patch for at least a minute to ensure a good bond.
Step 6: Finish and Test
After applying the patch, give it a little time to cure before putting the tube back in the tire. Then, test your repair to make sure it holds air.
- Remove clear plastic: If your patch has a clear plastic layer on top, carefully peel it off.
- Inflate the tube slightly: Add a small amount of air to give the tube some shape.
- Check for leaks: Submerge the patched area in water again to check for bubbles.
- Reinstall the tube: If there are no leaks, carefully reinstall the tube in the tire and inflate to the correct pressure.
Troubleshooting Common Problems
Even with careful application, sometimes things don’t go as planned. Here are some common problems and how to fix them.
Patch Won’t Stick
If the patch isn’t sticking, the most likely cause is insufficient preparation or incorrect application of the vulcanizing solution.
- Re-roughen the surface: Make sure the tube surface is properly roughened and clean.
- Reapply the solution: Apply a fresh layer of vulcanizing solution and let it dry completely.
- Apply more pressure: Press down firmly on the patch for a longer period.
Patch Peels Off
A patch that peels off after a short time usually indicates a weak bond. This can be due to several factors.
- Contaminated surface: Make sure the tube surface is free of dirt, oil, or other contaminants.
- Expired solution: Vulcanizing solution can lose its effectiveness over time. If it’s old or dried out, replace it.
- Poor quality patch: Use high-quality patches from a reputable brand.
Leak Around the Edge of the Patch
If you notice air leaking around the edge of the patch, it could be due to uneven pressure or a poorly sealed edge.
- Ensure even pressure: When applying the patch, make sure you’re pressing down evenly across the entire surface.
- Use a larger patch: If the puncture is close to the edge of the patch, use a larger patch to ensure a better seal.
Tips for a Perfect Patch Every Time
Here are some extra tips to help you achieve a perfect patch every time.
- Store vulcanizing solution properly: Keep the tube tightly sealed and store it in a cool, dry place to prevent it from drying out.
- Carry spare patches and solution: Always have a repair kit with you when you ride, especially on long trips.
- Practice makes perfect: Don’t be afraid to practice patching tubes at home so you’re prepared when you need to do it on the road.
Choosing the Right Vulcanizing Solution and Patches
Not all vulcanizing solutions and patches are created equal. Here’s what to look for when buying them.
Vulcanizing Solution
- Freshness: Check the expiration date to ensure the solution is still effective.
- Compatibility: Make sure the solution is designed for use with bicycle inner tubes.
- Applicator: Choose a solution with an easy-to-use applicator, such as a brush or nozzle.
Inner Tube Patches
- Size and Shape: Choose patches that are appropriate for the size and shape of the puncture. Round or oval patches are generally best for small punctures, while larger, rectangular patches are better for bigger holes.
- Material: Look for patches made from high-quality rubber that is flexible and durable.
- Pre-glued vs. Glueless: While this article focuses on using vulcanizing solution, some patches are “glueless.” However, for a more permanent fix, using a patch with vulcanizing fluid is recommended.
Table: Comparing Patch Types
| Patch Type | Pros | Cons | Best Use |
|---|---|---|---|
| Traditional with Vulcanizing Solution | Strongest, most durable bond. Reliable long-term repair. | Requires drying time. Can be messy. | Best for all types of punctures, especially larger ones. Ideal for road and mountain bikes. |
| Glueless Patches | Quick and easy to apply. No drying time needed. | Less durable than traditional patches. Can be unreliable in wet conditions. | Good for emergency repairs on the road. Best for small punctures. |
| Pre-Glued Patches | Convenient and easy to use. No separate glue needed. | Can dry out over time. May not be as strong as traditional patches. | Good for occasional use and small punctures. |
Beyond the Basics: Advanced Patching Techniques
Once you’ve mastered the basic patching process, you can explore some advanced techniques for even better repairs.
Reinforcing Large Punctures
For larger punctures, consider using multiple patches to reinforce the repair. Apply one patch directly over the hole, and then apply a second, larger patch over the first.
Patching Sidewall Tears
Patching sidewall tears is more challenging, but it can be done with the right technique. Use a strong, flexible patch and apply it carefully, making sure it’s well-adhered to the tube.
Using a Tire Boot
If the tire itself has a cut or tear, use a tire boot to protect the inner tube from further damage. A tire boot is a small piece of durable material (such as canvas or plastic) that you place between the tube and the tire to prevent the tube from bulging through the cut.
FAQ: Applying Vulcanizing Solution Correctly
What is vulcanizing solution, and why do I need it?
Vulcanizing solution is a special type of adhesive that creates a chemical bond between the rubber of your inner tube and the patch. This bond is stronger and more durable than regular glue, making your repair last longer.
How long should I let the vulcanizing solution dry?
Let the solution dry until it appears glossy, not wet, typically 2-3 minutes. It should feel tacky to the touch but not sticky.
Can I use too much vulcanizing solution?
Yes, using too much solution can prevent the patch from bonding properly. Apply a thin, even layer that covers the area slightly larger than the patch.
What happens if I don’t roughen the tube before applying the solution?
If you don’t roughen the tube, the vulcanizing solution won’t be able to create a strong bond. The patch will likely peel off quickly.
Is it okay to use old vulcanizing solution?
Old vulcanizing solution may not be as effective. If it’s thick, dried out, or past its expiration date, it’s best to replace it.
Can I use glueless patches instead of vulcanizing solution and a patch?
Glueless patches are convenient for quick fixes on the road, but they’re generally not as durable as patches applied with vulcanizing solution. For a more reliable, long-lasting repair, stick with the solution.
How do I store vulcanizing solution to keep it from drying out?
Store the tube tightly sealed in a cool, dry place, away from direct sunlight. This will help prevent the solution from drying out and extend its shelf life.
External Resources for Further Learning
- Park Tool: Tire and Tube Repair
- REI: How to Change a Bike Inner Tube
Conclusion
Mastering the art of applying vulcanizing solution correctly is a game-changer for any cyclist. It’s the key to reliable, long-lasting tire repairs that keep you rolling smoothly, mile after mile. By following the steps outlined in this guide, you’ll be able to confidently fix flats on the road or in your workshop, saving time and money while staying safe. So, grab your tools, practice these techniques, and get ready to conquer any puncture that comes your way. Happy cycling!