
How to Use Auto-Switching Chuck: Easy Guide
How to Use an Auto-Switching Chuck: A Cyclist’s Guide


Quick Summary: Using an auto-switching chuck is simple! Just press it firmly onto either a Presta or Schrader valve. The chuck automatically detects the valve type and seals for inflation. To remove, gently pull it straight off. No adjustments needed – making tire inflation quick and easy for any cyclist.
Tire inflation shouldn’t be a hassle. Many cyclists struggle with fumbling between Presta and Schrader valves, or worry about leaky connections. An auto-switching chuck eliminates that frustration. This clever device automatically adapts to either valve type, creating a secure, airtight seal every time.
In this guide, I, Raymond Ammons from BicyclePumper.com, will walk you through using an auto-switching chuck. You’ll learn how it works, the simple steps for inflation, and tips for maintaining it. Get ready to say goodbye to valve confusion and hello to effortless tire pumping!
Understanding the Auto-Switching Chuck

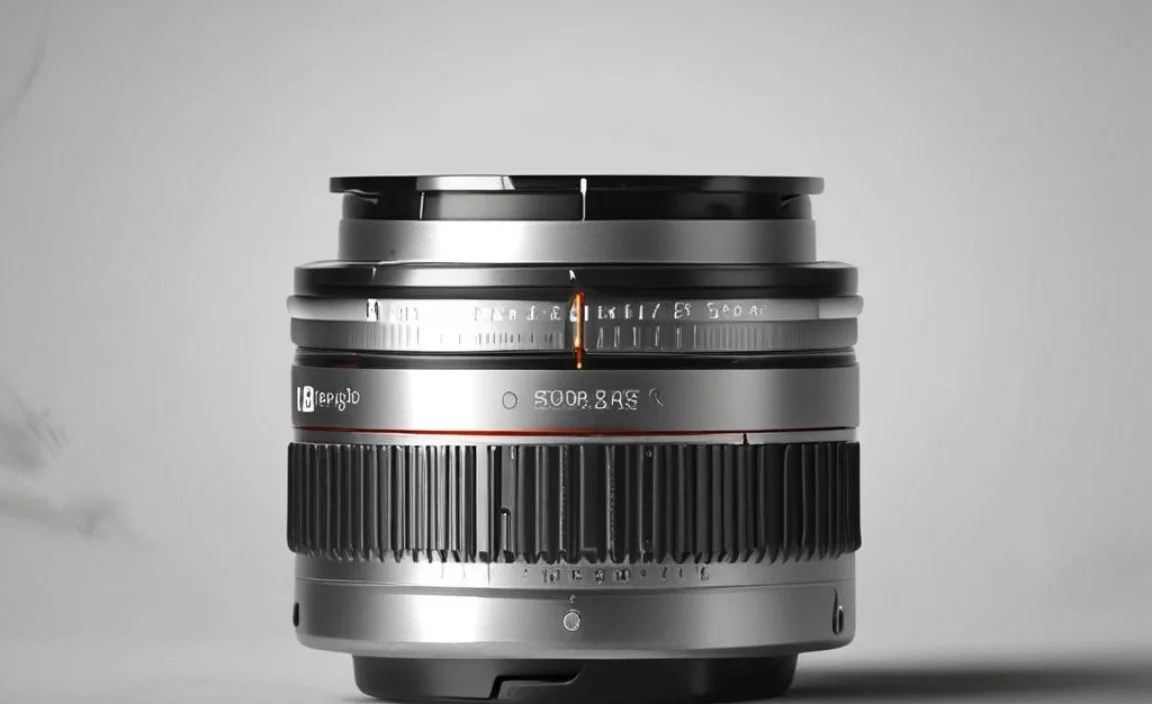
An auto-switching chuck is a type of pump head designed to work with both Presta and Schrader valves without needing manual adjustments or swapping parts. It’s a convenient feature found on many modern bike pumps.
How It Works
The magic lies in its internal design. The chuck contains mechanisms that automatically detect the valve type when you press it on. It then seals accordingly. Here’s a simplified view:
- Valve Detection: Internal pins or levers sense the valve type.
- Automatic Sealing: Once detected, the chuck seals around the valve for an airtight connection.
- Universal Fit: Designed to accommodate the slightly different dimensions of Presta and Schrader valves.
Benefits of Using an Auto-Switching Chuck
Why should you care about an auto-switching chuck? Here are some compelling reasons:
- Convenience: No more fumbling with adapters or switching parts.
- Time-Saving: Quickly inflate tires without hassle.
- Ease of Use: Perfect for beginners and experienced cyclists alike.
- Versatility: Works on all bikes in your household, regardless of valve type.
Step-by-Step Guide to Using an Auto-Switching Chuck

Here’s how to use an auto-switching chuck like a pro:
Step 1: Prepare Your Bike and Pump
First, position your bike so you can easily access the valve. Make sure your pump is ready to go. This means the hose is free from kinks and the pump is stable on the ground.
Step 2: Access the Valve
Remove the valve cap from your bike’s tire. Store it somewhere safe so you don’t lose it. Exposing the valve allows you to attach the auto-switching chuck.
Step 3: Attach the Chuck
This is the crucial step. Firmly press the auto-switching chuck straight onto the valve. You should feel it engage. There’s no need to select Presta or Schrader – the chuck figures it out. Make sure it’s seated properly to ensure an airtight seal. A hissing sound indicates a poor connection; adjust and try again.
Step 4: Inflate the Tire
Now that the chuck is securely attached, start pumping. Use smooth, consistent strokes. Keep an eye on your pump’s pressure gauge (if it has one) to avoid over-inflation. Refer to the recommended PSI (pounds per square inch) listed on your tire’s sidewall. For road bikes, this might be 80-130 PSI; mountain bikes often range from 25-40 PSI.
Step 5: Detach the Chuck
Once you’ve reached the desired pressure, carefully pull the chuck straight off the valve. A slight hiss is normal. Avoid bending the valve stem. Some auto-switching chucks have a release lever; if yours does, use it to ease removal.
Step 6: Replace the Valve Cap
Finally, screw the valve cap back on. This keeps dirt and debris out of the valve. It’s a small step, but it can prolong the life of your inner tube.
Troubleshooting Common Issues
Even with an auto-switching chuck, you might encounter occasional problems. Here’s how to handle them:
Problem: Air Leakage
If you hear air leaking while pumping, it means the chuck isn’t properly sealed. Here’s what to do:
- Re-attach: Remove the chuck and re-attach it, ensuring a firm, straight connection.
- Check Valve: Make sure the valve is clean and undamaged. Bent or dirty valves can prevent a good seal.
- Inspect Chuck: Look for dirt or debris inside the chuck. Clean it if necessary.
Problem: Chuck Won’t Attach
Sometimes, the chuck might refuse to attach to the valve. This could be due to:
- Valve Type Confusion: Although it’s an auto-switching chuck, double-check that the valve is compatible.
- Obstruction: Check for any obstructions inside the chuck or on the valve.
- Chuck Damage: Inspect the chuck for wear or damage. A worn-out chuck might need replacement.
Problem: Difficulty Removing the Chuck
If the chuck is stuck after inflation, don’t force it. Try these tips:
- Wiggle Gently: Gently wiggle the chuck from side to side while pulling straight.
- Release Lever: If your chuck has a release lever, use it to break the seal.
- Lubricate: A tiny drop of silicone-based lubricant can help ease removal.
Maintaining Your Auto-Switching Chuck
Proper maintenance extends the life of your auto-switching chuck. Here’s what I recommend:
- Clean Regularly: Wipe the chuck with a clean cloth after each use. Remove any dirt or debris.
- Inspect for Wear: Check for cracks, wear, or damage. Replace the chuck if necessary.
- Lubricate Occasionally: A small amount of silicone lubricant can keep the internal mechanisms working smoothly.
- Store Properly: Store your pump in a clean, dry place to prevent corrosion and damage.
Choosing the Right Auto-Switching Chuck
Not all auto-switching chucks are created equal. Here are some factors to consider when choosing one:
- Compatibility: Ensure it works with both Presta and Schrader valves.
- Build Quality: Look for durable materials like aluminum or high-quality plastic.
- Ease of Use: Choose a chuck that’s easy to attach and detach.
- Price: Balance price with quality and features.
- Reviews: Read reviews from other cyclists to get real-world feedback.
Recommended Pumps with Auto-Switching Chucks
Here are a few pumps known for their reliable auto-switching chucks:
- Lezyne Floor Drive Pumps: Known for their durability and precise inflation.
- Topeak JoeBlow Series: Offers a range of pumps with user-friendly auto-switching chucks.
- Park Tool PFP Series: A favorite among bike mechanics for its reliability and accuracy.
Table: Comparing Auto-Switching Chuck Features
| Feature | Benefit | Considerations |
|---|---|---|
| Automatic Valve Detection | Simplifies inflation process; no manual adjustments needed. | Ensure compatibility with both Presta and Schrader valves. |
| Durable Materials | Longer lifespan and resistance to wear and tear. | Aluminum or high-quality plastic are preferred. |
| Easy Attachment/Detachment | Reduces frustration and potential damage to valve stems. | Look for ergonomic designs and secure locking mechanisms. |
| Pressure Gauge Accuracy | Ensures precise inflation to optimal tire pressure. | Digital gauges offer higher accuracy than analog ones. |
| Air Leak Prevention | Maintains consistent pressure during inflation. | Check for tight seals and reliable locking systems. |
Table: Presta vs. Schrader Valves
| Feature | Presta Valve | Schrader Valve |
|---|---|---|
| Appearance | Narrower, with a locking nut at the tip | Wider, similar to car tire valves |
| Common Use | Road bikes, high-pressure tires | Mountain bikes, hybrid bikes, car tires |
| Inflation | Requires unlocking the nut before inflation | No unlocking required, just attach and inflate |
| Pressure Retention | Generally better pressure retention | Can lose pressure slightly faster |
| Repair | More delicate, can be bent or damaged more easily | More robust, less prone to damage |
Advanced Tips and Tricks
Want to take your tire inflation skills to the next level? Here are some advanced tips:
- Use a Floor Pump: Floor pumps provide more leverage and stability than hand pumps.
- Check Tire Pressure Regularly: Use a dedicated tire pressure gauge for accurate readings.
- Inflate to the Correct Pressure: Over- or under-inflated tires can affect performance and safety.
- Consider Tubeless Setups: Tubeless tires offer improved puncture resistance and lower rolling resistance.
FAQ About Auto-Switching Chucks
Here are some frequently asked questions about auto-switching chucks:
What is an auto-switching chuck?
An auto-switching chuck is a pump head that automatically works with both Presta and Schrader valves without needing manual adjustments.
How does an auto-switching chuck know which valve type I’m using?
It uses internal mechanisms to detect the valve type and seal accordingly.
Can I use an auto-switching chuck on any bike pump?
Most auto-switching chucks are designed to be compatible with a wide range of bike pumps. However, it’s always best to check the product specifications to ensure compatibility.
What if my auto-switching chuck is leaking air?
Make sure the chuck is firmly attached and the valve is clean. Inspect the chuck for damage or debris.
How do I maintain my auto-switching chuck?
Clean it regularly, inspect for wear, and lubricate occasionally with silicone lubricant.
Are auto-switching chucks worth the investment?
Yes, they offer convenience, save time, and are easy to use, making tire inflation much simpler.
What’s the difference between Presta and Schrader valves?
Presta valves are narrower and have a locking nut, commonly used on road bikes. Schrader valves are wider, similar to car tires, and found on mountain and hybrid bikes.
External Resources
For more in-depth information, check out these resources:
- Park Tool’s Guide to Tire and Tube Service: Comprehensive guide on tire and tube maintenance.
- BikeRadar’s Best Bike Pumps: Reviews of top-rated bike pumps.
- REI’s Expert Advice on Bike Tires: Learn about different tire types and maintenance tips.
Conclusion
Mastering the auto-switching chuck is a game-changer for any cyclist. It simplifies tire inflation, saving you time and frustration. By following these steps and tips, you’ll be able to maintain your tires with ease, ensuring a smooth and safe ride every time.
Remember to keep your chuck clean, inspect it regularly, and choose a quality pump that fits your needs. With a little practice, you’ll become a tire inflation expert, ready to tackle any valve type with confidence. Happy cycling!


