
Easy: How to Reassemble Chuck After Cleaning
Reassembling a chuck after cleaning involves carefully putting back each component in the correct order. Usually, this means lining up the jaws, inserting them into the chuck body, and securing them with the appropriate screws or retaining mechanisms. Make sure everything is clean and lightly lubricated for smooth operation.
Ever taken apart your bike pump’s chuck for a good cleaning, only to be left staring at a pile of parts wondering how they all fit back together? It’s a common head-scratcher! Those little components can seem daunting, but don’t worry. Getting your chuck back in working order is totally doable with the right steps. I’ll walk you through the process, so you can get back to inflating your tires with confidence. I’ll cover everything from identifying the parts to making sure everything is properly aligned and secured.
Understanding Chuck Components

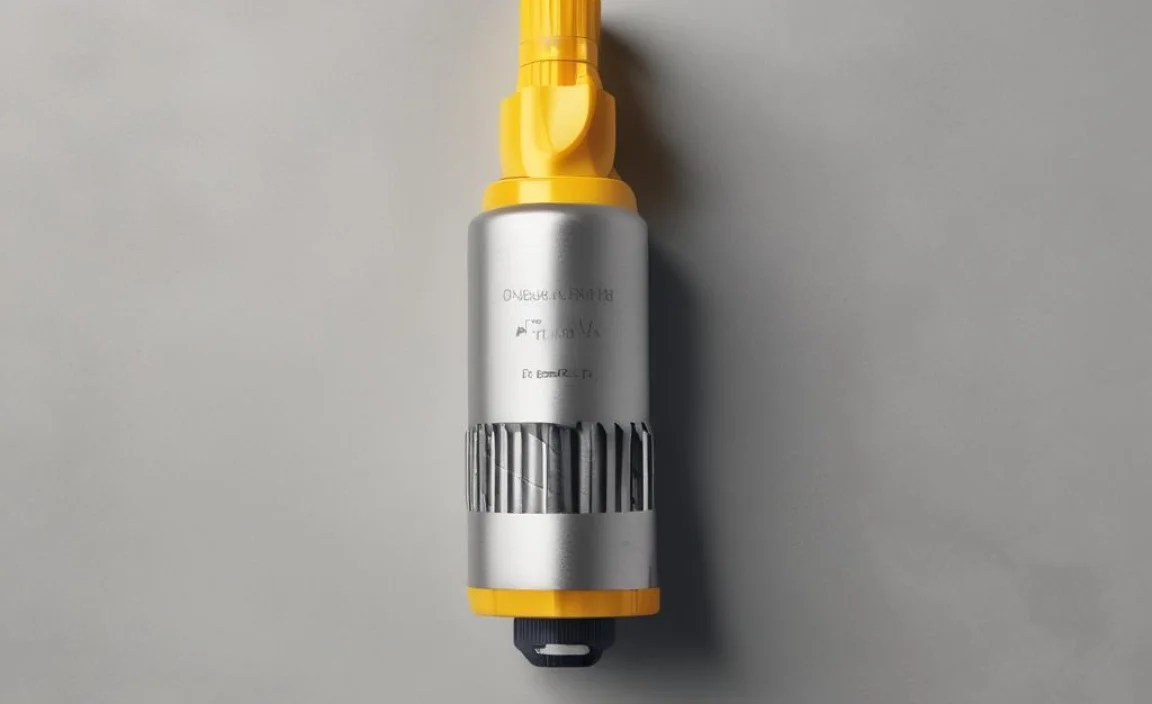
Before diving into reassembly, let’s quickly review the typical parts of a bike pump chuck. Knowing what each piece is called and its function will make the process smoother.
- Chuck Body: The main housing that holds all the other parts.
- Jaws (or Grips): These are the parts that grip onto the valve.
- Spring: Provides tension to keep the jaws closed or open.
- Retaining Ring (or Clip): Holds the jaws and spring in place.
- Seals/O-rings: Ensure an airtight connection.
Sometimes, depending on the chuck type, you might also encounter small ball bearings or other intricate parts. The key is to take note of how everything looks before you disassemble it for cleaning.
Tools You’ll Need


To reassemble your chuck, you’ll need a few basic tools:
- Clean Work Surface: A clean space to avoid contamination.
- Small Screwdriver Set: For tightening screws.
- Needle-Nose Pliers: To handle small parts.
- Grease or Lubricant: To ensure smooth operation.
- Clean Rags: To wipe off excess grease and dirt.
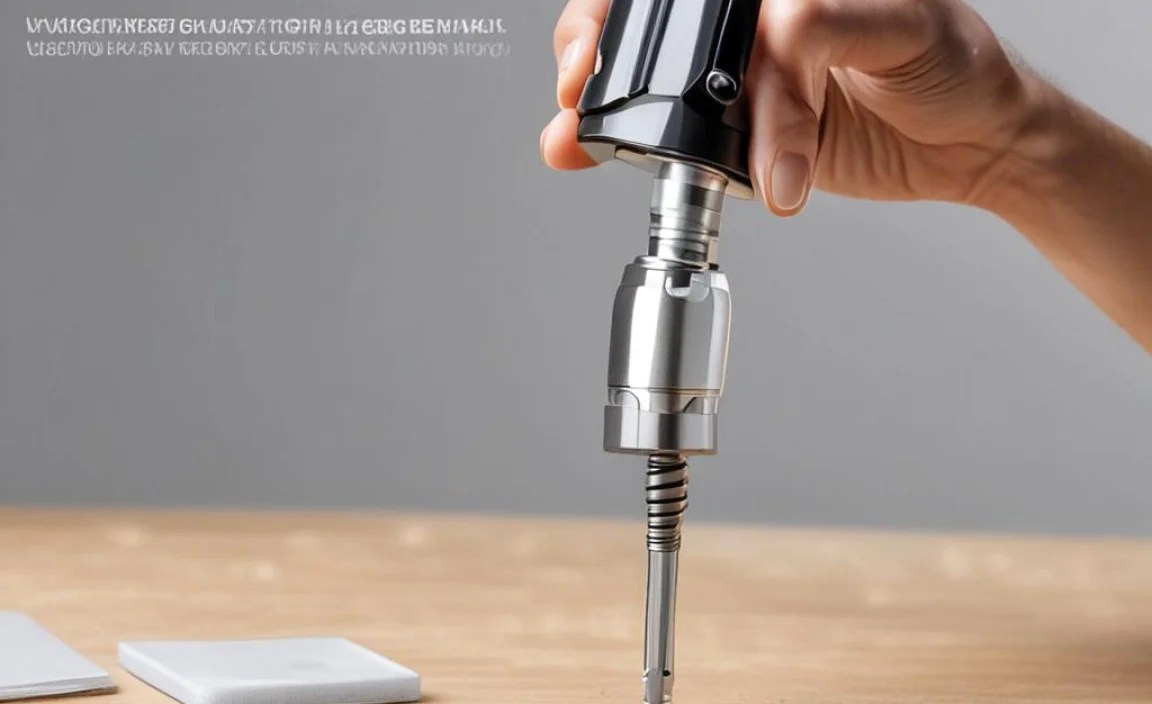
Step-by-Step Guide to Reassembling Your Chuck
Let’s get into the nitty-gritty of putting your chuck back together. Follow these steps carefully.
Step 1: Clean and Inspect the Parts
Make sure all the components are clean and free of debris. Use a clean rag to wipe each part. Inspect for any signs of wear or damage. Replace any parts if necessary. A little bit of dirt can prevent proper sealing, so this step is crucial.
Step 2: Position the Jaws
Place the jaws (or grips) into the chuck body. Make sure they are aligned correctly. The teeth or gripping surfaces should face inward. If your chuck has multiple jaws, ensure they are evenly spaced.
Step 3: Insert the Spring
Insert the spring into its designated slot. The spring provides the tension needed for the jaws to grip the valve. Ensure it sits properly and isn’t compressed or bent. If the spring is damaged, replace it.
Step 4: Secure with Retaining Ring or Clip
Secure the jaws and spring with the retaining ring or clip. This part holds everything in place. Use needle-nose pliers to carefully position the ring or clip. Make sure it snaps into place securely. If the ring is loose, the chuck won’t function correctly.
Step 5: Lubricate
Apply a small amount of grease or lubricant to the moving parts. This ensures smooth operation and prevents wear. Use a lubricant that is compatible with the materials of your chuck (e.g., silicone grease for rubber seals). Avoid over-lubricating, as excess grease can attract dirt.
Step 6: Test the Chuck
Test the chuck by attaching it to a valve stem. Make sure it grips securely and releases properly. If it doesn’t work correctly, double-check that all parts are in the correct position and properly secured.
Troubleshooting Common Issues
Sometimes, things don’t go as planned. Here are some common issues and how to fix them.
- Chuck Won’t Grip: Make sure the jaws are properly aligned and the spring has enough tension.
- Air Leaks: Check the seals and o-rings. Replace if necessary. Ensure all parts are tightly secured.
- Stiff Operation: Apply more lubricant to the moving parts.
- Parts Don’t Fit: Double-check the parts diagram and ensure you are using the correct components.
Maintaining Your Chuck for Longevity

To keep your chuck in good working order, follow these maintenance tips:
- Regular Cleaning: Clean your chuck regularly to remove dirt and debris.
- Proper Lubrication: Keep the moving parts lubricated.
- Storage: Store your pump in a clean, dry place.
- Inspection: Inspect your chuck regularly for signs of wear or damage.
Choosing the Right Chuck for Your Needs
Selecting the right chuck can make a big difference in your pumping experience. Here’s what to consider:
- Valve Compatibility: Ensure the chuck is compatible with your valve type (Presta, Schrader, or both).
- Material: Look for durable materials like brass or aluminum.
- Ease of Use: Choose a chuck that is easy to attach and detach.
- Reviews: Read reviews to see what other users say about its performance.
Comparing Different Types of Chucks
There are several types of chucks available, each with its own pros and cons. Here’s a quick comparison:
| Type of Chuck | Pros | Cons | Typical Use |
|---|---|---|---|
| Dual Head | Works with both Presta and Schrader valves, versatile | Can be bulky, may require adjustment | General use, home mechanics |
| Thread-On | Secure connection, minimal leaks | Slower to attach/detach, requires careful threading | High-pressure tires, track cycling |
| Lever-Lock | Quick and easy to use, good for frequent adjustments | May not be as secure as thread-on, can leak if worn | Mountain biking, quick tire changes |
| Push-On | Simplest design, easy to use | Least secure, prone to leaks at high pressure | Low-pressure tires, casual cycling |
Understanding Valve Types: Presta vs. Schrader
Knowing the difference between Presta and Schrader valves is essential for choosing the right chuck. Here’s a quick rundown:
- Presta: Narrower, with a locking nut at the tip. Common on road bikes.
- Schrader: Wider, like those on car tires. Common on mountain bikes and some hybrid bikes.
Some chucks are designed to work with both types, while others are specific to one. Make sure your chuck matches your valve type.
Lubrication Best Practices
Proper lubrication is key to keeping your chuck working smoothly. Here are some tips:
- Use the Right Lubricant: Silicone grease is generally best for rubber seals.
- Apply Sparingly: Too much lubricant can attract dirt.
- Regular Application: Lubricate your chuck every few months, or more often if you use it frequently.
- Clean Before Lubricating: Always clean the parts before applying lubricant.
When to Consider Replacing Your Chuck
Even with proper maintenance, your chuck may eventually need to be replaced. Here are some signs it’s time for a new one:
- Consistent Leaks: If you can’t stop air leaks, even after cleaning and lubricating.
- Visible Damage: Cracks, breaks, or worn threads.
- Poor Grip: If the chuck no longer grips the valve securely.
- Age: If your chuck is several years old, it may be time for an upgrade.
Advanced Tips for Chuck Maintenance
For those looking to take their maintenance skills to the next level, here are some advanced tips:
- Ultrasonic Cleaning: Use an ultrasonic cleaner for deep cleaning.
- Precision Tools: Invest in high-quality tools for precise adjustments.
- Custom Modifications: Consider modifying your chuck for better performance (e.g., adding a pressure gauge).
- Detailed Diagrams: Keep detailed diagrams of your chuck for easy reassembly.
Safety Precautions
When working with tools and small parts, always take safety precautions:
- Wear Safety Glasses: Protect your eyes from flying debris.
- Use Gloves: Protect your hands from grease and sharp edges.
- Work in a Well-Lit Area: Ensure you can see what you’re doing.
- Keep Out of Reach of Children: Small parts can be a choking hazard.
Alternative Chuck Designs and Mechanisms
Different brands and models may use slightly different chuck designs. Here’s an overview of some common alternatives:
| Design | Description | Advantages | Disadvantages |
|---|---|---|---|
| Ball-Lock | Uses small ball bearings to grip the valve. | Secure grip, even at high pressure. | Can be complex to disassemble and maintain. |
| Collet-Type | A collet tightens around the valve stem. | Precise and secure, good for sensitive valves. | Requires careful adjustment. |
| Magnetic | Uses magnets to hold the chuck in place. | Easy to use, quick attachment. | Not as secure as other designs, prone to disconnection. |
| Rotating Collar | A rotating collar tightens the grip on the valve. | Easy to adjust, good for different valve types. | May require frequent adjustments. |
Common Mistakes to Avoid
Avoid these common mistakes when reassembling your chuck:
- Forgetting a Part: Always double-check that you have all the parts.
- Over-Tightening Screws: This can damage the parts.
- Using the Wrong Lubricant: Use a lubricant that is compatible with the materials.
- Ignoring Wear and Tear: Replace worn parts promptly.
Resources for Further Learning
Here are some helpful resources for learning more about bike pump maintenance:
- Park Tool: Offers a wealth of information on bike maintenance. Park Tool Website
- YouTube Tutorials: Search for videos on bike pump and chuck maintenance.
- Bike Forums: Online communities where you can ask questions and get advice.
- Local Bike Shops: Consult with experienced mechanics.
FAQ: Reassembling Your Bike Pump Chuck
Question 1: How do I know if my chuck needs cleaning?
If your pump feels stiff, or you notice it takes more effort to inflate your tires, it’s likely time for a cleaning.
Question 2: Can I use any type of grease on my chuck?
No, use silicone grease. It’s safe for rubber seals and won’t cause them to degrade.
Question 3: What if I lose a part during disassembly?
Check with the pump manufacturer for replacement parts, or visit a local bike shop. Sometimes, generic parts will work too.
Question 4: How often should I clean my bike pump chuck?
Clean it every few months, or more often if you ride in dirty or dusty conditions.
Question 5: What’s the best way to store my bike pump?
Store it in a clean, dry place. Avoid leaving it in direct sunlight or extreme temperatures.
Question 6: Can I use WD-40 to lubricate my chuck?
No, WD-40 isn’t a good lubricant for this purpose. It can attract dirt and dry out seals. Use silicone grease instead.
Question 7: What if my chuck still leaks after cleaning and reassembling?
Check the seals and O-rings again, and make sure everything is tightened properly. If it still leaks, you may need to replace the chuck.
Conclusion
Reassembling a bike pump chuck after cleaning might seem tricky at first, but with a little patience and the right steps, it’s totally manageable. By understanding the components, following the reassembly process, and troubleshooting common issues, you can keep your pump in top shape. Regular maintenance not only extends the life of your pump but also ensures you can always rely on it to keep your tires properly inflated. So, grab your tools, follow these steps, and get back to enjoying those smooth rides!


