
Easy How to Film Tutorial About Using Chucks
Quick Summary: Want to create awesome tutorials using your trusty chucks? It’s easier than you think! You’ll need a good camera (your phone works!), a tripod to keep things steady, and a well-lit space. Plan your tutorial, show those chucks in action, and speak clearly. Edit your video to make it shine, and you’re ready to share your knowledge with the world!
Hey there, fellow cyclists! Raymond Ammons from BicyclePumper.com here. Ever wanted to share your mad bike repair skills or show off that awesome new chuck (bike multi-tool) you got? Creating your own tutorials is a fantastic way to help others and build your own online presence. But getting started can feel a bit overwhelming. Don’t worry! This guide will walk you through everything you need to know to film a killer tutorial about using chucks. We’ll cover planning, filming, editing, and sharing your video, so you can confidently share your expertise.
Planning Your Chucks Tutorial
Before you even pick up your camera, a little planning goes a long way. A well-planned tutorial is easier to film and much more helpful for your viewers.
1. Choose Your Topic
What specific chuck skill or knowledge do you want to share? Are you demonstrating how to use a specific bit, how to change a tire with a chuck, or how to perform a basic bike tune-up using a chuck? The more focused your topic, the better. Here are some ideas:
- Changing a flat tire using a chuck.
- Adjusting brakes with a chuck.
- Tightening loose bolts on a bike with a chuck.
- Cleaning and lubricating a chain with chuck tools.
- A comparison of different chuck models and their uses.
2. Write a Script or Outline
You don’t need to write a word-for-word script, but having a clear outline will keep you on track. Here’s what your outline should include:
- Introduction: Briefly introduce yourself, the topic, and what viewers will learn.
- Tools and Materials: List the tools and materials needed (including, of course, your chuck!).
- Step-by-Step Instructions: Break down the process into clear, easy-to-follow steps.
- Demonstration: Show each step in action, explaining what you’re doing and why.
- Troubleshooting: Address common problems or mistakes people might encounter.
- Conclusion: Summarize what you’ve covered and encourage viewers to try it themselves.
3. Gather Your Supplies
Make sure you have everything you need before you start filming. This includes your chuck, the bike (or bike part) you’ll be working on, any necessary cleaning supplies, lubricants, and safety gear. Having everything within reach will prevent interruptions and make the filming process smoother.
Filming Your Chucks Tutorial
Now for the fun part! Here’s how to set up your filming environment and capture high-quality footage.
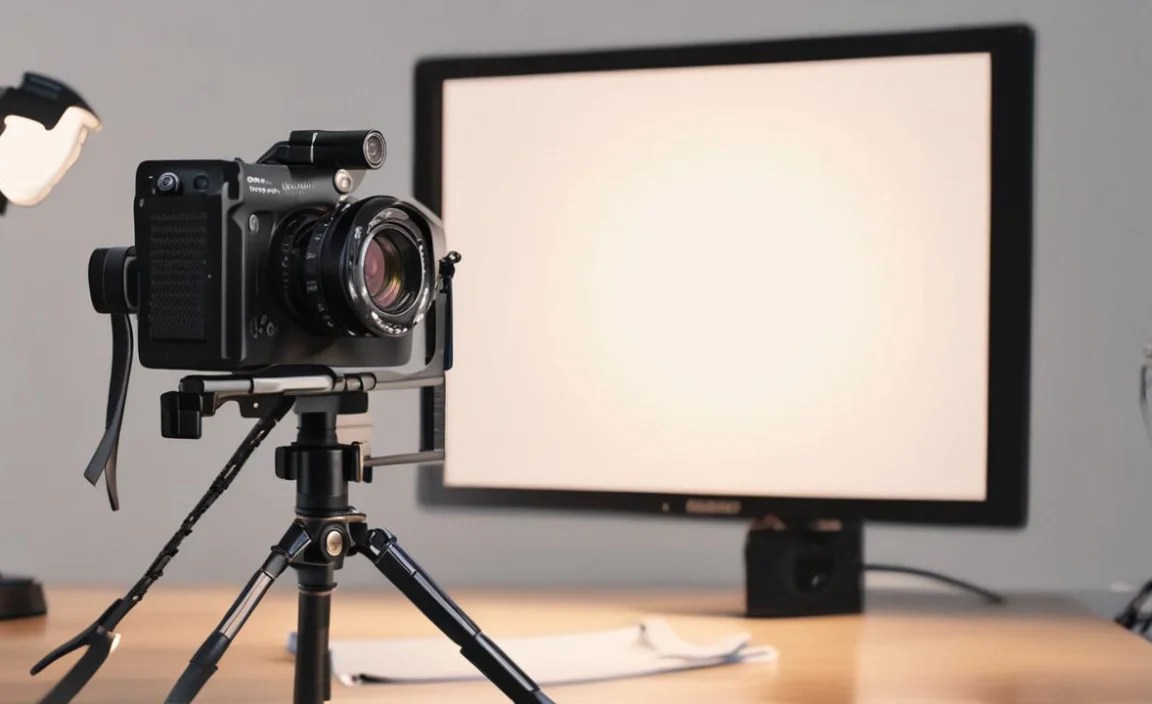
1. Choose Your Location
Find a well-lit and quiet space to film. Natural light is best, but if you’re filming indoors, use lamps or a ring light to illuminate your workspace. Make sure the background is clean and uncluttered to avoid distractions. A garage, workshop, or even a well-organized corner of your living room can work.
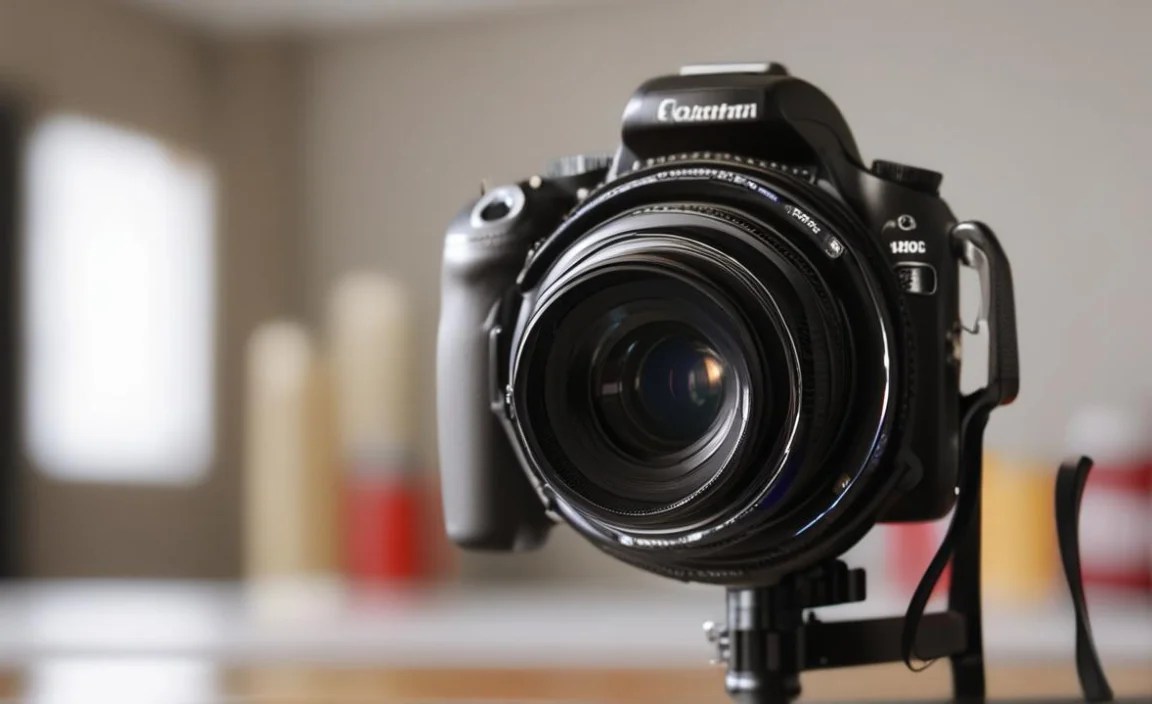
2. Set Up Your Camera
You don’t need a fancy camera to film a great tutorial. Your smartphone or a basic digital camera will work just fine. Here’s what’s important:
- Tripod: A tripod is essential for keeping your camera steady. This will prevent shaky footage and make your tutorial look more professional.
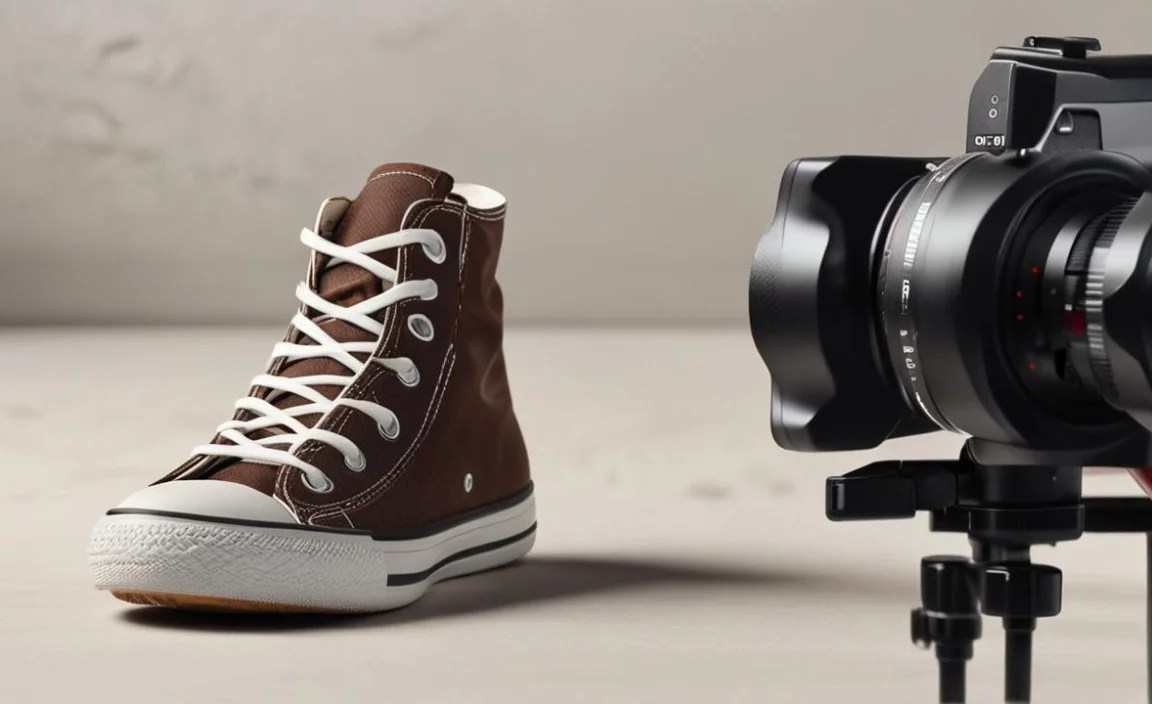
- Framing: Position your camera so that it captures the entire workspace and your hands clearly. Make sure the chuck and the bike part you’re working on are in focus.
- Audio: Good audio is just as important as good video. If possible, use an external microphone to capture clear audio. If you’re using your phone’s microphone, try to minimize background noise.
3. Lighting is Key
Good lighting can make a huge difference in the quality of your video. Here’s what to keep in mind:
- Natural Light: If possible, film near a window to take advantage of natural light.
- Artificial Light: If you’re filming indoors, use lamps or a ring light to illuminate your workspace. Avoid harsh shadows by using soft, diffused light.
- Avoid Backlighting: Make sure the light source is in front of you, not behind you. Backlighting can make you look like a silhouette.
4. Record Your Video
Now it’s time to start filming! Here are some tips for recording a clear and engaging tutorial:
- Speak Clearly: Speak slowly and clearly, and enunciate your words. Avoid mumbling or talking too fast.
- Show, Don’t Just Tell: Demonstrate each step in action, explaining what you’re doing and why.
- Close-Ups: Use close-up shots to show the details of the chuck and the bike part you’re working on.
- Multiple Takes: Don’t be afraid to record multiple takes of each step. You can always edit out mistakes later.
- Be Enthusiastic: Let your passion for cycling and bike maintenance shine through! Your enthusiasm will make your tutorial more engaging for viewers.
5. Important Shots to Capture
Make sure you get these specific shots while filming your chuck tutorial:
- Introduction Shot: A clear shot of you introducing the tutorial and the chuck.
- Tool Overview: Show the chuck and its various bits and attachments. Explain what each one is used for.
- Close-Up Action Shots: Capture close-ups of you using the chuck to perform specific tasks, such as tightening bolts or adjusting brakes.
- Problem-Solving Shots: If you encounter any problems or challenges during the demonstration, show how you overcome them.
- Final Result Shot: Show the finished product or the completed task. For example, show the properly adjusted brakes or the tightened bolts.
Editing Your Chucks Tutorial
Editing is where you polish your raw footage and turn it into a professional-looking tutorial. Here’s what you need to know.
1. Choose Your Editing Software
There are many video editing software options available, ranging from free to professional-grade. Here are a few popular choices:
- Free Options: DaVinci Resolve (free version), OpenShot, iMovie (for Mac users).
- Paid Options: Adobe Premiere Pro, Final Cut Pro.
For beginners, free options like DaVinci Resolve or iMovie are a great place to start. They offer a wide range of features and are relatively easy to learn.
2. Import and Organize Your Footage
Import your raw footage into your editing software and organize it into folders. This will make it easier to find the clips you need. Rename your clips with descriptive names so you can quickly identify them.
3. Trim and Cut Your Clips
Trim the beginning and end of each clip to remove any unnecessary footage. Cut out any mistakes or pauses. Focus on keeping the tutorial concise and to the point.
4. Add Transitions
Use transitions to smoothly connect your clips. Simple transitions like cuts or fades are usually the best choice. Avoid using overly flashy or distracting transitions.
5. Add Text and Graphics
Use text and graphics to highlight important information or to add visual interest to your tutorial. For example, you can add text to identify the tools you’re using or to show the steps in the process. You can also add graphics like arrows or circles to draw attention to specific areas.
6. Add Music and Sound Effects
Adding music and sound effects can make your tutorial more engaging. Choose music that is upbeat and positive, but not too distracting. Use sound effects to emphasize certain actions or to add a touch of humor.
7. Adjust Audio Levels
Make sure the audio levels are consistent throughout your tutorial. Adjust the volume of your voiceover, music, and sound effects so that they are all balanced. Use noise reduction tools to remove any background noise.
8. Color Correction
Color correction can improve the overall look of your video. Adjust the brightness, contrast, and saturation to make your footage look more vibrant and professional. Use color grading to create a consistent look and feel throughout your tutorial.
9. Export Your Video
Once you’re finished editing your tutorial, export it in a format that is suitable for online sharing. MP4 is a popular choice because it is widely compatible with different platforms. Choose a resolution that is high enough to look good, but not so high that the file size is too large. 1080p is a good balance between quality and file size.
Sharing Your Chucks Tutorial
Congratulations, you’ve created an awesome chuck tutorial! Now it’s time to share it with the world.
1. Choose Your Platform
YouTube is the most popular platform for sharing video tutorials, but you can also share your video on other platforms like Vimeo, Facebook, or Instagram.
2. Write a Compelling Title and Description
Your title and description are the first things people will see, so make them count. Use keywords that people are likely to search for, and write a clear and concise description of your tutorial. Include a list of the tools and materials used, and a summary of the steps covered.
3. Create a Thumbnail
Your thumbnail is the image that represents your video. Choose an eye-catching image that accurately reflects the content of your tutorial. Use text and graphics to make your thumbnail stand out.
4. Use Relevant Tags
Tags are keywords that help people find your video. Use relevant tags that describe the topic of your tutorial, the tools used, and the skills demonstrated. Examples might include: “bike repair,” “chuck multi-tool,” “flat tire,” “brake adjustment,” “bicycle maintenance.”
5. Promote Your Video
Share your video on social media, email it to your friends and family, and post it on relevant forums and websites. The more people who see your video, the more views and subscribers you’ll get.
Essential Equipment for Filming Tutorials

Here’s a quick rundown of the gear that will help you create high-quality tutorials:
| Equipment | Description | Why You Need It |
|---|---|---|
| Camera | Smartphone or digital camera with video recording capabilities. | Captures the footage for your tutorial. |
| Tripod | A stable stand for your camera. | Ensures steady, professional-looking footage. |
| Microphone | External microphone (lavalier or shotgun). | Captures clear audio, minimizing background noise. |
| Lighting | Ring light, softbox, or natural light source. | Provides adequate and even lighting for your workspace. |
| Editing Software | DaVinci Resolve, iMovie, Adobe Premiere Pro. | Allows you to edit, trim, and enhance your video footage. |
| Computer | Laptop or desktop computer with sufficient processing power. | Handles video editing tasks smoothly. |
Tips for Engaging Tutorials
Here are some extra tips to make your chuck tutorials stand out and keep viewers engaged:
- Be Yourself: Let your personality shine through. Be authentic and relatable.
- Tell Stories: Share personal anecdotes or stories to connect with your viewers.
- Use Humor: Inject humor into your tutorials to keep viewers entertained.
- Ask Questions: Ask questions to encourage viewers to interact with your video.
- Respond to Comments: Respond to comments and questions from viewers. This shows that you care about their feedback.
- Collaborate with Others: Collaborate with other YouTubers or cyclists to reach a wider audience.
Advanced Techniques
Ready to take your tutorials to the next level? Here are some advanced techniques to consider:
- Multi-Camera Setup: Use multiple cameras to capture different angles of your workspace.
- Screen Recording: Use screen recording to show software demonstrations or online resources.
- Motion Graphics: Use motion graphics to add visual interest and to explain complex concepts.
- Green Screen: Use a green screen to create custom backgrounds for your tutorials.
Potential Problems and Solutions
Here are some common challenges you might face when filming tutorials, along with solutions:
| Problem | Solution |
|---|---|
| Shaky Footage | Use a tripod or image stabilization software. |
| Poor Audio | Use an external microphone or record in a quiet environment. |
| Bad Lighting | Use artificial lighting or film in a well-lit area. |
| Distracting Background | Choose a clean and uncluttered background. |
| Lack of Engagement | Be enthusiastic, tell stories, and ask questions. |
FAQ
Q: What’s the best camera for filming tutorials?
A: You don’t need a fancy camera! Your smartphone or a basic digital camera will work great. The key is good lighting and a stable tripod.
Q: How do I get good audio for my tutorials?
A: An external microphone is your best bet. If that’s not an option, record in a quiet room and speak clearly.
Q: What editing software should I use?
A: For beginners, free options like DaVinci Resolve or iMovie are excellent. If you’re ready to invest, Adobe Premiere Pro is a powerful choice.
Q: How long should my tutorial be?
A: Aim for concise and informative. Most tutorials are between 5 and 15 minutes. Respect your viewers’ time!
Q: How do I get more views on my tutorials?
A: Use relevant keywords in your title, description, and tags. Promote your video on social media and engage with your viewers.
Q: What if I make a mistake during filming?
A: No problem! Just pause, take a breath, and start again. You can always edit out mistakes later.
Q: How important is lighting for filming tutorials?
A: Lighting is crucial! Good lighting makes your video look professional and helps viewers see what you’re doing. Natural light is best, but you can also use lamps or a ring light.
Creating a tutorial about using chucks might seem daunting at first, but with careful planning and a little practice, anyone can do it. By following the steps outlined in this guide, you can create high-quality, engaging tutorials that will help others learn new skills and improve their cycling experience. So grab your chuck, set up your camera, and start sharing your knowledge with the world!


