
How to Fix Loose Chuck Fitting: Easy DIY Guide
Quick Summary: A loose chuck fitting on your bike pump can be frustrating, but it’s often a simple fix! Usually, tightening the chuck head or replacing worn-out rubber seals will do the trick. Sometimes, you might need to replace the entire chuck. This guide will walk you through these steps, so you can get your pump working like new again!
Is your bike pump’s chuck fitting loose? Don’t worry, it’s a common issue! A loose chuck means air leaks and wasted effort. Instead of struggling with every tire inflation, you can easily fix this. This guide will give you simple, step-by-step instructions to tighten, repair, or replace your chuck fitting. Let’s get your pump working perfectly so you can enjoy smooth rides!
Understanding the Bike Pump Chuck

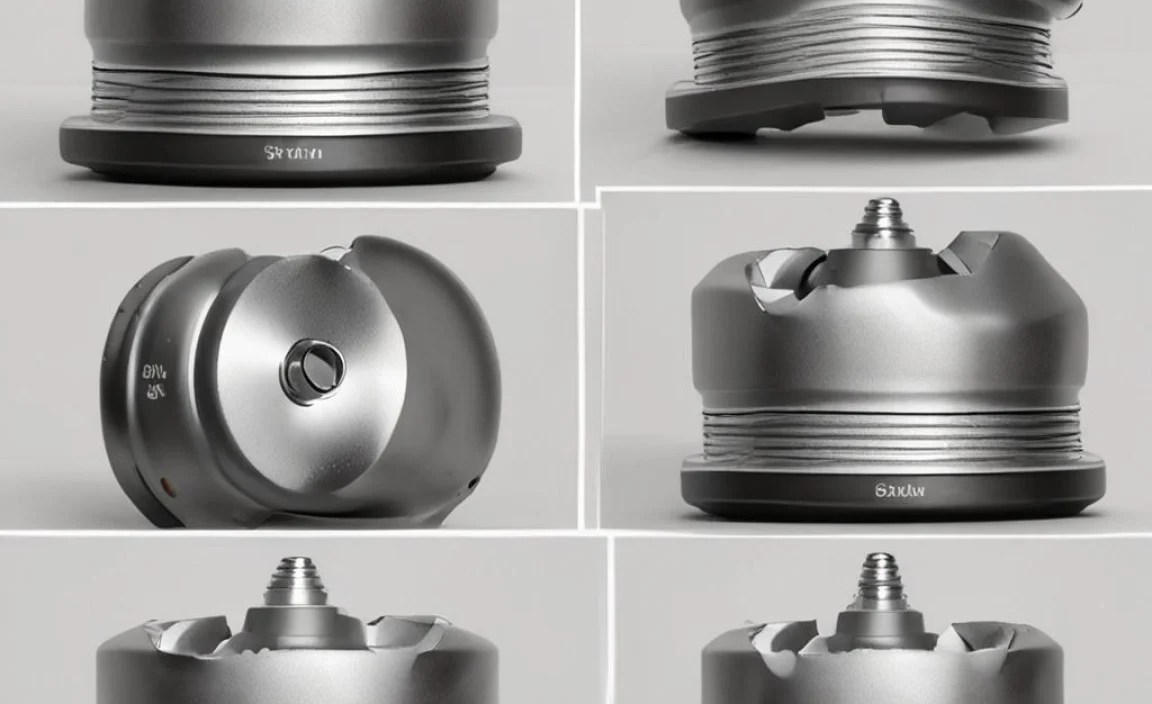
The chuck is the part of your bike pump that connects to the tire valve. It needs to create a tight seal to effectively inflate your tires. Over time, these fittings can loosen or wear out, leading to air leaks and difficulty inflating your tires.
Types of Chucks
There are two main types of chucks:
- Presta: Designed for Presta valves, which are common on road bikes and some mountain bikes. They are narrower and have a valve core that needs to be opened before inflation.
- Schrader: Designed for Schrader valves, which are the same as those found on car tires. They are wider and have a spring-loaded valve.
Common Causes of Loose Chucks
Several factors can cause a chuck to become loose:
- Wear and Tear: Regular use can cause the rubber seals and internal components to degrade over time.
- Loose Connections: The chuck head or hose connection may loosen due to vibrations and regular handling.
- Damage: Accidental drops or impacts can damage the chuck, leading to leaks and loose fittings.
Tools You’ll Need
Before you start, gather these tools:
- Wrench or Adjustable Spanner: For tightening the chuck head or hose connection.
- Screwdrivers: Both Phillips head and flathead screwdrivers may be needed to disassemble the chuck.
- Replacement Rubber Seals or O-rings: To replace worn-out seals inside the chuck.
- New Chuck (Optional): If the chuck is severely damaged or beyond repair.
- Pliers: For gripping small parts.
- Grease: To lubricate the threads and seals for smooth operation.
- Clean Rags: For wiping away dirt and grease.
Step-by-Step Guide to Fixing a Loose Chuck Fitting

Follow these steps to diagnose and fix your loose chuck fitting:
Step 1: Inspect the Chuck
Carefully examine the chuck for any visible damage. Look for cracks, worn rubber seals, or loose connections.
- Check for Cracks: Look closely at the chuck body for any signs of cracking.
- Inspect Rubber Seals: Check the rubber seals for wear, cracks, or dryness. These seals are crucial for maintaining an airtight connection.
- Examine Connections: Ensure the chuck head and hose connection are tightly secured.
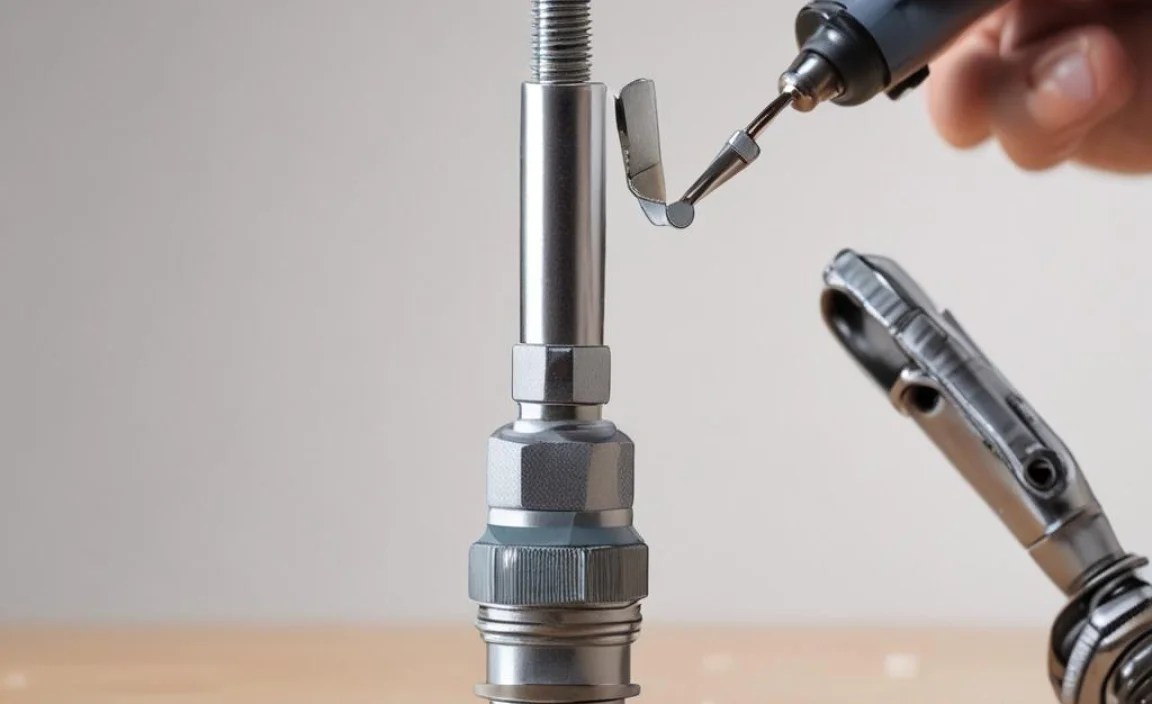
Step 2: Tighten the Chuck Head
Often, a loose chuck head is the culprit. Use a wrench or adjustable spanner to tighten it.
- Locate the Chuck Head: Find the part of the chuck that connects directly to the hose.
- Use a Wrench: Place the wrench on the chuck head and gently tighten it. Be careful not to overtighten, as this could damage the threads.
- Test the Connection: After tightening, try attaching the chuck to a tire valve and see if the leak is gone.
Step 3: Replace Worn Rubber Seals
If tightening the chuck head doesn’t solve the problem, the rubber seals might be worn out. Replacing these seals can restore the airtight connection.
- Disassemble the Chuck: Carefully take apart the chuck using screwdrivers and pliers. Pay attention to how the parts fit together so you can reassemble it correctly.
- Locate the Seals: Identify the rubber seals or O-rings inside the chuck. These are usually located around the valve opening.
- Remove Old Seals: Use a small tool, like a pick or small screwdriver, to gently remove the old seals.
- Install New Seals: Place the new seals in the same position as the old ones. Make sure they are seated properly.
- Lubricate Seals: Apply a small amount of grease to the new seals to help them create a better seal and prevent wear.
- Reassemble the Chuck: Put the chuck back together, making sure all parts are properly aligned.
- Test the Connection: Attach the chuck to a tire valve and test for leaks.
Step 4: Check and Tighten Hose Connection
The hose connection to the pump body can also become loose over time. Tightening this connection can resolve air leaks.
- Locate the Hose Connection: Find where the hose connects to the main body of the pump.
- Use a Wrench: Use a wrench or adjustable spanner to tighten the connection. Again, be careful not to overtighten.
- Test for Leaks: After tightening, check for air leaks by listening for hissing sounds while pumping.
Step 5: Replace the Entire Chuck (If Necessary)
If the chuck is severely damaged or you can’t find replacement seals, you might need to replace the entire chuck.
- Purchase a New Chuck: Buy a replacement chuck that is compatible with your pump and the type of valves you use (Presta or Schrader).
- Remove the Old Chuck: Disconnect the old chuck from the hose by unscrewing it.
- Install the New Chuck: Screw the new chuck onto the hose, ensuring it is securely tightened.
- Test the Connection: Attach the new chuck to a tire valve and test for leaks.
Troubleshooting Tips

Here are some additional tips to help you troubleshoot:
- Persistent Leaks: If you still experience leaks after replacing the seals, double-check that the seals are properly seated and lubricated.
- Valve Compatibility: Ensure that the chuck is compatible with the type of valve you are using (Presta or Schrader). Some chucks are dual-head and can accommodate both types.
- Hose Condition: Inspect the hose for cracks or damage. A damaged hose can also cause air leaks.
Preventative Maintenance
To keep your bike pump in good working condition, follow these maintenance tips:
- Regular Cleaning: Clean the chuck regularly to remove dirt and debris.
- Lubrication: Lubricate the seals and threads periodically to prevent wear and ensure smooth operation.
- Proper Storage: Store your pump in a clean, dry place to prevent damage and corrosion.
Choosing the Right Replacement Chuck
When replacing a chuck, consider these factors:
- Valve Compatibility: Ensure the chuck is compatible with Presta, Schrader, or both.
- Material: Look for durable materials like brass or aluminum.
- Ease of Use: Choose a chuck that is easy to attach and remove from the valve.
- Reviews: Read reviews from other cyclists to get an idea of the chuck’s performance and reliability.
Alternative Solutions
If you’re having trouble fixing your chuck, consider these alternatives:
- Bike Shop: Take your pump to a local bike shop for professional repair.
- New Pump: If your pump is old and heavily worn, it might be time to invest in a new one.
Table: Common Issues and Solutions for Loose Chuck Fittings
| Issue | Possible Solution | Difficulty | Tools Needed |
|---|---|---|---|
| Loose Chuck Head | Tighten the chuck head with a wrench | Easy | Wrench or adjustable spanner |
| Worn Rubber Seals | Replace the rubber seals inside the chuck | Medium | Screwdrivers, pliers, replacement seals, grease |
| Loose Hose Connection | Tighten the hose connection to the pump body | Easy | Wrench or adjustable spanner |
| Damaged Chuck Body | Replace the entire chuck | Easy | New chuck, wrench |
| Valve Incompatibility | Ensure the chuck is compatible with the valve type | Easy | N/A (choose correct chuck) |
Table: Comparing Chuck Materials
| Material | Pros | Cons | Best Use |
|---|---|---|---|
| Brass | Durable, corrosion-resistant, reliable | Heavier than aluminum, can be more expensive | High-pressure pumps, frequent use |
| Aluminum | Lightweight, affordable, good corrosion resistance | Less durable than brass, can wear faster | Portable pumps, occasional use |
| Plastic | Very lightweight, inexpensive | Least durable, prone to cracking | Basic pumps, infrequent use |
External Resources
For more information on bike pump maintenance and repair, check out these resources:
- Park Tool Repair Help – A comprehensive guide to bike maintenance and repair.
- BikeRadar – How to service your bike pump – A detailed guide on servicing your bike pump.
FAQ: Fixing Loose Chuck Fittings
Question 1: Why does my bike pump chuck keep leaking air?
Answer: Air leaks often happen because the rubber seals inside the chuck are worn out or the chuck head is loose. Replacing the seals or tightening the head can fix this.
Question 2: How do I know if my chuck is compatible with my tire valve?
Answer: Check if your chuck is designed for Presta or Schrader valves. Presta valves are narrow with a small nut at the tip, while Schrader valves are wider, like car tire valves. Some chucks are dual-head and work with both.
Question 3: What kind of grease should I use on the rubber seals?
Answer: Use a silicone-based grease, as it won’t damage the rubber. Avoid petroleum-based greases, which can cause the rubber to degrade over time.
Question 4: How often should I replace the rubber seals in my bike pump chuck?
Answer: It depends on how often you use your pump. Inspect the seals every few months and replace them when you notice cracks, wear, or air leaks.
Question 5: Can I use a car tire pump on my bike tires?
Answer: Yes, if your bike has Schrader valves. However, car tire pumps often deliver too much air at once, which can make it harder to get an accurate pressure reading for bike tires.
Question 6: What if I overtighten the chuck head?
Answer: Overtightening can damage the threads and make it difficult to remove the chuck. If this happens, try using penetrating oil to loosen the threads. If that doesn’t work, you might need to replace the chuck.
Question 7: Where can I buy replacement rubber seals for my bike pump chuck?
Answer: You can find replacement seals at most bike shops or online retailers that sell bike pump parts. Make sure to buy seals that are compatible with your specific pump model.
Conclusion
Fixing a loose chuck fitting on your bike pump is a straightforward process that can save you time and frustration. By following these steps, you can tighten connections, replace worn seals, or replace the entire chuck. Regular maintenance and proper storage will keep your pump working smoothly for years to come. Now get back to pumping with confidence and enjoying your rides!


