
How to Check If Your Chuck Fits Tubeless Setup: Easy Guide
Quick Summary: Making sure your chuck fits your tubeless setup is crucial for easy inflation and avoiding leaks. Start by identifying your valve type (Presta or Schrader). Then, check if your chuck is compatible and seals properly without leaking air when attached. Test the connection by inflating a tire slightly to ensure a secure, leak-free fit before fully inflating.
Ever struggled to inflate your tubeless bike tires, only to be defeated by a leaky chuck? It’s a common frustration! A poorly fitting chuck can make inflating your tires a real chore and lead to inaccurate pressure readings. But don’t worry, getting it right is simpler than you think. This guide will walk you through checking your chuck, ensuring a secure and efficient inflation every time.
We’ll cover identifying your valve type, assessing chuck compatibility, testing the seal, and troubleshooting common issues. By the end, you’ll know exactly how to ensure your chuck fits perfectly, making your tubeless setup a breeze.
Understanding Valve Types
Before diving into chuck fittings, let’s quickly review the two main types of bike tire valves: Presta and Schrader. Knowing the difference is the first step in ensuring a proper fit.
Presta Valves
Presta valves are commonly found on road bikes and higher-end mountain bikes. They are narrower than Schrader valves and feature a valve core that needs to be unlocked before inflation.
- Appearance: Slimmer, with a locking nut at the tip.
- Usage: Typically used on road and performance bikes.
- Inflation: Requires unlocking the valve core before inflating.
Schrader Valves
Schrader valves are wider and more robust, similar to those found on car tires. They have a spring-loaded core that opens when you press down on it.
- Appearance: Wider, sturdier, like a car tire valve.
- Usage: Common on mountain bikes, hybrid bikes, and some older road bikes.
- Inflation: Easier to inflate, similar to filling a car tire.
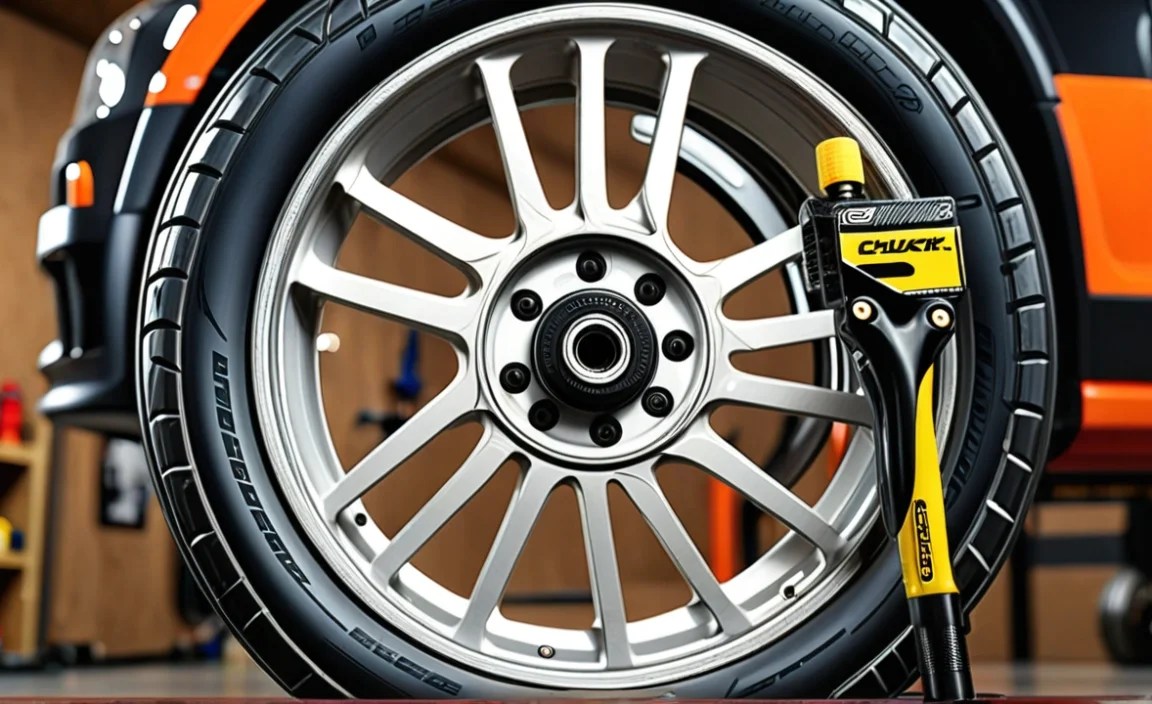
Checking Chuck Compatibility
Now that you know your valve type, let’s ensure your chuck is compatible. Most bike pumps come with dual-head chucks that can accommodate both Presta and Schrader valves. However, it’s essential to check for proper fit and seal.
Dual-Head Chucks
Dual-head chucks have two openings: one for Presta valves and one for Schrader valves. Make sure you’re using the correct side for your valve type.
- Pros: Versatile, works with both valve types.
- Cons: Can sometimes be less precise than dedicated chucks.
Dedicated Chucks
Dedicated chucks are designed for either Presta or Schrader valves only. These often provide a more secure and accurate fit.
- Pros: More precise, better seal.
- Cons: Only works with one valve type.
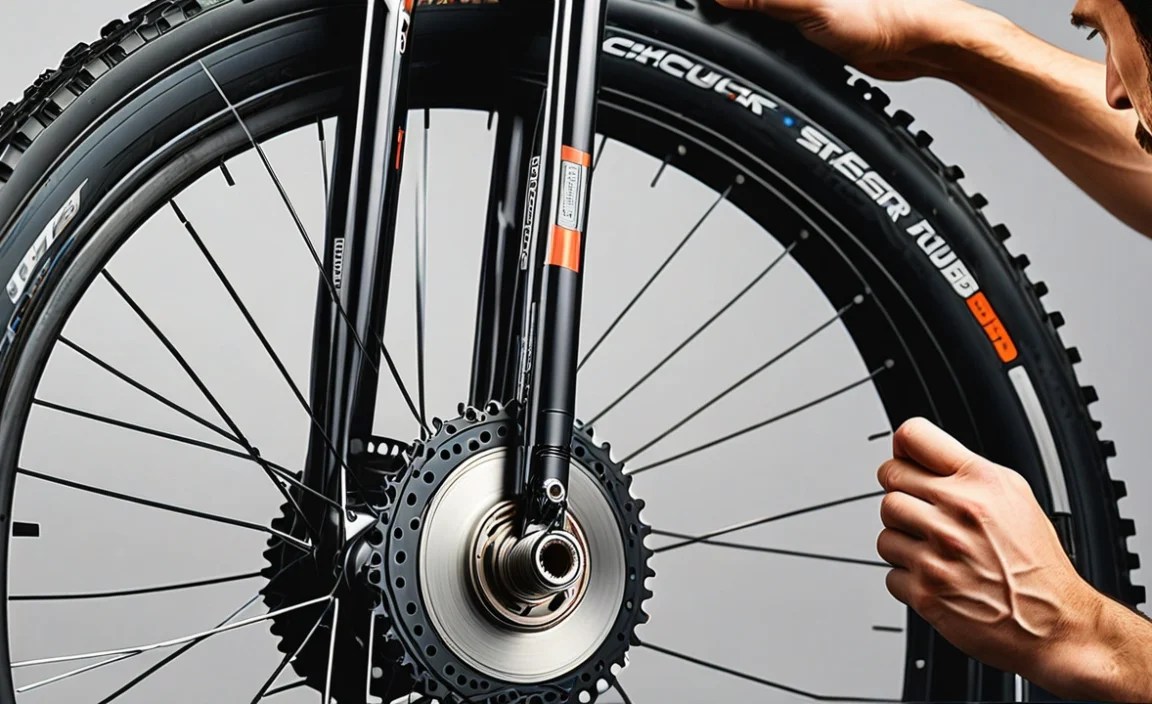
Step-by-Step Guide: Checking Chuck Fit
Follow these steps to ensure your chuck fits your tubeless setup correctly:
Step 1: Identify Your Valve Type
Determine whether you have Presta or Schrader valves on your bike. This is the foundation for selecting the correct chuck interface.
Step 2: Select the Correct Chuck Opening
If you have a dual-head chuck, choose the side that matches your valve type. For dedicated chucks, ensure you have the right one for your valve.
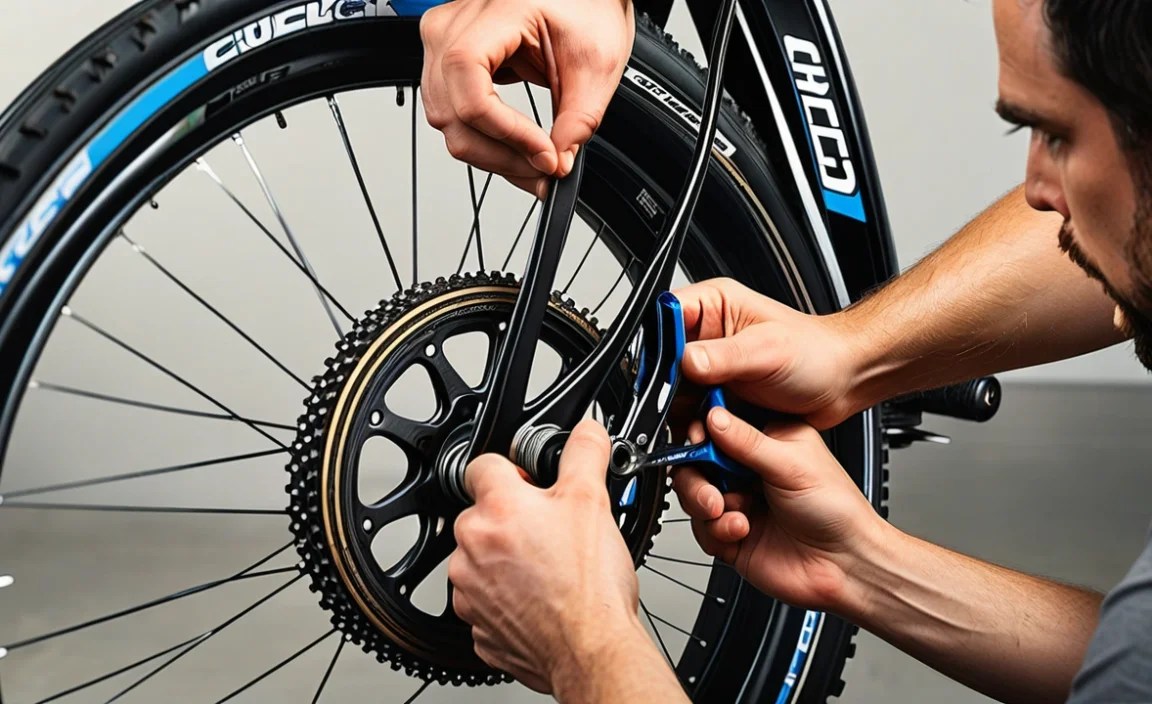
Step 3: Attach the Chuck to the Valve
Carefully attach the chuck to the valve. For Presta valves, make sure to unlock the valve core first. Press the chuck firmly onto the valve, ensuring it’s fully seated.
Step 4: Test for Leaks
Listen for any hissing sounds. If you hear air escaping, the chuck isn’t sealing properly. Try repositioning the chuck or tightening the connection.
Step 5: Inflate Slightly and Re-Check
Inflate the tire slightly (just a few PSI) and check again for leaks. This will help you identify any issues under pressure.
Step 6: Secure the Connection
Many chucks have a lever or locking mechanism to secure the connection. Engage this to ensure a tight seal during inflation. Some screw on, others clamp on. Ensure you are using it correctly.
Troubleshooting Common Issues
Even with the right chuck, you might encounter some common issues. Here’s how to troubleshoot them:
Leaking at the Valve-Chuck Interface
- Problem: Air hissing from where the chuck connects to the valve.
- Solution:
- Reposition the chuck and ensure it’s fully seated.
- Tighten the locking mechanism or lever.
- Check the valve core for damage or debris.
Valve Core Issues (Presta)
- Problem: Valve core is bent, damaged, or clogged.
- Solution:
- Replace the valve core with a new one.
- Clean the valve core with a small brush or solvent.
Chuck Not Gripping Properly
- Problem: Chuck slips off the valve during inflation.
- Solution:
- Ensure the chuck is the correct size for your valve.
- Replace the chuck if it’s worn out or damaged.
Damaged Chuck Seals
- Problem: Internal seals in the chuck are worn, causing leaks.
- Solution:
- Replace the chuck seals (if possible).
- Replace the entire chuck if seals aren’t replaceable.
Tools and Accessories for Tubeless Setups

Having the right tools and accessories can make your tubeless setup and maintenance much easier. Here are a few essentials:
- Valve Core Tool: For removing and installing Presta valve cores.
- Tire Levers: For removing tires from the rim.
- Tubeless Sealant: For sealing small punctures.
- Floor Pump with Gauge: For accurate inflation.
- CO2 Inflator: For quick inflation on the road.
Recommended Pumps and Chucks
Choosing the right pump and chuck can significantly improve your tubeless experience. Here are some recommended options:
Floor Pumps
| Pump | Features | Pros | Cons |
|---|---|---|---|
| Lezyne CNC Floor Drive | High-pressure, accurate gauge | Durable, precise inflation | Pricey |
| Topeak JoeBlow Sport III | Dual-head, easy to use | Reliable, affordable | Gauge can be slightly off |
| Bontrager TLR Flash Charger | Integrated chamber for tubeless setup | Makes tubeless inflation easier | Bulky |
Chucks
| Chuck | Type | Features | Pros | Cons |
|---|---|---|---|---|
| Silca Hiro V.2 | Thread-on | Precise, secure fit | Expensive | |
| Lezyne ABS Flip-Thread Chuck | Thread-on/Press-on | Versatile, easy to use | Can leak if not properly tightened | |
| Topeak SmartHead DX3 | Dual-head | Auto-adjusts to valve type | Not as precise as dedicated chucks |
Maintaining Your Chuck for Longevity
Proper maintenance can extend the life of your chuck and ensure consistent performance. Here are some tips:
- Clean Regularly: Wipe down the chuck after each use to remove dirt and debris.
- Check for Wear: Inspect the chuck for cracks, worn seals, or other damage.
- Replace Seals: If possible, replace worn seals to maintain a tight connection.
- Store Properly: Store your pump and chuck in a clean, dry place.
Understanding Tubeless Tire Pressure
Getting your tire pressure right is crucial for optimal performance and comfort. Here’s a quick guide:
- Road Bikes: Typically 80-120 PSI (adjust based on tire width and rider weight).
- Mountain Bikes: Typically 20-35 PSI (adjust based on terrain and tire width).
- Gravel Bikes: Typically 30-50 PSI (adjust based on terrain and tire width).
Use a reliable pressure gauge to ensure accurate readings. Digital gauges are often more precise than analog ones. Learn more about tire pressure from reputable sources like Bicycle Rolling Resistance.
Why a Good Chuck Fit Matters
A proper chuck fit is essential for several reasons:
- Accurate Inflation: Ensures you’re inflating your tires to the correct pressure.
- Efficient Inflation: Reduces air loss, making inflation quicker and easier.
- Prevents Damage: Avoids damaging the valve or tire.
- Safety: Proper tire pressure improves handling and reduces the risk of flats.
Advanced Tips for Tubeless Inflation
Once you’ve mastered the basics, here are some advanced tips for tubeless inflation:
- Use a Tubeless Inflator Pump: These pumps have a chamber that releases a large volume of air quickly, helping to seat the tire beads.
- Apply Tire Sealant Correctly: Ensure the sealant is evenly distributed inside the tire.
- Use a Bead Seater Tool: Helps to push the tire beads into the rim for a secure fit.
FAQ: Checking Your Chuck Fit for Tubeless Setups
What is a tubeless setup?
A tubeless setup means your tires don’t use an inner tube. The tire seals directly to the rim, offering lower rolling resistance and fewer flats.
Why is chuck fit important for tubeless tires?
A proper chuck fit ensures no air leaks during inflation, which is critical for seating the tire beads and maintaining pressure in a tubeless system.
How do I know if my chuck is leaking?
Listen for hissing sounds at the valve-chuck connection. You can also use soapy water to check for bubbles, indicating a leak.
Can I use any pump for tubeless tires?
While you can use a standard pump, a tubeless inflator pump with a burst tank is often necessary to quickly seat the tire beads during initial setup.
What’s the difference between Presta and Schrader valves?
Presta valves are narrow with a lock nut, common on road bikes. Schrader valves are wider, like car tires, and found on many mountain and hybrid bikes.
How often should I check my chuck for wear?
Inspect your chuck regularly, especially if you notice leaks or difficulty inflating tires. Replace it if you see cracks, damage, or worn seals.
What PSI should I inflate my tubeless tires to?
Recommended PSI varies. Road bikes often use 80-120 PSI, mountain bikes 20-35 PSI, and gravel bikes 30-50 PSI. Adjust based on tire width, terrain, and your weight.
Conclusion
Ensuring your chuck fits your tubeless setup is a small detail that makes a big difference. By understanding valve types, checking chuck compatibility, and troubleshooting common issues, you can achieve efficient and accurate inflation every time. With the right tools and a bit of practice, you’ll be ready to tackle any ride with confidence, knowing your tires are perfectly set up for optimal performance. So get out there, pump up those tires, and enjoy the ride!


