
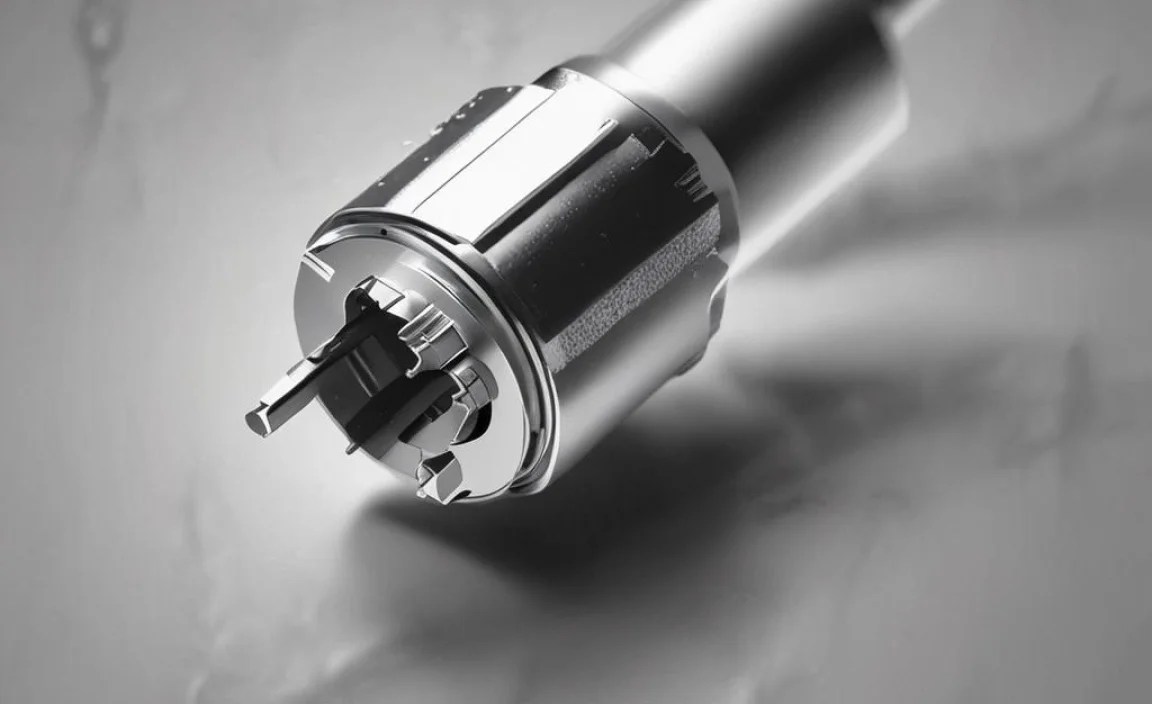
Chuck Connector Cracked? Powerful Fixes Here
Quick Summary: A cracked chuck connector on your bike pump can stop you from inflating your tires. First, see if you can tighten the chuck or replace any O-rings. If the crack is too big, you’ll need to replace the entire chuck head. You can buy replacement chucks online or at a local bike shop. This fix is often cheaper than buying a whole new pump!
Having a flat tire is frustrating enough. But discovering your bike pump’s chuck connector is cracked? That adds insult to injury! A cracked chuck means air leaks, making it nearly impossible to inflate your tires properly. Don’t worry, though! This is a common problem that’s usually easy to fix. You don’t always need a brand new pump. We’ll walk you through how to diagnose the problem and get your pump working like new again. Let’s get started so you can get back on the road!
Why Did My Chuck Connector Crack?

Before we dive into the fix, let’s understand why these cracks happen in the first place. Knowing the cause can help you prevent future problems.
- Wear and Tear: Over time, the constant pressure and friction of attaching and detaching the chuck can weaken the material, leading to cracks.
- Over-Tightening: For chucks that screw onto the valve, over-tightening can stress the connector and cause it to crack.
- Material Fatigue: Some cheaper chucks are made from lower-quality plastics or metals that are more prone to cracking under pressure.
- Environmental Factors: Exposure to sunlight, extreme temperatures, and chemicals can degrade the chuck material over time.
- Accidental Damage: Dropping your pump or accidentally hitting the chuck against something can cause immediate cracks.
Tools You’ll Need

Gather these tools before you start. This will make the repair process much smoother.
- Replacement Chuck Head: Make sure it’s compatible with your pump and valve type (Presta or Schrader).
- Screwdrivers: Both Phillips head and flathead, depending on your pump model.
- Pliers: For gripping and loosening tight parts.
- Adjustable Wrench: To loosen or tighten larger nuts.
- Allen Wrench Set: Metric sizes are most common on bike pumps.
- O-Rings: A selection of different sizes, in case you need to replace any.
- Grease: A small amount of bicycle grease to lubricate threads and O-rings.
- Rag: For cleaning parts.
Step-by-Step Guide: Fixing a Cracked Chuck Connector

Follow these steps to diagnose and repair your cracked chuck connector.
Step 1: Inspect the Damage
Carefully examine the chuck connector to identify the location and severity of the crack. Is it a small hairline crack, or a larger, more significant break? This will determine whether a repair is possible or if you need a full replacement.
Step 2: Try Tightening the Chuck (If Applicable)
Some chucks are made of multiple parts that can loosen over time. Use pliers or an adjustable wrench to gently tighten the connection points. Be careful not to over-tighten, as this could worsen the crack or damage other parts.
Step 3: Check and Replace O-Rings
O-rings create an airtight seal within the chuck. If they’re worn, cracked, or missing, they can cause air leaks that mimic a cracked connector. Remove the O-rings (you might need a small pick or screwdriver), inspect them, and replace them with new ones of the correct size. A little grease can help them seat properly.
Step 4: Remove the Old Chuck Head
If tightening and replacing O-rings doesn’t solve the problem, you’ll need to replace the entire chuck head. This usually involves unscrewing the old chuck from the hose or pump body. Here’s how:
- Locate the Connection Point: Find where the chuck connects to the hose or pump body.
- Loosen the Connection: Use an adjustable wrench or pliers to loosen the nut or fitting that holds the chuck in place. Be careful not to damage the hose or pump body.
- Unscrew the Chuck: Once the connection is loose, unscrew the old chuck by hand. If it’s stuck, use pliers for extra grip.
Step 5: Install the New Chuck Head
Now it’s time to install the replacement chuck. Follow these steps:
- Prepare the Threads: Clean the threads on the hose or pump body and apply a small amount of grease. This will help the new chuck screw on smoothly and create a good seal.
- Screw on the New Chuck: Screw the new chuck onto the hose or pump body by hand. Make sure it’s aligned properly.
- Tighten the Connection: Use an adjustable wrench or pliers to tighten the connection. Don’t over-tighten! Just snug enough to create a secure seal.
Step 6: Test the Pump
After installing the new chuck, test the pump to make sure it’s working properly. Attach the chuck to a tire valve and inflate the tire. Check for air leaks around the chuck and hose connection. If you hear or feel any leaks, tighten the connection further or check the O-rings.
Choosing the Right Replacement Chuck
With so many options out there, picking the right replacement chuck can be tricky. Here’s what to consider:
Valve Compatibility
The most important factor is valve compatibility. Bikes use two main types of valves:
- Presta: These are the skinny valves with a small locking nut at the tip. They’re common on road bikes and high-performance bikes.
- Schrader: These are the same type of valves you find on car tires. They’re common on mountain bikes, hybrid bikes, and kids’ bikes.
Make sure the replacement chuck is compatible with the type of valves on your bike. Some chucks are dual-head, meaning they can work with both Presta and Schrader valves. These are a convenient option if you have multiple bikes with different valve types.
Material
Chucks are typically made from plastic, metal, or a combination of both. Metal chucks are generally more durable and long-lasting than plastic ones, but they can also be more expensive. Plastic chucks are lighter and more affordable, but they may be more prone to cracking.
Connection Type
Chucks connect to the hose or pump body in different ways. Some screw on, while others use a clamp or lever mechanism. Screw-on chucks are generally more secure, but they can be more difficult to install and remove. Clamp or lever-type chucks are easier to use, but they may not provide as tight of a seal.
Brand and Price
There are many different brands of replacement chucks available, ranging in price from a few dollars to over $30. Generally, you get what you pay for. Cheaper chucks may be made from lower-quality materials and may not last as long. More expensive chucks may offer better durability, performance, and features.
Troubleshooting Common Issues
Even with a new chuck, you might encounter some problems. Here’s how to troubleshoot them:
- Air Leaks: If you’re experiencing air leaks around the chuck, double-check the connection to the hose or pump body. Make sure it’s tight and that the threads are clean and lubricated. Also, inspect the O-rings for damage or wear.
- Difficulty Attaching to Valve: If you’re having trouble attaching the chuck to the valve, make sure you’re using the correct side of the chuck for the valve type (Presta or Schrader). Also, check the valve for damage or debris.
- Pump Not Inflating: If the pump isn’t inflating the tire, make sure the chuck is fully engaged with the valve. You may need to press down firmly on the chuck while pumping. Also, check the pump’s internal components for damage or wear.
Preventing Future Cracks
Here are some tips to help prevent your chuck connector from cracking in the future:
- Avoid Over-Tightening: When attaching the chuck to the valve, don’t over-tighten it. Just snug enough to create a good seal.
- Store Your Pump Properly: Store your pump in a cool, dry place away from direct sunlight and extreme temperatures. This will help prevent the material from degrading over time.
- Regularly Inspect Your Pump: Check your pump regularly for signs of wear and tear, such as cracks, leaks, or loose connections. Address any issues promptly to prevent them from worsening.
- Use a High-Quality Pump: Invest in a high-quality pump with a durable chuck connector. While it may cost more upfront, it will likely last longer and provide better performance.
- Lubricate the Chuck: Apply a small amount of bicycle grease to the chuck threads and O-rings periodically. This will help keep the chuck working smoothly and prevent it from drying out and cracking.
Alternative Solutions
Sometimes, a cracked chuck is just the beginning of pump problems. Here are a few alternative solutions to consider:
- Replace the Entire Pump: If your pump is old or has other issues, it might be worth replacing the entire unit. New pumps often have improved features and performance.
- Use a CO2 Inflator: For quick fixes on the road, a CO2 inflator can be a lifesaver. These devices use compressed CO2 cartridges to inflate tires in seconds.
- Visit a Bike Shop: If you’re not comfortable repairing your pump yourself, take it to a local bike shop. They can diagnose the problem and perform the necessary repairs.
Cost Comparison: Repair vs. Replace
Let’s break down the costs of repairing a cracked chuck versus replacing the entire pump.
| Option | Estimated Cost | Pros | Cons |
|---|---|---|---|
| Replace Chuck Head | $5 – $30 | Affordable, easy to do yourself | May not fix underlying pump issues |
| Replace Entire Pump | $30 – $200+ | New pump, improved performance | More expensive, requires pump disposal |
Recommended Products
Here are a few highly-rated replacement chucks and bike pumps to consider:
Replacement Chucks
- Topeak SmartHead DX3: A versatile dual-head chuck that works with both Presta and Schrader valves.
- Lezyne ABS Flip-Thread Chuck: A durable aluminum chuck with a flip-thread design for easy valve engagement.
- Silca HIRO Chuck: A high-end chuck known for its precision and durability.
Bike Pumps
- Lezyne Floor Drive: A durable and accurate floor pump with a wide base and ergonomic handle.
- Topeak JoeBlow Sport III: A reliable floor pump with a built-in gauge and dual-head chuck.
- Park Tool PFP-8: A heavy-duty floor pump designed for professional use.
FAQ: Cracked Chuck Connector
What causes a bike pump chuck to crack?
Bike pump chucks often crack due to wear and tear, over-tightening, material fatigue, or accidental damage like dropping the pump.
Can I repair a cracked bike pump chuck?
Yes, you can often repair a cracked chuck by tightening loose parts or replacing worn O-rings. If the crack is too severe, you’ll need to replace the entire chuck head.
How do I know if my bike pump chuck is cracked?
Look for visible cracks, especially around the valve connection. You might also notice air leaking from the chuck while you’re trying to inflate your tire.
What type of replacement chuck do I need?
Choose a chuck that’s compatible with your bike’s valve type (Presta or Schrader). Dual-head chucks work with both types.
Where can I buy a replacement bike pump chuck?
You can buy replacement chucks online from retailers like Amazon or at your local bike shop.
Is it cheaper to repair or replace my bike pump?
Repairing a cracked chuck is usually cheaper, costing only a few dollars for a new chuck head. Replacing the entire pump can cost significantly more.
How can I prevent my bike pump chuck from cracking?
Avoid over-tightening the chuck, store your pump properly, and regularly inspect it for wear and tear. Using a high-quality pump with a durable chuck can also help.
Conclusion
A cracked chuck connector doesn’t have to mean the end of your bike pump. By following these steps, you can often repair or replace the chuck yourself, saving money and keeping your pump in good working order. Remember to choose the right replacement chuck for your valve type, and take steps to prevent future cracks by properly maintaining your pump. With a little bit of know-how, you can keep your tires inflated and enjoy smooth, trouble-free rides. So, get those tires pumped up and enjoy the ride!


