
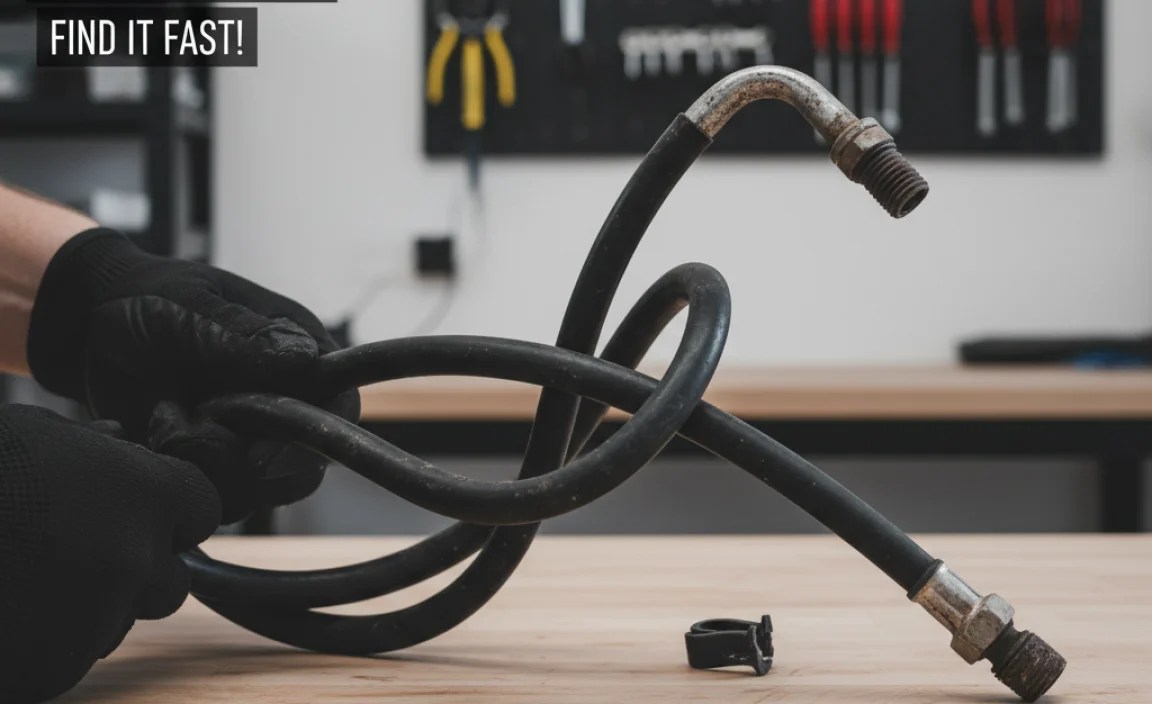
Bike Pump Hose Nearby? Find it Fast!
Quick Summary
Having bike pump hose issues? Don’t sweat it! Most problems come from leaks, clogs, or wear and tear. First, check for obvious damage. Then, try cleaning the hose and chuck. If that doesn’t work, replace the hose or the entire pump head. With a little troubleshooting, you’ll be back on the road in no time!
Is your bike pump hose giving you grief? You’re not alone! A faulty hose is a common cycling frustration. It might leak, be hard to attach, or just plain break. But don’t worry, you don’t need to be a bike mechanic to fix it.
This guide will walk you through simple steps to diagnose and fix your bike pump hose. We’ll cover everything from identifying the problem to replacing the hose. Get ready to breathe new life into your bike pump!
Understanding Bike Pump Hose Issues
Before we dive into fixing your bike pump hose, let’s understand the common problems. This will help you diagnose the issue quickly and choose the right solution.
Common Problems with Bike Pump Hoses
- Leaks: Air escaping from the hose or connections.
- Clogs: Obstructions preventing airflow.
- Cracks and Tears: Visible damage to the hose material.
- Loose Connections: The hose detaching from the pump or chuck (the part that attaches to the valve).
- Chuck Problems: The chuck not sealing properly on the valve.
Tools You’ll Need
Having the right tools makes the job easier and prevents damage to your pump. Here’s a list of essentials:
- Bike Pump Repair Kit: Often includes replacement hoses, o-rings, and chucks.
- Wrenches: For tightening or loosening connections.
- Screwdrivers: For removing and installing parts.
- Pliers: For gripping and manipulating small parts.
- Lubricant: Silicone-based lubricant to help with connections and sealing.
- Cleaning Supplies: Clean rags, soapy water, and small brushes for cleaning.
Step-by-Step Guide to Fixing Your Bike Pump Hose

Now, let’s get into the actual repair. Follow these steps to diagnose and fix your bike pump hose.
Step 1: Inspect the Hose
Start with a visual inspection. Look for:
- Cracks or Tears: Especially near the connections.
- Bulges or Weak Spots: Indicating internal damage.
- Kinks or Twists: Which can restrict airflow.
If you find any of these, the hose likely needs replacement.
Step 2: Check the Connections
Examine where the hose connects to the pump and the chuck. Look for:
- Loose Fittings: Try tightening them with a wrench.
- Damaged Threads: Which can prevent a tight seal.
- Worn O-rings: These small rubber rings provide a seal and can dry out or crack.
Tighten any loose connections. If the threads are damaged or the O-rings are worn, you’ll need to replace them.
Step 3: Clean the Hose and Chuck
Dirt and debris can clog the hose and chuck, preventing proper airflow. To clean them:
- Disconnect the Hose: From both the pump and the chuck.
- Flush the Hose: Use soapy water and a small brush to scrub the inside. Rinse thoroughly.
- Clean the Chuck: Disassemble the chuck if possible and clean each part. Use a small brush to remove any debris.
- Dry Everything: Make sure all parts are completely dry before reassembling.
Step 4: Lubricate the Connections
A little lubricant can help create a better seal and prevent future problems. Use a silicone-based lubricant on:
- O-rings: Apply a thin coat before installing.
- Threads: To help with tightening and prevent corrosion.
- Chuck Mechanism: To ensure smooth operation.
Avoid using oil-based lubricants, as they can damage rubber parts.
Step 5: Replace the Hose
If cleaning and lubricating don’t solve the problem, you may need to replace the hose. Here’s how:
- Remove the Old Hose: Unscrew or detach it from the pump and chuck.
- Measure the Old Hose: To ensure the new hose is the correct length.
- Install the New Hose: Attach it securely to the pump and chuck. Make sure the connections are tight.
You can often find replacement hoses at your local bike shop or online.
Step 6: Replace the Chuck
If the chuck is damaged or worn, replacing it is often easier than trying to repair it. Here’s how:
- Remove the Old Chuck: Unscrew or detach it from the hose.
- Install the New Chuck: Attach it securely to the hose. Make sure the connection is tight.
When choosing a new chuck, make sure it’s compatible with your bike’s valves (Presta or Schrader). Some chucks are universal, while others are specific to one type of valve.
Troubleshooting Specific Problems
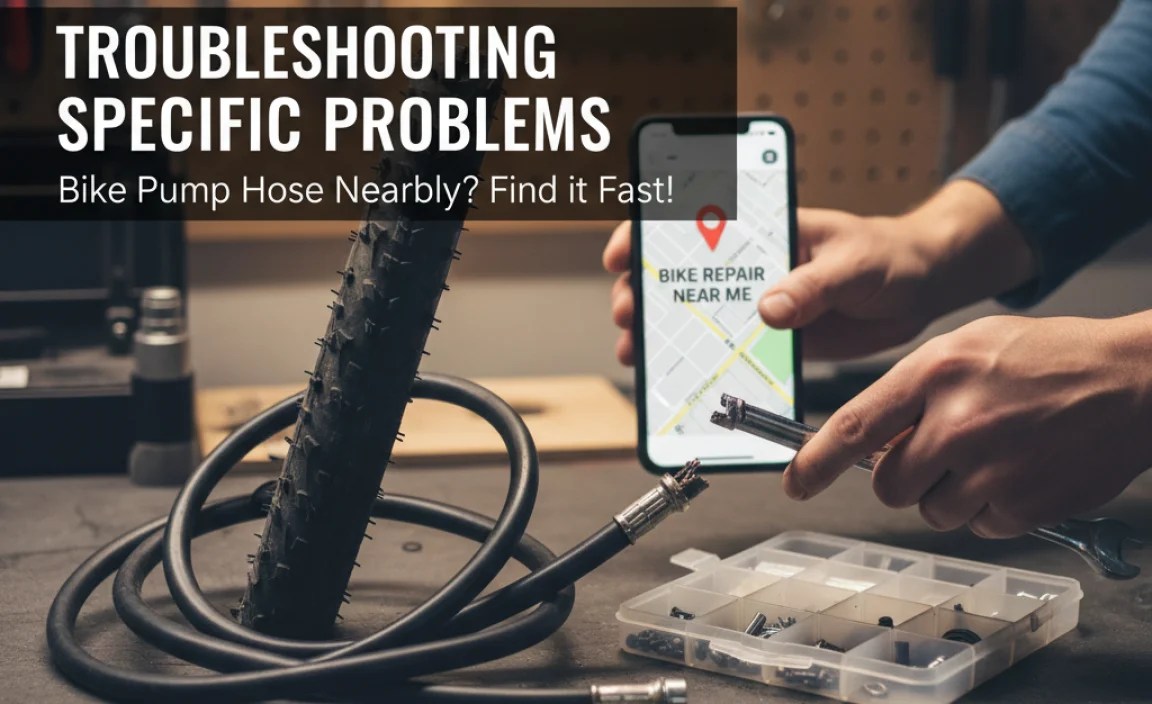
Let’s look at some specific problems you might encounter and how to solve them.
Problem: Air Leaking from the Hose
Possible Causes:
- Cracks or tears in the hose.
- Loose connections.
- Worn O-rings.
Solutions:
- Inspect the hose for damage and replace if necessary.
- Tighten all connections.
- Replace worn O-rings.
- Apply lubricant to the connections.
Problem: Hose Won’t Stay Connected to the Valve
Possible Causes:
- Damaged chuck.
- Incorrect chuck type for the valve.
- Valve stem issues.
Solutions:
- Replace the chuck.
- Make sure the chuck is compatible with your valve type (Presta or Schrader).
- Check the valve stem for damage.
Problem: No Airflow Through the Hose
Possible Causes:
- Clogged hose or chuck.
- Kinked hose.
- Internal pump problems.
Solutions:
- Clean the hose and chuck.
- Straighten any kinks in the hose.
- Check the internal components of the pump.
Maintaining Your Bike Pump Hose

Proper maintenance can extend the life of your bike pump hose and prevent problems. Here are some tips:
- Store Your Pump Properly: Keep it in a cool, dry place away from direct sunlight.
- Clean Regularly: Wipe down the hose and chuck with a clean rag after each use.
- Lubricate Connections: Apply a thin coat of silicone-based lubricant to the connections every few months.
- Inspect Regularly: Check the hose and connections for damage on a regular basis.
Choosing the Right Bike Pump and Hose

If you’re in the market for a new bike pump, consider these factors:
- Type of Pump: Floor pumps are best for home use, while mini-pumps are more portable for on-the-road repairs.
- Valve Compatibility: Make sure the pump is compatible with your bike’s valves (Presta or Schrader).
- Pressure Gauge: A gauge helps you inflate your tires to the correct pressure.
- Hose Length: A longer hose can be more convenient, especially for bikes with awkwardly placed valves.
- Hose Material: Look for durable materials that can withstand wear and tear.
Table: Comparing Bike Pump Types
| Type of Pump | Pros | Cons | Best For |
|---|---|---|---|
| Floor Pump | Easy to use, high pressure, accurate gauge | Less portable | Home use, inflating tires quickly |
| Mini-Pump | Portable, lightweight | Requires more effort, less accurate gauge | On-the-road repairs |
| CO2 Inflator | Fast inflation, very portable | Requires CO2 cartridges, can be wasteful | Emergency repairs, racing |
Table: Common Bike Pump Hose Materials
| Material | Pros | Cons |
|---|---|---|
| Rubber | Flexible, durable | Can crack or dry out over time |
| Plastic | Lightweight, inexpensive | Less durable than rubber |
| Braided Steel | Very durable, resists kinking | More expensive, less flexible |
When to Call a Professional
While many bike pump hose issues can be fixed at home, there are times when it’s best to call a professional. Consider seeking help from a bike mechanic if:
- You’re not comfortable working on your bike pump.
- You’ve tried everything and the problem persists.
- The pump is under warranty.
- The pump has complex internal problems.
FAQ: Bike Pump Hose Issues
Here are some frequently asked questions about bike pump hoses:
Q: Why does my bike pump hose keep popping off?
A: This is usually due to a worn or damaged chuck. Replace the chuck to ensure a secure connection.
Q: How often should I replace my bike pump hose?
A: It depends on how often you use your pump and the quality of the hose. Inspect it regularly and replace it when you see signs of wear or damage.
Q: Can I use any hose as a replacement for my bike pump hose?
A: No, you should use a hose specifically designed for bike pumps. These hoses are made to withstand high pressure and are compatible with bike pump connections.
Q: How do I prevent my bike pump hose from cracking?
A: Store your pump in a cool, dry place away from direct sunlight. Regularly lubricate the hose and connections to keep them in good condition.
Q: What’s the difference between Presta and Schrader valves?
A: Presta valves are narrow and have a locking nut, while Schrader valves are wider and similar to those found on car tires. Make sure your pump and chuck are compatible with your valve type. REI has a great guide on this topic.
Q: My pump hose is really stiff. What can I do?
A: Try warming the hose slightly (not with direct heat!) to make it more flexible. Also, make sure it’s not kinked or twisted. If it’s very old, it might be time to replace it.
Q: Can I fix a leak in my bike pump hose with tape?
A: Tape is only a temporary fix. It’s best to replace the hose as soon as possible for reliable performance.
Conclusion
Fixing a bike pump hose might seem daunting, but with the right tools and knowledge, it’s a manageable task. By following these steps, you can diagnose and repair common hose problems, saving you money and keeping you on the road. Remember to inspect your pump regularly, maintain the hose, and replace parts when needed. With a little care, your bike pump will provide reliable service for years to come. Now get out there and enjoy the ride!


