
How to Repair a Cycle Pump: Easy Fix Guide
Quick Summary: Cycle pumps often fail due to worn-out seals, clogged valves, or damaged hoses. Repairing them usually involves disassembling the pump, cleaning or replacing the faulty parts, and reassembling it with proper lubrication. Common repairs include replacing O-rings, cleaning the check valve, and patching or replacing the hose. With basic tools and a little patience, you can often fix your pump and avoid buying a new one.
How to Repair a Cycle Pump: A Simple Guide


Is your trusty cycle pump not pumping like it used to? Don’t toss it out just yet! Many common pump problems are easy to fix with just a few simple steps. A faulty pump can be frustrating, especially when you’re eager to hit the road or trail. The good news is that with a little know-how, you can often get your pump working like new again.
This guide will walk you through the most common cycle pump repairs. We’ll cover everything from identifying the problem to replacing worn-out parts. With clear instructions and helpful tips, you’ll be able to tackle these repairs with confidence. Let’s get started and breathe new life into your cycle pump!
Identifying the Problem
Before you start taking your pump apart, it’s important to figure out what’s causing the problem. Here are some common issues and how to spot them:
- Air Leaking Around the Hose Connection: This usually means the hose isn’t properly sealed or the connector is damaged.
- Pump Not Building Pressure: This could be due to a worn-out piston seal or a faulty check valve.
- Air Leaking from the Pump Body: This often indicates a problem with the O-rings inside the pump.
- Stiff or Difficult Pumping Action: This can be caused by dried-out grease or a misaligned piston.
- Hose is cracked or damaged: This is a common issue with older pumps.
Tools and Materials You’ll Need


Having the right tools on hand will make the repair process much easier. Here’s a list of what you’ll likely need:
- Screwdrivers (Phillips and flathead)
- Pliers
- Adjustable wrench
- Hex key set
- Pick or small hook tool
- Silicone grease or multi-purpose grease
- New O-rings (various sizes)
- Replacement hose (if needed)
- Soap and water
- Clean rags
- Small container for parts
Step-by-Step Repair Guide

Now, let’s get into the actual repair process. Follow these steps carefully, and you’ll have your pump working again in no time.
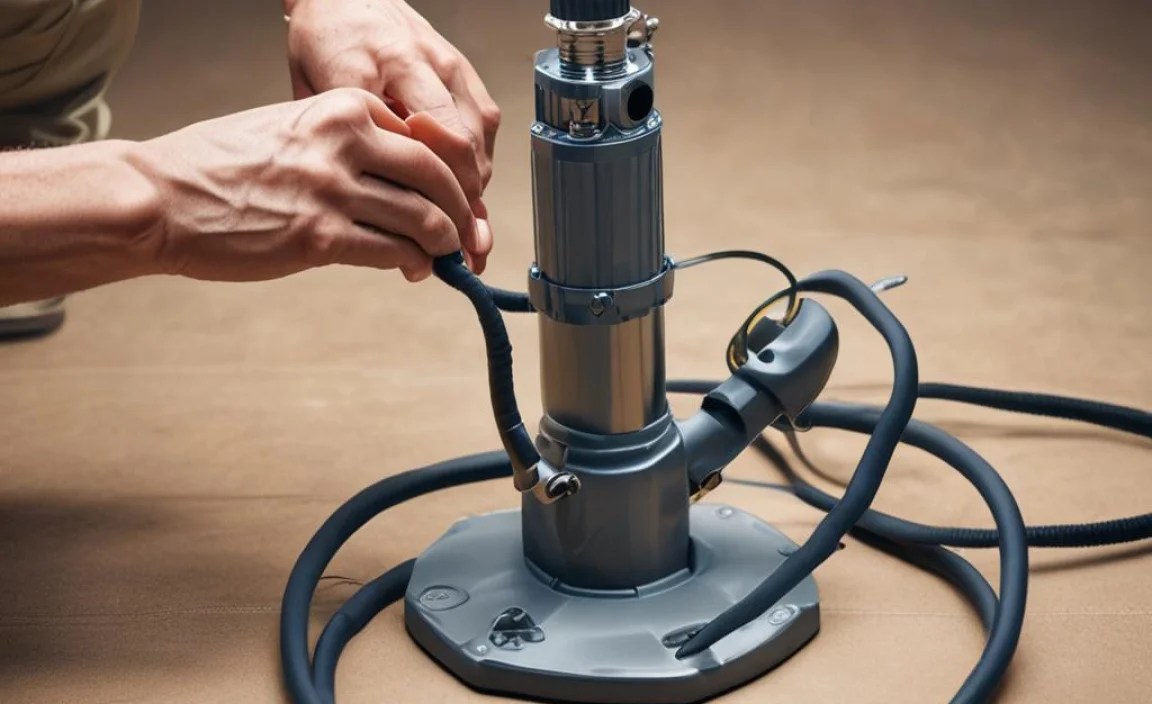
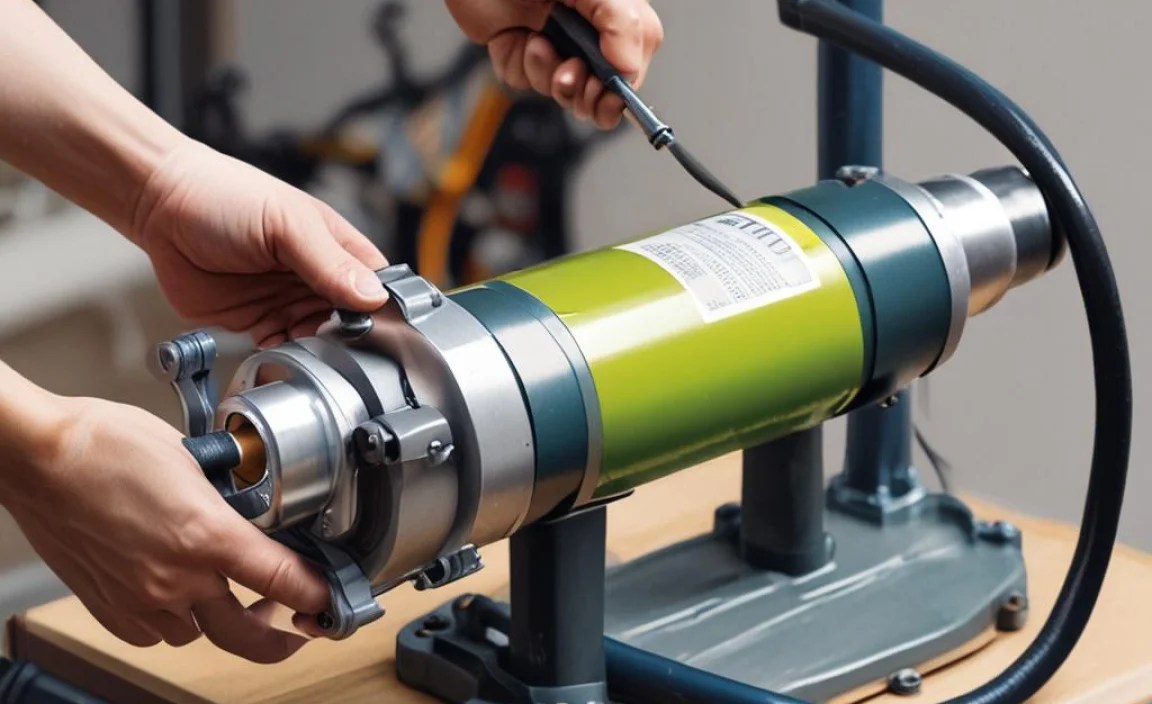
1. Disassembling the Pump
Carefully take apart your pump. Note the order of the parts as you disassemble. Taking photos can help!
- Remove the Base: Most pumps have a base that’s attached with screws or bolts. Use the appropriate screwdriver or wrench to remove them.
- Detach the Hose: Disconnect the hose from the pump body. Some hoses are threaded, while others are held in place with a clamp.
- Remove the Piston Assembly: This is usually located inside the main cylinder of the pump. You may need to unscrew a cap or remove a retaining clip to slide it out.
- Disassemble the Piston: Carefully take apart the piston assembly. This usually involves removing a nut or screw that holds the piston head in place. Pay attention to the order of the washers, seals, and other small parts.
2. Cleaning the Components
Once the pump is disassembled, clean all the parts thoroughly. This will remove any dirt, debris, or old grease that may be causing problems.
- Wash with Soap and Water: Use warm soapy water and a soft brush or rag to clean all the metal and plastic parts. Rinse them thoroughly and allow them to dry completely.
- Clean the Cylinder: Use a clean rag to wipe out the inside of the pump cylinder. Make sure to remove any dirt or grime that may have accumulated there.
- Check the Check Valve: The check valve is a small valve that allows air to flow in one direction only. Clean it carefully to make sure it’s not clogged or stuck. A helpful video on check valves can be found here.
3. Inspecting and Replacing Parts
Now that everything is clean, inspect the parts for wear and tear. Replace any parts that are damaged or worn out.
- Check the O-Rings: O-rings are rubber seals that prevent air from leaking out of the pump. Look for cracks, tears, or flat spots. Replace any O-rings that are damaged or worn. You can often find replacement O-rings at your local hardware store or bike shop.
- Inspect the Piston Seal: The piston seal is the rubber or plastic ring that seals the piston against the cylinder wall. If it’s cracked, worn, or hardened, replace it.
- Check the Hose: Inspect the hose for cracks, kinks, or leaks. If the hose is damaged, replace it with a new one. You can often find replacement hoses at your local bike shop.
- Inspect the Check Valve: Make sure the check valve is functioning properly. It should allow air to flow in one direction only. If it’s not working, replace it.
4. Reassembling the Pump
With the parts cleaned and any necessary replacements made, it’s time to put the pump back together.
- Lubricate the Parts: Apply a thin layer of silicone grease to the piston seal, O-rings, and cylinder wall. This will help the pump operate smoothly and prevent wear.
- Reassemble the Piston: Put the piston assembly back together in the correct order. Make sure all the washers, seals, and other small parts are in their proper positions.
- Insert the Piston Assembly: Slide the piston assembly back into the pump cylinder. Make sure it moves smoothly and freely.
- Attach the Hose: Reconnect the hose to the pump body. Make sure it’s securely attached and properly sealed.
- Reattach the Base: Reattach the base to the pump body using the screws or bolts you removed earlier.
5. Testing the Pump
After reassembling the pump, test it to make sure it’s working properly.
- Check for Leaks: Inflate a tire and listen for air leaks. If you hear any leaks, check the hose connections and O-rings.
- Check the Pressure: Use a pressure gauge to make sure the pump is building pressure properly. If the pressure is low, check the piston seal and check valve.
- Check the Pumping Action: Make sure the pump is pumping smoothly and easily. If the pumping action is stiff or difficult, lubricate the piston seal and cylinder wall.
Troubleshooting Common Problems
Even after following these steps, you may still encounter some problems. Here are some common issues and how to fix them:
| Problem | Possible Cause | Solution |
|---|---|---|
| Pump not building pressure | Worn piston seal | Replace the piston seal |
| Air leaking from hose connection | Loose connection | Tighten the connection |
| Stiff pumping action | Dry piston seal | Lubricate the piston seal |
| Air leaking from pump body | Worn O-rings | Replace the O-rings |
| Pump is making a hissing sound | Faulty check valve | Clean or replace the check valve |
Preventative Maintenance Tips
To keep your cycle pump in good working order, follow these preventative maintenance tips:
- Lubricate Regularly: Apply a small amount of silicone grease to the piston seal and O-rings every few months.
- Store Properly: Store your pump in a clean, dry place to prevent dirt and moisture from damaging the parts.
- Check the Hose: Regularly inspect the hose for cracks or kinks. Replace it if necessary.
- Clean the Pump: Wipe down the pump with a clean rag after each use to remove dirt and debris.
When to Consider Replacing the Pump
While many pump problems can be fixed, there comes a time when it’s more cost-effective to replace the pump altogether. Here are some signs that it may be time for a new pump:
- The pump is very old and worn out.
- The cylinder is damaged or corroded.
- You’ve tried multiple repairs, but the pump still doesn’t work properly.
- Replacement parts are no longer available.
- The cost of repairs exceeds the cost of a new pump.
Cycle Pump Types and Recommendations
When selecting a new cycle pump, consider the type of riding you do and the features you need. Here’s a breakdown of common pump types and some recommendations:
| Pump Type | Description | Pros | Cons | Recommendation |
|---|---|---|---|---|
| Floor Pump | Large pump with a gauge for home use | Efficient, accurate, easy to use | Not portable | Topeak JoeBlow Sport III |
| Mini Pump | Compact pump for on-the-go inflation | Portable, lightweight | Less efficient, requires more effort | Lezyne Road Drive |
| CO2 Inflator | Uses CO2 cartridges for rapid inflation | Very fast, convenient | Limited use per cartridge, can be wasteful | Genuine Innovations Ultraflate |
| Electric Pump | Battery-powered pump for automatic inflation | Effortless, precise pressure control | Requires charging, can be bulky | Fumpa Pumps miniFumpa |
Frequently Asked Questions (FAQ)
Why is my bike pump not working?
Your bike pump might not be working due to several reasons, such as a worn-out piston seal, a clogged valve, or a leak in the hose. Inspect these parts for damage or wear.
How do I know if my bike pump needs repair?
If your pump isn’t building pressure, is leaking air, or requires excessive effort to use, it likely needs repair. Check for visible damage to the hose, seals, and valve.
Can I use any grease for my bike pump?
No, it’s best to use silicone grease specifically designed for rubber and plastic parts. Other types of grease can damage the seals and O-rings in your pump.
How often should I maintain my bike pump?
You should inspect and lubricate your bike pump every few months, especially if you use it frequently. Regular maintenance can prevent many common problems.
Where can I buy replacement parts for my bike pump?
You can find replacement parts at your local bike shop, hardware store, or online retailers. Make sure to buy parts that are compatible with your specific pump model.
Is it worth repairing a bike pump, or should I just buy a new one?
It’s often worth repairing a bike pump, especially if the problem is a simple fix like replacing an O-ring or cleaning a valve. However, if the pump is very old or has extensive damage, it may be more cost-effective to buy a new one.
How do I prevent my bike pump from breaking in the future?
To prevent future issues, store your pump in a dry place, regularly lubricate moving parts, and avoid overextending the hose. Proper care can significantly extend the life of your bike pump.
Conclusion
Repairing a cycle pump might seem daunting at first, but as you’ve seen, many common problems are easy to fix with a little patience and the right tools. By following this guide, you can save money, reduce waste, and keep your trusty pump working for years to come. Remember to identify the problem, gather your tools, and follow the steps carefully. With a little maintenance, your cycle pump will be ready to keep your tires inflated and your rides smooth. Now get out there and enjoy the road!


