
How to Cycle the Water Pumps Well Water: A Step-by-Step Guide
Quick Summary: Cycling your well water involves running the pump until the water runs clear, free of sediment, and odorless. This process typically takes several hours to a few days, depending on the well’s condition and usage. It’s crucial for maintaining water quality and preventing damage to your plumbing and appliances.
Is your well water looking a little murky? Does it have an unpleasant smell? You’re not alone! Many well owners face these issues, especially after periods of low use or maintenance. Cycling your well water is a simple but effective way to clear out sediment, stagnant water, and unwanted odors. Think of it as giving your well a good flush. Don’t worry, it’s easier than you might think. We’ll walk you through each step, so you can enjoy fresh, clean water again. Get ready to learn how to keep your well water in top shape!
What You’ll Need

Before you start, gather these essential items:
- Garden hose: A long garden hose to direct the water away from your well and foundation.
- Open area for discharge: A safe place to discharge the water, like a ditch or a field, ensuring it doesn’t cause erosion or flooding.
- Patience: Cycling well water can take time, so be prepared to monitor the process over several hours or even days.
Step-by-Step Guide to Cycling Your Well Water

Follow these steps to effectively cycle your well water and improve its quality:
Step 1: Locate Your Well and Water Spigot
First, find your wellhead. This is usually a capped pipe sticking out of the ground. Next, locate an outdoor water spigot connected to your well water system. This is where you’ll attach the garden hose.
Step 2: Attach the Garden Hose
Connect one end of your garden hose to the outdoor water spigot. Make sure the connection is tight to prevent leaks. Leaks can reduce the effectiveness of the cycling process.
Step 3: Direct the Hose to a Safe Discharge Area
Run the other end of the garden hose to a safe discharge area. This could be a ditch, a field, or any area where the water won’t cause erosion or flood your property. Avoid discharging water into storm drains or areas that could contaminate other water sources. Check your local regulations regarding water discharge.
Step 4: Start the Water Pump
Open the water spigot completely. This will start the flow of water from your well, initiating the cycling process. Let the water run continuously. You might notice the water is initially murky or discolored.
Step 5: Monitor the Water Quality
Regularly check the water coming out of the hose. Look for changes in color, clarity, and odor. The initial water may be brown or contain sediment. As you continue cycling, the water should gradually become clearer and cleaner.
Step 6: Continue Cycling Until the Water is Clear
Keep the water running until it is consistently clear, free of sediment, and odorless. This might take several hours or even a few days, depending on the condition of your well. Patience is key! The effort will be worth it when you have clean, fresh water.
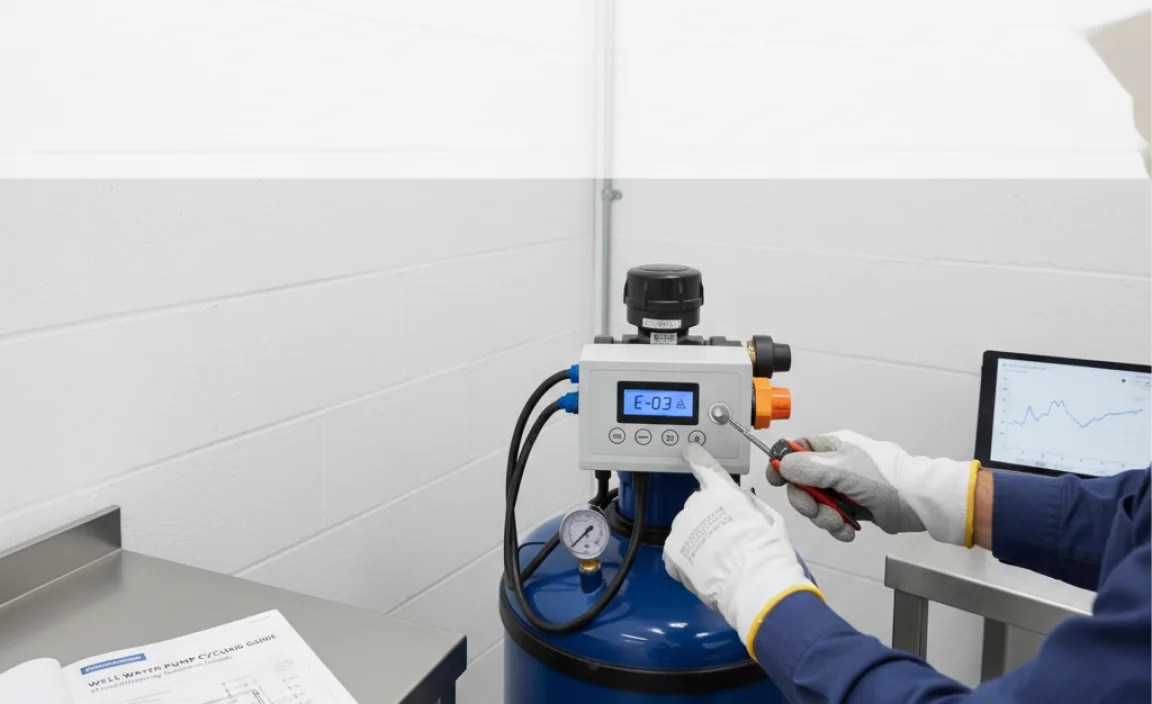
Step 7: Periodically Check Well Pressure
While cycling the water, periodically check your well pressure gauge (usually located near your pressure tank). Ensure the pressure stays within the normal operating range for your well pump (typically between 40-60 PSI). If the pressure drops too low, give the well some time to recover before resuming the cycling process.
Step 8: Shut Off the Water and Disconnect the Hose
Once the water runs clear, turn off the water spigot. Disconnect the garden hose and store it properly. Make sure the spigot is also properly closed to prevent any drips or leaks.
Troubleshooting Common Issues
Here are some common problems you might encounter and how to solve them:
- Water not running clear after several hours: This could indicate a significant sediment problem. Consider having your well professionally inspected and cleaned.
- Low water pressure: If the pressure drops too low during cycling, stop the process and allow the well to recover. You might need to cycle the water in shorter intervals.
- Unpleasant odor persists: If the odor doesn’t disappear after cycling, it could be due to bacteria or other contaminants. Consider disinfecting your well or having it tested by a professional.
Tips for Maintaining Your Well Water Quality

Here are some tips to keep your well water clean and healthy:
- Regularly test your water: Test your well water annually for bacteria, nitrates, and other contaminants. Contact your local health department for testing recommendations.
- Protect your wellhead: Keep the area around your wellhead clean and free of debris. Make sure the well cap is securely in place to prevent contaminants from entering.
- Avoid using chemicals near the well: Be careful when using pesticides, herbicides, or fertilizers near your well. These chemicals can seep into the groundwater and contaminate your well.
- Maintain your septic system: If you have a septic system, make sure it is properly maintained. A malfunctioning septic system can contaminate your well water.
When to Call a Professional

While cycling your well water is a simple DIY task, there are times when you should call a professional:
- Persistent water quality issues: If you’ve tried cycling your well water and the problems persist, it’s time to call a well service professional.
- Suspected contamination: If you suspect your well water is contaminated, don’t drink it. Call a professional for testing and treatment options.
- Pump problems: If you’re experiencing problems with your well pump, such as low pressure or no water, call a well service professional.
Benefits of Cycling Your Well Water
Cycling your well water offers several benefits:
- Improved water quality: Removes sediment, stagnant water, and odors, resulting in cleaner, fresher water.
- Extended pump life: Reduces strain on your well pump by removing sediment that can clog and damage the pump.
- Better plumbing performance: Prevents sediment buildup in your pipes and appliances, improving their performance and lifespan.
- Cost savings: Avoids costly repairs and replacements by maintaining your well water system.
Cost Considerations
Cycling your well water is generally a low-cost maintenance task. The main cost is the water used during the process. However, if you need to hire a professional for well cleaning or repairs, the costs can vary. Here’s a general overview:
| Service | Estimated Cost |
|---|---|
| Well water testing | $100 – $300 |
| Well cleaning | $300 – $800 |
| Well pump repair | $200 – $600 |
| Well pump replacement | $800 – $2500 |
How to Choose a Well Service Professional
If you need to hire a well service professional, here are some tips for choosing the right one:
- Check their credentials: Make sure the professional is licensed and insured.
- Get references: Ask for references from past clients.
- Read reviews: Check online reviews to see what other customers have to say.
- Get multiple quotes: Get quotes from several professionals before making a decision.
- Ask questions: Don’t be afraid to ask questions about their experience, services, and pricing.
Additional Resources
For more information on well water maintenance, check out these resources:
- EPA’s Private Well Information
- CDC’s Well Water Information
- Your local health department
FAQ: Cycling Well Water
Why does my well water smell bad?
Bad smells in well water are often caused by sulfur bacteria, iron bacteria, or decaying organic matter. Cycling your well water can help remove these contaminants.
How often should I cycle my well water?
You should cycle your well water whenever you notice changes in water quality, such as discoloration, sediment, or unpleasant odors. Generally, once or twice a year is sufficient.
Can cycling my well water damage my pump?
If done correctly, cycling your well water should not damage your pump. However, it’s essential to monitor the water pressure and avoid running the pump dry. If the pressure drops too low, stop the process and allow the well to recover.
What if my water is still cloudy after cycling?
If your water remains cloudy after cycling, it could indicate a more serious problem, such as excessive sediment or bacterial contamination. Consider having your well professionally inspected and cleaned.
Is it safe to drink well water immediately after cycling?
It is generally safe to drink well water after cycling, provided the water runs clear and odorless. However, if you have any concerns about contamination, it’s best to have your water tested before drinking it.
How long does it take to cycle well water?
The time it takes to cycle well water varies depending on the condition of the well and the severity of the water quality issues. It can take anywhere from a few hours to a few days.
What should I do with the water I’m cycling out of the well?
Direct the water to a safe discharge area, such as a ditch or a field, where it won’t cause erosion or flooding. Avoid discharging water into storm drains or areas that could contaminate other water sources. Check your local regulations regarding water discharge.
Conclusion
Cycling your well water is a simple yet crucial part of maintaining a healthy and reliable water supply. By following these steps and keeping a watchful eye on your water quality, you can ensure that your well provides clean, fresh water for years to come. Remember, regular maintenance and prompt attention to any water quality issues are key. Now you’re equipped to tackle this task with confidence and enjoy the benefits of a well-maintained water system. Happy cycling!
“`


