
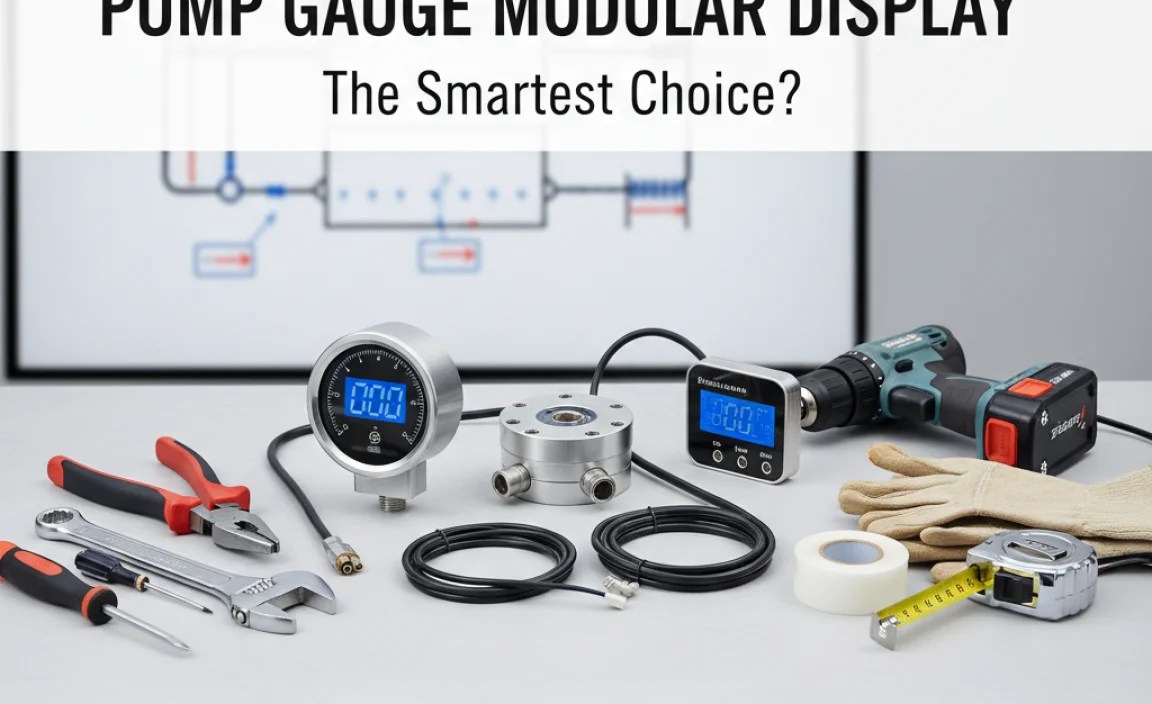
Pump Gauge Modular Display: The Smartest Choice?
Quick Summary: Want to upgrade or fix your bike pump? Swapping out the gauge on a modular pump is easy! First, find a compatible replacement gauge. Then, carefully unscrew the old gauge. Attach the new gauge, making sure it’s snug but not too tight. Test it out, and you’re back to accurate inflating!
Bike pumps are essential for keeping our tires at the right pressure. But what happens when the gauge stops working? A faulty gauge can lead to over- or under-inflated tires, affecting your ride’s comfort and safety. Fortunately, many modern bike pumps use modular displays, making replacement straightforward. Don’t throw away your pump just yet! In this guide, I’ll walk you through the simple steps to replace your pump’s gauge, saving you money and keeping you rolling smoothly. Let’s get started!
Understanding Modular Pump Gauges
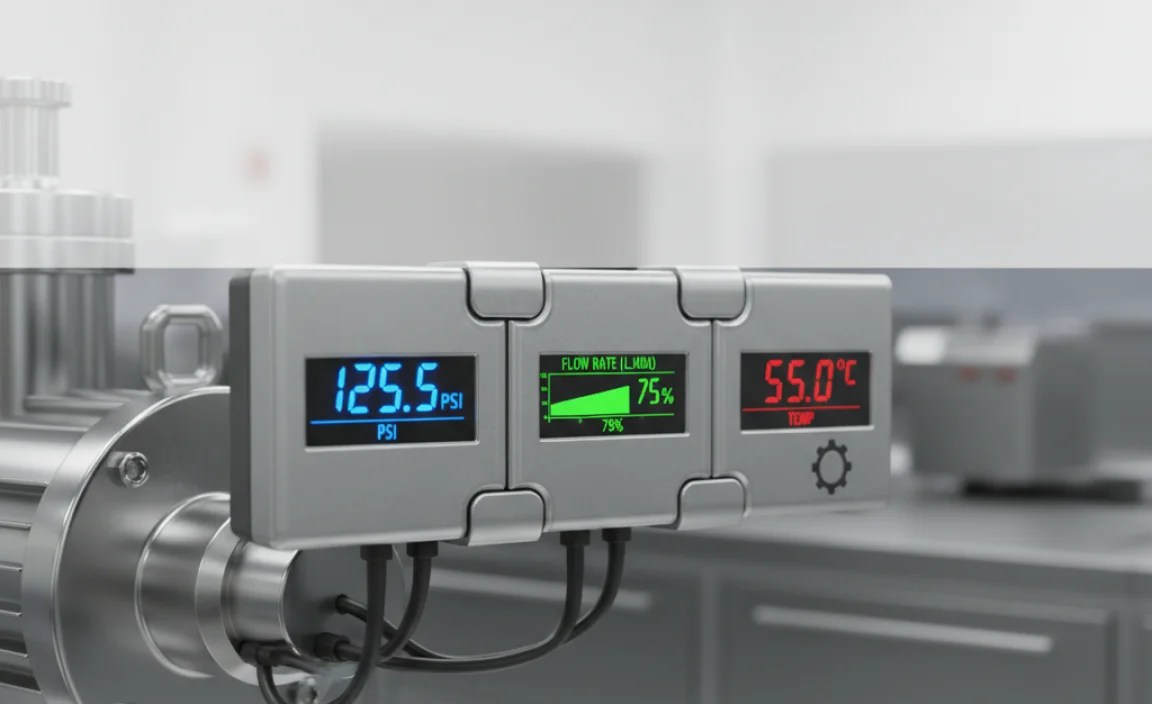
Before diving into the replacement process, let’s understand what makes a pump gauge “modular.” A modular design means the gauge is a separate, replaceable unit. This is great because you don’t need to replace the entire pump if just the gauge is broken. These gauges typically connect to the pump body with a threaded connection, making them easy to swap out.
Benefits of a Modular Display
- Easy Replacement: Swap out a broken gauge without replacing the whole pump.
- Cost-Effective: Replacement gauges are cheaper than new pumps.
- Upgradability: You can upgrade to a gauge with more features, like a digital display.
- Customization: Choose a gauge that suits your specific needs and preferences.
Types of Pump Gauges
Bike pump gauges come in a few different types, each with its pros and cons.
- Analog Gauges: These use a needle to show the pressure on a dial. They’re simple, reliable, and don’t require batteries.
- Digital Gauges: These display the pressure on a digital screen. They offer precise readings and often have additional features like pressure memory.
- Inline Gauges: These gauges attach between the pump head and the valve, offering real-time pressure readings as you pump.
Tools You’ll Need
Before you start, gather these tools. Having everything ready will make the process smooth and efficient.
- New Gauge: Make sure it’s compatible with your pump model.
- Adjustable Wrench or Pliers: For loosening and tightening the gauge.
- Soft Cloth or Rag: To protect the pump and gauge from scratches.
- Thread Seal Tape (Teflon Tape): To ensure a tight, leak-proof seal.
- Small Screwdriver (if needed): Some gauges have small screws holding them in place.
Step-by-Step Guide to Replacing a Pump Gauge

Ready to get your pump back in top shape? Follow these steps carefully, and you’ll have your new gauge installed in no time.
Step 1: Preparing the Pump
First, make sure your pump is clean and stable. Wipe it down with a cloth to remove any dirt or grime. This will give you a better grip and prevent debris from getting into the new gauge.
Step 2: Locating the Old Gauge
Identify where the gauge connects to the pump body. It’s usually a threaded connection. Take a close look to see if there are any screws or clips holding it in place. If so, remove them carefully with a screwdriver.
Step 3: Removing the Old Gauge
Using an adjustable wrench or pliers, gently loosen the old gauge. Wrap a soft cloth around the gauge to protect it from scratches. Turn the wrench counterclockwise to unscrew it. If it’s stuck, try applying a little penetrating oil (like WD-40) and let it sit for a few minutes before trying again.
Step 4: Cleaning the Threads
Once the old gauge is removed, clean the threads on the pump body. Use a clean cloth to remove any old thread seal tape or debris. This will ensure a good seal with the new gauge.
Step 5: Applying Thread Seal Tape
Wrap the threads of the new gauge with thread seal tape (Teflon tape). Wrap it in the direction that tightens the connection. Usually, 2-3 layers are enough. This tape helps create a waterproof and airtight seal.
Step 6: Installing the New Gauge
Carefully screw the new gauge into the pump body. Turn it clockwise until it’s snug. Don’t overtighten it, as this could damage the threads or the gauge itself. Use the wrench or pliers to get it hand tight, then give it just a little extra turn.
Step 7: Testing the New Gauge
Now it’s time to test your work. Connect the pump to a tire and inflate it. Watch the gauge to make sure it’s reading accurately. Compare the reading to another gauge if you have one. If you notice any leaks around the gauge, tighten the connection slightly.
Troubleshooting Common Issues

Sometimes, things don’t go as planned. Here are a few common issues you might encounter and how to solve them.
- Gauge Not Reading Correctly:
- Make sure the gauge is compatible with your pump.
- Check the pressure unit (PSI, BAR, kPa) and make sure it’s set correctly.
- If it’s a digital gauge, replace the batteries.
- Leaking Around the Gauge:
- Tighten the connection slightly.
- Add more thread seal tape.
- Check for damaged threads on the pump or gauge.
- Gauge Won’t Screw In:
- Make sure the threads are clean.
- Check for cross-threading.
- Try a different gauge to see if the problem is with the gauge or the pump.
Choosing the Right Replacement Gauge

Selecting the right replacement gauge is crucial for accurate readings and long-lasting performance. Here’s what to consider:
Compatibility
Ensure the gauge is compatible with your pump model. Check the thread size and type (e.g., NPT, BSP) to ensure a proper fit. Some manufacturers provide compatibility charts.
Pressure Range
Choose a gauge with a suitable pressure range for your tires. Road bike tires typically require higher pressures (100-120 PSI), while mountain bike tires use lower pressures (25-40 PSI). Select a gauge that covers your needs.
Accuracy
Look for gauges with good accuracy ratings. A gauge with ±1-2 PSI accuracy is ideal. Digital gauges often offer higher precision compared to analog ones.
Durability
Opt for gauges made from durable materials like stainless steel or reinforced plastic. A robust gauge will withstand frequent use and resist damage from impacts or environmental factors.
Features
Consider additional features such as:
- Digital Display: Easy-to-read digital display with backlight.
- Pressure Units: Ability to switch between PSI, BAR, and kPa.
- Over-Pressure Protection: Prevents damage from excessive pressure.
- Calibration: Allows you to calibrate the gauge for optimal accuracy.
Maintaining Your Pump Gauge
Proper maintenance will extend the life of your pump gauge and ensure accurate readings. Here are some tips:
- Clean Regularly: Wipe the gauge with a clean, dry cloth to remove dust and grime.
- Store Properly: Store your pump in a dry place to prevent corrosion.
- Avoid Over-Pressure: Do not exceed the maximum pressure rating of the gauge.
- Check Periodically: Compare the gauge reading with another gauge to ensure accuracy.
- Replace Batteries: If you have a digital gauge, replace the batteries as needed.
Pump Gauge Comparison Table
| Feature | Analog Gauge | Digital Gauge |
|---|---|---|
| Accuracy | ±2-3 PSI | ±1 PSI |
| Readability | Good in bright light | Excellent, especially with backlight |
| Durability | High | Moderate (more sensitive electronics) |
| Battery Required | No | Yes |
| Cost | Lower | Higher |
Pump Brands with Modular Gauge Systems
Several reputable bike pump brands utilize modular gauge systems, making replacements straightforward. Here are a few:
- Topeak: Known for their high-quality pumps and accessories. Their SmartHead technology makes gauge replacement easy.
- Lezyne: Offers a range of stylish and functional pumps with modular gauges.
- Park Tool: A trusted name in bike tools and equipment. Their pumps are durable and feature replaceable gauges.
- SKS Germany: Renowned for their robust and reliable pumps. Many models come with modular gauge options.
Alternatives to Replacing Your Pump Gauge
While replacing the pump gauge is often the best solution, here are some alternative options to consider:
- Using an External Gauge: An independent digital pressure gauge like the Accutire MS-4021 can be used to verify pressure.
- Calibrating the Existing Gauge: Some gauges can be calibrated using a known pressure source. Check the manufacturer’s instructions.
- Professional Repair: Take your pump to a local bike shop for professional repair or replacement of the gauge.
- Purchasing a New Pump: If the pump is old or heavily damaged, it might be more cost-effective to invest in a new one.
FAQ: Pump Gauge Modular Display
Here are some frequently asked questions about pump gauge modular displays:
Q: What does “modular” mean in the context of a pump gauge?
A: “Modular” means the gauge is a separate, replaceable unit that can be easily detached and replaced without needing to replace the entire pump.
Q: How do I know if my pump has a modular gauge?
A: Check if the gauge is connected to the pump body with a threaded connection or screws. If it is, it’s likely a modular gauge.
Q: Can I upgrade my analog gauge to a digital one?
A: Yes, if your pump has a modular design. Just make sure the digital gauge is compatible with your pump’s thread size and pressure range.
Q: What is thread seal tape, and why do I need it?
A: Thread seal tape (Teflon tape) is a thin, white tape used to create a waterproof and airtight seal between threaded connections. It prevents leaks around the gauge.
Q: How tight should I screw in the new gauge?
A: Tighten it until it’s snug, but don’t overtighten it. Use a wrench or pliers to get it hand tight, then give it just a little extra turn to ensure a good seal.
Q: What if my new gauge is not reading accurately?
A: Check the gauge’s compatibility with your pump, ensure the pressure unit is set correctly, and replace the batteries if it’s a digital gauge. If the issue persists, the gauge may be faulty.
Q: Where can I buy a replacement pump gauge?
A: You can find replacement gauges at local bike shops, online retailers like Amazon, and directly from pump manufacturers’ websites.
Conclusion
Replacing a pump gauge with a modular display is a simple and cost-effective way to keep your bike tires properly inflated. By following these steps and tips, you can ensure accurate pressure readings and extend the life of your pump. Don’t let a broken gauge keep you off the road or trails. With a little effort, you can easily swap it out and get back to enjoying your ride. Remember to choose the right replacement gauge, maintain it properly, and troubleshoot any issues that may arise. Happy pumping!


