
How to Oil a Hand Pump Piston: Easy Pro Guide
Oiling your hand pump piston keeps it working smoothly. You’ll need to take the pump apart, clean the piston, add a few drops of lubricant, and put it back together. Regular maintenance like this prevents air leaks and makes inflating tires much easier.
Is your hand pump feeling stiff or not pumping air as efficiently as it used to? A dry or dirty piston is often the culprit. Luckily, oiling the piston is a simple task that can significantly improve your pump’s performance and extend its life. It’s a bit like giving your pump a refreshing tune-up.
This guide will walk you through each step, from safely disassembling your pump to applying the right type of lubricant. We’ll also cover common problems and how to avoid them. By the end, you’ll have a pump that works like new, ready for your next ride! Let’s get started.
What You’ll Need

Before you start, gather these items:
- Appropriate wrench or pliers (check your pump’s manual)
- Small flathead screwdriver
- Clean rags or paper towels
- Lightweight oil or silicone grease (more on this below)
- A clean workspace
Choosing the Right Lubricant

Selecting the right lubricant is important for your hand pump’s longevity. Here’s what to consider:
- Lightweight Oil: Ideal for quick lubrication and smooth action. Sewing machine oil or specific bicycle lubricants work well.
- Silicone Grease: A longer-lasting option, especially for pumps with rubber or plastic seals. It resists water and won’t harm these materials.
- Avoid: Heavy greases or petroleum-based oils, as they can attract dirt and damage seals over time.
Here’s a quick comparison:
| Lubricant Type | Pros | Cons | Best For |
|---|---|---|---|
| Lightweight Oil | Easy to apply, provides immediate smooth action | Needs more frequent reapplication | Quick fixes and general maintenance |
| Silicone Grease | Long-lasting, protects rubber and plastic seals | Can be messier to apply | Pumps with rubber components, long-term lubrication |
Step-by-Step Guide to Oiling a Hand Pump Piston

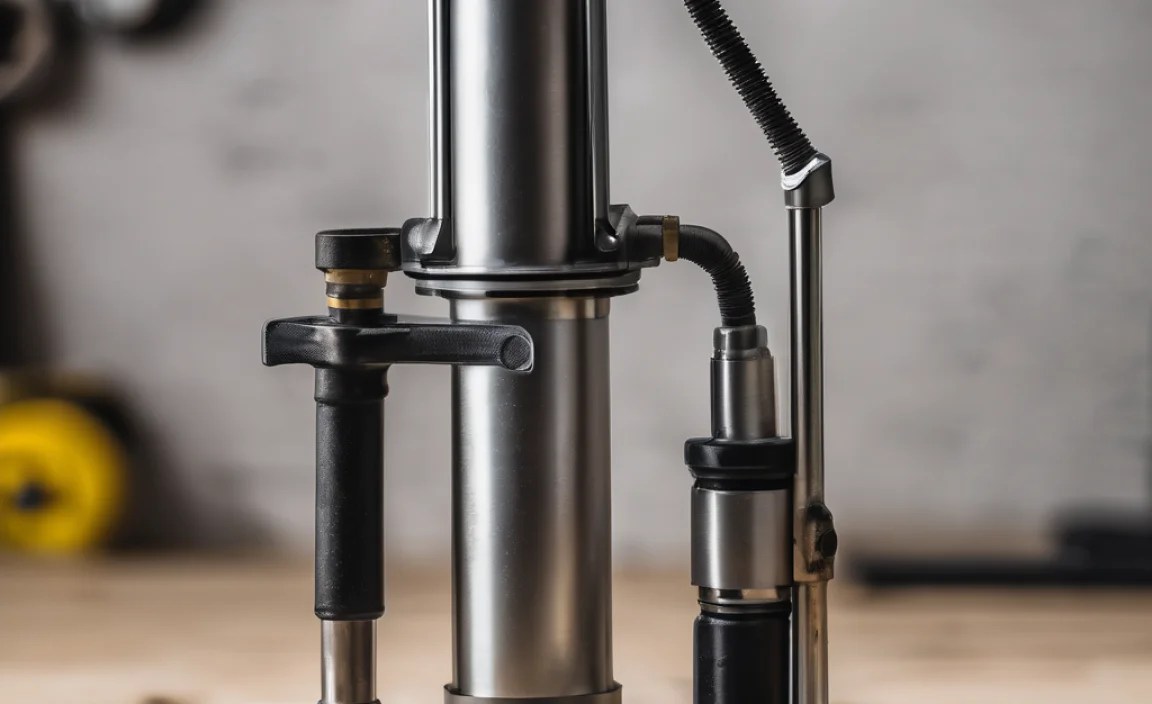
Step 1: Disassembling the Pump
Carefully take apart your hand pump. Each pump model is slightly different, so check your manufacturer’s instructions or look for a model number online. Typically, this involves unscrewing the base or handle.
- Release Air Pressure: Make sure there’s no pressure in the pump before starting.
- Remove the Handle: Most handles unscrew or have a retaining clip.
- Access the Piston Chamber: Look for screws or a retaining nut that holds the pump body together.
- Separate the Components: Gently pull apart the pump body to expose the piston and cylinder.
Step 2: Cleaning the Piston and Cylinder
A clean piston ensures smooth operation. Use a clean rag to wipe away any old grease, dirt, or debris from both the piston and the inside of the cylinder.
- Inspect the Piston: Look for cracks, wear, or damage. Replace if necessary.
- Clean the Cylinder Walls: Wipe the inside of the cylinder to remove any residue.
- Check Seals and O-rings: Make sure they are intact and flexible.
Step 3: Applying the Lubricant
Apply a small amount of lubricant to the piston. Too much can attract dirt. A few drops or a thin coat of silicone grease is usually enough. Spread the lubricant evenly over the piston surface.
- Apply Sparingly: A little goes a long way.
- Even Distribution: Make sure the entire piston surface is lightly coated.
- Lubricate Seals: If your piston has O-rings or seals, apply a small amount of lubricant to them as well.
Step 4: Reassembling the Pump
Carefully put the pump back together in the reverse order of disassembly. Make sure all parts are aligned correctly and screws are tightened appropriately.
- Align Components: Make sure the piston slides smoothly into the cylinder.
- Secure Fasteners: Tighten screws or nuts, but don’t overtighten.
- Test the Action: Before fully reassembling, test the pump action to ensure it feels smooth.
Step 5: Testing the Pump
After reassembly, test the pump to ensure it works properly. Connect it to a tire and check for leaks or resistance. If it’s still stiff, you might need to re-lubricate or check for misaligned parts.
- Check for Leaks: Listen for air escaping around the seals.
- Monitor Pressure: Ensure the pump builds pressure effectively.
- Adjust as Needed: If the pump is still not working smoothly, repeat the lubrication process or consult the pump’s manual.
Troubleshooting Common Problems
Sometimes, even after oiling, your pump might still have issues. Here are a few common problems and how to address them:
- Pump Still Feels Stiff:
- Cause: Insufficient lubrication or misaligned parts.
- Solution: Re-lubricate the piston and check the alignment of all components during reassembly.
- Air Leaks:
- Cause: Damaged or worn seals.
- Solution: Replace the O-rings or seals. You can often find replacement kits online or at a local bike shop.
- Pump Not Building Pressure:
- Cause: Loose connections or a faulty check valve.
- Solution: Tighten all connections and inspect the check valve for damage or debris. Clean or replace the valve if necessary.
Maintaining Your Hand Pump

Regular maintenance will keep your hand pump in top condition. Here are some tips:
- Clean Regularly: Wipe down the pump exterior to remove dirt and grime.
- Store Properly: Keep the pump in a dry place to prevent rust and corrosion.
- Re-lubricate Periodically: Depending on usage, re-lubricate the piston every few months or when you notice the pump action becoming stiff.
Hand Pump Recommendations
If you’re in the market for a new hand pump, here are a few reliable options:
- Lezyne Micro Floor Drive: Compact and efficient with a foot pad for stability. Lezyne Pumps are great for on-the-go inflation.
- Topeak Road Morph G: A versatile pump with a built-in gauge and fold-out footrest. Topeak Pumps are some of the best on the market.
- Blackburn Chamber HV: High-volume pump designed for mountain bike tires. Blackburn Pumps are a solid option.
FAQ: Oiling a Hand Pump Piston
Why is my hand pump hard to use?
A stiff hand pump is often due to a dry or dirty piston. Oiling it will make pumping easier.
How often should I oil my hand pump?
Oil your pump every few months, or whenever you notice it becoming harder to use.
Can I use any oil to lubricate my pump?
No, use lightweight oil or silicone grease. Avoid heavy oils that can damage the pump.
What tools do I need to oil my hand pump?
You’ll need a wrench or pliers, a small screwdriver, clean rags, and lubricant.
How do I know if my pump needs new seals?
If your pump leaks air after oiling, the seals might need replacing.
What if oiling the pump doesn’t fix the problem?
Check for damaged parts or misalignments. If necessary, consult the pump’s manual or a bike mechanic.
Where can I buy replacement parts for my hand pump?
You can find replacement parts at most bike shops or online retailers.
Conclusion
Oiling your hand pump piston is a simple yet effective way to maintain your bike and ensure your tires are always properly inflated. By following these steps, you can keep your pump working smoothly for years to come. Regular maintenance saves you money in the long run and keeps you riding without interruption. Now you’re equipped to take care of your pump and enjoy every ride!


