
Why Does My Well Pump Keep Cycling On and Off? A Simple Guide
Quick Summary: A well pump cycling on and off—also called short cycling—usually points to problems with water pressure, the pressure tank, or the pump itself. Common causes include a waterlogged pressure tank, incorrect pressure switch settings, leaks in the system, or a failing pump. Addressing these issues promptly prevents pump burnout and ensures a steady water supply.
Is your well pump acting up? It’s frustrating when you turn on the tap and the water flow is inconsistent, with the pump constantly switching on and off. This “cycling” or “short cycling” isn’t normal and can damage your well pump over time. The good news is, many of the causes are easy to understand and fix yourself. We’ll walk you through the most common reasons for well pump cycling and give you simple steps to diagnose and solve the problem. Let’s get started and get your water flowing smoothly again!
Understanding Well Pump Cycling

Well pump cycling refers to a situation where your well pump turns on and off too frequently in a short period. It’s like a light switch flickering – on, off, on, off – instead of staying consistently on when you need water. This rapid cycling puts extra strain on the pump motor and other components, potentially shortening its lifespan and leading to costly repairs. It’s important to address the issue quickly to prevent further damage.
Common Causes of Well Pump Cycling

Here are the most frequent reasons why your well pump might be cycling on and off:
- Waterlogged Pressure Tank: The most common culprit. A pressure tank stores water under pressure, allowing the pump to run less frequently. If the tank loses its air charge, it becomes waterlogged, causing the pump to cycle rapidly.
- Incorrect Pressure Switch Settings: The pressure switch controls when the pump turns on and off based on the water pressure in the system. If the settings are too close together, the pump will cycle more frequently.
- Leaks in the System: Leaks in the well piping, fittings, or even a dripping faucet can cause a drop in pressure, triggering the pump to turn on more often.
- Failing Well Pump: As a pump ages, it may lose efficiency and struggle to maintain pressure, leading to short cycling.
- Clogged Well Screen or Sediment: A blocked well screen restricts water flow to the pump, making it work harder and cycle more often.
- Low Well Water Level: If the water level in your well drops too low, the pump may struggle to draw water consistently, leading to cycling.
Step-by-Step Troubleshooting Guide
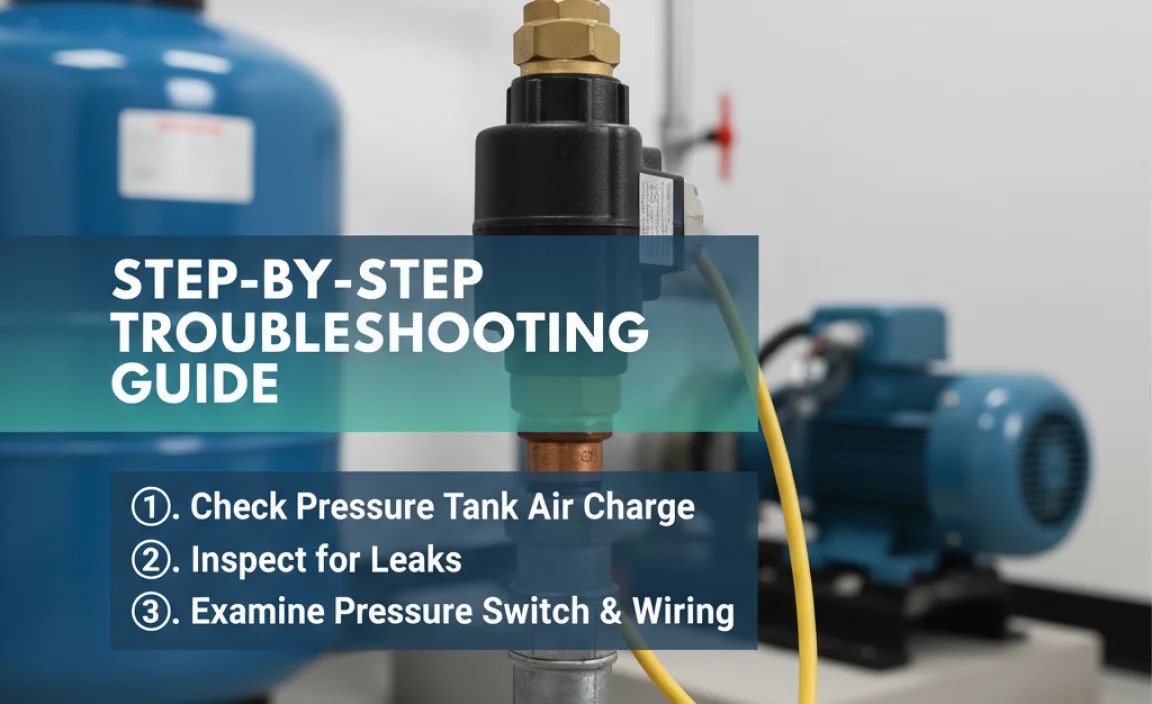
Follow these steps to diagnose and fix your well pump cycling problem:
Step 1: Check the Pressure Tank
The pressure tank is a vital part of your well system. It maintains water pressure and reduces the number of times your pump needs to switch on. A waterlogged tank is a frequent cause of cycling. Here’s how to check it:
- Locate the Pressure Tank: It’s usually a blue or gray tank near your well pump.
- Turn Off the Pump: Find the circuit breaker for your well pump and switch it off.
- Drain the Tank: Open a faucet in your house and let the water run until it stops. This depressurizes the system.
- Check the Air Pressure: Locate the Schrader valve (like a tire valve) on top of the tank. Use a tire pressure gauge to check the air pressure. It should be 2 PSI below the cut-in pressure of your pressure switch (usually 30/50 switch means 28 PSI).
- Add Air if Needed: If the pressure is low, use an air compressor to add air until it reaches the correct level.
- Observe: If water comes out of the Schrader valve when you check the pressure, the bladder inside the tank is likely ruptured, and the tank needs replacement.
Step 2: Inspect the Pressure Switch
The pressure switch controls when the pump turns on and off. Incorrect settings or a faulty switch can cause cycling.
- Locate the Pressure Switch: It’s a small, rectangular device usually mounted on a pipe near the pressure tank.
- Check the Pressure Settings: The switch has two pressure settings: cut-in (the pressure at which the pump turns on) and cut-out (the pressure at which the pump turns off). These settings are usually printed on the switch (e.g., 30/50).
- Adjust the Settings (If Necessary): If the settings are too close together (e.g., 30/40), the pump will cycle more frequently. You can increase the cut-out pressure slightly, but be careful not to exceed the pump’s maximum pressure rating. Consult the pump manufacturer’s specifications before making adjustments.
- Clean the Switch Contacts: Over time, the contacts inside the switch can become corroded or dirty, causing it to malfunction. Turn off the power to the pump, remove the switch cover, and clean the contacts with a wire brush or contact cleaner.
- Test the Switch: Use a multimeter to test the continuity of the switch. If the switch is not working correctly, replace it.
Step 3: Check for Leaks
Even small leaks can cause a drop in pressure, leading to frequent pump cycling.
- Inspect Faucets and Toilets: Check all faucets and toilets for drips or leaks. A running toilet can waste a significant amount of water and cause the pump to cycle.
- Examine Pipes and Fittings: Look for leaks around pipe joints, fittings, and the pressure tank. Pay close attention to areas where pipes are connected.
- Check the Wellhead: Inspect the wellhead for any signs of leaks or damage.
- Listen for Running Water: If you hear water running when no one is using it, there’s likely a leak somewhere in the system.
Step 4: Evaluate the Well Pump
If the above steps don’t solve the problem, the well pump itself might be the issue.
- Listen to the Pump: Pay attention to the sound the pump makes when it’s running. Unusual noises, such as grinding or squealing, could indicate a problem.
- Check the Pump Motor: Ensure the motor is running smoothly and not overheating. An overheating motor could be a sign of a failing pump.
- Test the Pump’s Amperage: Use an ammeter to measure the pump’s amperage draw. Compare the reading to the pump manufacturer’s specifications. A higher-than-normal amperage could indicate a problem with the pump motor.
Step 5: Consider Well Screen and Water Level
Less common, but important to rule out.
- Check Well Records: Consult your well records for information on the well’s depth and static water level.
- Monitor Water Level: If you suspect a low water level, you may need to hire a professional to measure the well’s water level.
- Inspect Well Screen: A clogged well screen can restrict water flow. This usually requires a professional to inspect and clean.
Tools You Might Need

Having the right tools makes the job much easier. Here’s a list of tools you might need to troubleshoot your well pump:
- Tire Pressure Gauge: To check the air pressure in the pressure tank.
- Air Compressor: To add air to the pressure tank.
- Wrenches: For tightening or loosening pipe fittings.
- Screwdrivers: For removing and installing screws.
- Multimeter: To test the pressure switch and other electrical components.
- Ammeter: To measure the pump’s amperage draw.
- Wire Brush or Contact Cleaner: For cleaning the pressure switch contacts.
- Plumber’s Tape: For sealing pipe threads.
When to Call a Professional

While many well pump problems can be solved with DIY troubleshooting, some situations require a professional. Call a qualified well pump technician if:
- You’re uncomfortable working with electricity or plumbing.
- You can’t identify the source of the problem.
- The problem is complex or requires specialized equipment.
- You suspect a problem with the well itself, such as a low water level or a clogged well screen.
Preventative Maintenance Tips
Preventing well pump problems is always better than fixing them. Here are some tips to keep your well system in good working order:
- Regularly Check the Pressure Tank: Check the air pressure in the tank every few months and add air as needed.
- Inspect for Leaks: Check for leaks around faucets, toilets, pipes, and fittings regularly.
- Monitor Water Quality: Test your well water periodically for contaminants.
- Keep the Wellhead Clean: Remove debris and vegetation from around the wellhead.
- Schedule Professional Inspections: Have your well system inspected by a qualified technician every few years.
Cost Considerations
Here’s a table outlining the potential costs associated with diagnosing and fixing well pump cycling issues:
| Problem | DIY Cost | Professional Cost |
|---|---|---|
| Waterlogged Pressure Tank (Replace Tank) | $150 – $400 | $400 – $1000 |
| Faulty Pressure Switch (Replace Switch) | $20 – $50 | $100 – $250 |
| Minor Leaks (DIY Repair) | $10 – $30 (for fittings and plumber’s tape) | $100 – $300 |
| Failing Well Pump (Replace Pump) | $300 – $1000 | $800 – $2500 |
| Clogged Well Screen (Professional Cleaning) | N/A (Requires professional equipment) | $500 – $1500 |
| Low Well Water Level (Well Deepening or New Well) | N/A (Requires professional assessment and work) | $3000 – $15000+ |
FAQ: Well Pump Cycling
Here are some frequently asked questions about well pump cycling:
Why is my well pump turning on and off so frequently?
Frequent cycling, or short cycling, is often caused by a waterlogged pressure tank, incorrect pressure switch settings, leaks in the system, or a failing pump.
How do I check if my pressure tank is waterlogged?
Turn off the pump, drain the tank, and check the air pressure at the Schrader valve. If water comes out of the valve, the bladder is likely ruptured.
Can a leaky toilet cause my well pump to cycle?
Yes, a leaky toilet can cause a drop in water pressure, triggering the pump to turn on more frequently.
How do I adjust the pressure switch on my well pump?
Locate the pressure switch and check the pressure settings. You can increase the cut-out pressure slightly, but be careful not to exceed the pump’s maximum pressure rating. Consult the pump manufacturer’s specifications before making adjustments.
Is it safe to drink water when my well pump is cycling?
While the water itself may be safe, frequent pump cycling can stir up sediment and affect water quality. It’s best to address the cycling issue promptly.
How long should a well pump last?
A well-maintained well pump can last 10-15 years or more. Regular maintenance and prompt repairs can extend its lifespan.
What happens if I ignore well pump cycling?
Ignoring well pump cycling can lead to premature pump failure, increased energy consumption, and potential damage to other components of your well system.
Conclusion
Dealing with a well pump that keeps cycling on and off can be a headache, but understanding the potential causes and following a systematic troubleshooting approach can help you identify and fix the problem. From checking the pressure tank to inspecting for leaks and evaluating the pump itself, each step brings you closer to restoring a consistent water supply. Remember, regular maintenance and prompt attention to issues can significantly extend the life of your well pump and ensure a reliable water source for years to come. Don’t hesitate to call a professional if you’re unsure or uncomfortable with any part of the process. By taking a proactive approach, you can keep your well system running smoothly and avoid costly repairs down the road.
“`


