Fixing a Torn Sidewall On The Go? Smart Trick!
Fixing a torn sidewall on the go can be done! Use a tire boot (like a piece of dollar bill, tire patch, or duct tape) on the inside of the tire over the tear. Then, carefully inflate the tire to a lower pressure than usual. This will get you home or to a bike shop where you can replace the tire.
Finding a tear in your bike tire’s sidewall during a ride is super frustrating. It can stop you in your tracks. But don’t worry! You don’t always have to call for a ride. With a few simple steps and some basic supplies, you can often fix a torn sidewall well enough to get back home or to a bike shop. This guide will show you how to do a temporary repair so you can keep rolling.
We’ll cover what you need, step-by-step instructions, and some helpful tips to make the process easier. Let’s get started!
What You’ll Need
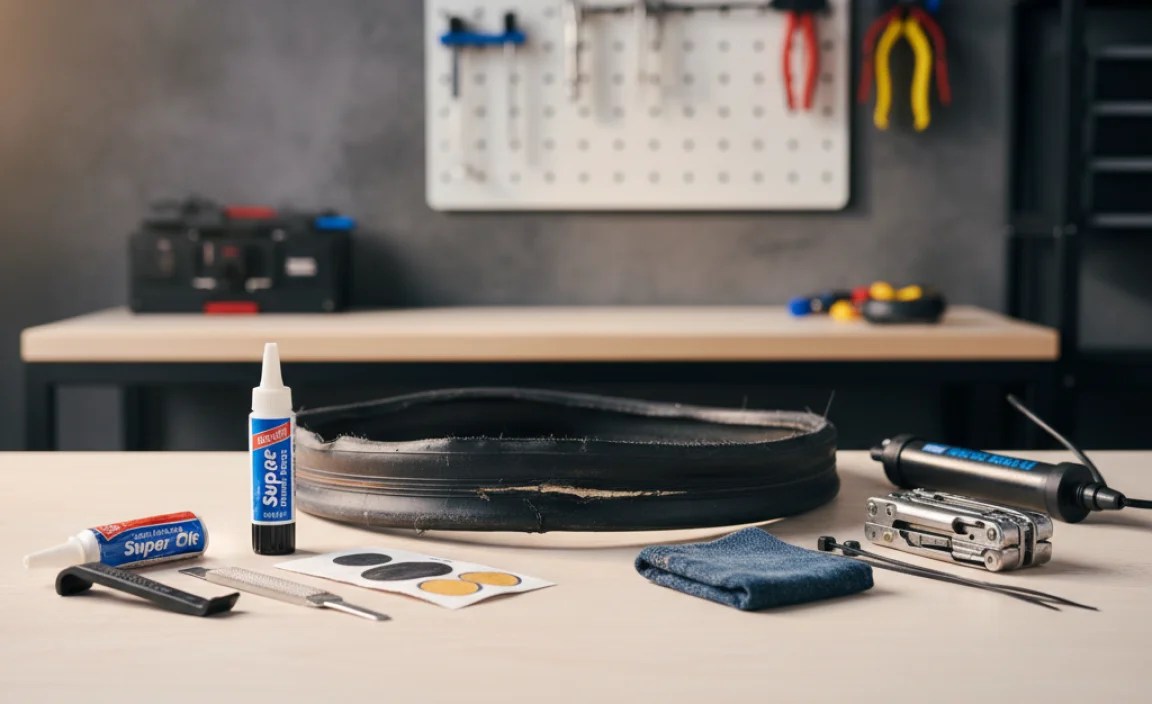
Before you start, make sure you have these items with you:
- Tire Boot: A commercial tire boot, a piece of old tire, a dollar bill, strong tape (duct tape is great), or even a gel wrapper can work in a pinch.
- Tire Levers: To remove the tire from the rim.
- Spare Tube: Just in case the old one is damaged.
- Pump or CO2 Inflator: To inflate the tire after the repair.
- Multi-tool or Allen Keys: To loosen the wheel if needed.
Step-by-Step Guide to Fixing a Torn Sidewall

Follow these steps carefully to repair your tire and get back on the road.
Step 1: Safety First
Pull over to a safe location away from traffic. Make sure your bike is stable. If needed, flip your bike upside down so it rests on the seat and handlebars. This makes the repair easier.
Step 2: Remove the Wheel
Use your multi-tool or Allen keys to loosen the wheel from the bike frame or fork. If you have quick-release skewers, simply open them to release the wheel. Be careful not to lose any small parts, like springs.
Step 3: Take Out the Tube
Use your tire levers to carefully pry one side of the tire off the rim. Insert one tire lever under the bead of the tire and hook it onto a spoke. Use the second lever a few inches away to pry more of the tire off. Once you have a section of the tire off the rim, you can usually pull the rest off by hand. Remove the tube from inside the tire.
Step 4: Inspect the Tire
Carefully examine the inside of the tire to find the tear in the sidewall. Make sure there are no sharp objects sticking through the tire that could damage your new tube.
Step 5: Insert the Tire Boot
This is the most important step. Place your tire boot (or makeshift boot) on the inside of the tire, directly over the tear. The boot should cover the entire tear and spread the pressure around it. Make sure the boot is smooth and doesn’t have any sharp edges that could rub against the tube. If using tape, apply several layers to make it strong.
Step 6: Reinstall the Tube
Slightly inflate the tube to give it some shape. Carefully place the tube back inside the tire, making sure it’s not twisted. Ensure the valve stem is properly seated in the rim.
Step 7: Put the Tire Back on the Rim
Starting opposite the valve stem, carefully push the tire back onto the rim. Use your thumbs to roll the tire bead over the edge of the rim. Be careful not to pinch the tube between the tire and the rim. If it’s too difficult to do by hand, use your tire levers, but be very gentle to avoid damaging the tube. Double-check that the tire is seated evenly all around the rim.
Step 8: Inflate the Tire
Inflate the tire slowly and carefully. Check the sidewalls as you inflate to make sure the tire is seating properly and that the boot is holding. Do not inflate to the maximum pressure listed on the tire. Instead, inflate to a lower pressure. This will reduce the stress on the repaired sidewall. A good rule of thumb is to inflate to about half the recommended pressure, but experiment to find a pressure that feels stable without being too hard. For example, if your tire recommends 80 PSI, inflate to around 40 PSI.
Step 9: Reinstall the Wheel
Put the wheel back on your bike and tighten the quick-release skewer or bolts. Make sure the wheel is centered in the frame or fork before fully tightening.
Step 10: Test the Repair
Before riding, give the tire a good inspection. Make sure the tire is seated correctly and that the boot is holding. Carefully test the brakes to ensure the wheel is secure. Start riding slowly and cautiously. If you feel any wobbling or see any bulging in the tire, stop immediately and reinspect the repair.
Choosing the Right Tire Boot

Selecting the right tire boot can make a big difference in how well your temporary repair holds up. Here’s a comparison of different types:
| Type of Boot | Pros | Cons | Best For |
|---|---|---|---|
| Commercial Tire Boot | Durable, strong adhesive, designed specifically for tire repair. | Can be expensive, need to carry them with you. | Planned rides, touring, cyclists who want a reliable solution. |
| Dollar Bill or Similar Paper Money | Readily available, lightweight, free. | Not very durable, can disintegrate if wet. | Emergency situations when nothing else is available. |
| Duct Tape | Strong, versatile, water-resistant. | Can be bulky, adhesive can leave residue. | General repairs, touring, cyclists who carry tape for other purposes. |
| Old Tire Patch | Durable, designed for tire repair, good adhesion. | Need to carry them with you, requires glue for best results. | Planned rides, cyclists who already carry patch kits. |
| Gel Wrapper or Energy Bar Wrapper | Lightweight, often readily available during a ride. | Not very durable, may not provide enough support for larger tears. | Quick, temporary fixes when you need to get home. |
Tips and Tricks for Sidewall Repair

- Keep it Clean: Before applying the boot, try to clean the inside of the tire with a cloth or paper towel. This will help the boot adhere better.
- Proper Inflation: As mentioned before, don’t over-inflate the tire. Lower pressure will reduce stress on the repair.
- Check Regularly: During your ride, stop occasionally to check the repair. Look for any signs of bulging or shifting of the boot.
- Replace the Tire: Remember, this is a temporary fix. As soon as possible, replace the damaged tire with a new one. Riding on a damaged tire can be dangerous.
Understanding Tire Pressure

Maintaining proper tire pressure is crucial for a comfortable and safe ride. Here’s a quick guide:
| Tire Type | Recommended Pressure (PSI) | Considerations |
|---|---|---|
| Road Bike Tires | 80-130 PSI | Higher pressure for lower rolling resistance, adjust based on rider weight. |
| Mountain Bike Tires | 25-35 PSI | Lower pressure for better grip on trails, adjust based on trail conditions. |
| Hybrid Bike Tires | 50-70 PSI | Moderate pressure for a balance of speed and comfort. |
| Gravel Bike Tires | 40-60 PSI | Adjust based on the terrain, lower pressure for rougher surfaces. |
Always check the recommended pressure printed on the sidewall of your tire. Use a reliable pump with a pressure gauge to ensure accurate inflation. For more detailed information, check out resources like the Bicycle Rolling Resistance website.
When to Replace the Tire
Knowing when to replace a tire is important for safety. Here are some signs that it’s time for a new tire:
- Visible Wear: If the tread is worn down, or you see the casing showing through, it’s time to replace the tire.
- Cuts and Tears: If you have multiple cuts or tears in the tire, especially on the sidewall, it’s best to replace it.
- Bulges or Bubbles: These indicate damage to the tire’s internal structure and can lead to a blowout.
- Age: Even if the tire looks good, rubber degrades over time. If your tires are several years old, consider replacing them.
Preventing Sidewall Tears
While accidents happen, there are things you can do to reduce the risk of sidewall tears:
- Proper Inflation: Underinflated tires are more prone to pinch flats and sidewall damage.
- Avoid Hazards: Watch out for sharp objects, potholes, and debris on the road.
- Choose Durable Tires: Some tires are designed with reinforced sidewalls for extra protection.
- Regular Inspection: Check your tires regularly for cuts, embedded objects, and wear.
FAQ: Fixing a Torn Sidewall On The Go
What is a tire boot, and why do I need it?
A tire boot is a strong material you place inside your tire over a tear to prevent the tube from bulging out and bursting. It acts like a temporary patch.
Can I use duct tape as a tire boot?
Yes, duct tape can work in a pinch! Fold it over several times to make it thick and strong. Make sure it covers the entire tear.
How much should I inflate the tire after using a tire boot?
Inflate the tire to a lower pressure than usual. About half the recommended pressure is a good starting point. This reduces stress on the repaired area.
Is this repair permanent?
No, this is a temporary fix to get you home or to a bike shop. Replace the tire as soon as possible.
What if I don’t have a spare tube?
If the tear is small enough, you might be able to use a self-sealing tire sealant to temporarily plug the hole. However, this is not a reliable solution for larger tears.
Can I ride long distances with a tire boot?
It’s not recommended. The tire boot is a temporary fix. Limit your riding to get home or to a repair shop.
What tools should I always carry with me on a bike ride?
A multi-tool, tire levers, a spare tube, a pump or CO2 inflator, and a tire boot are essential for on-the-go repairs.
Conclusion
Fixing a torn sidewall on the go might seem daunting, but with the right tools and a little know-how, it’s totally manageable. Remember to prioritize safety, take your time, and follow these steps carefully. This temporary fix will get you back on the road, but don’t forget to replace the tire as soon as you can. Happy riding!