
How to Choose Mount for Winter Gear on Commuter Bike: Smart Guide
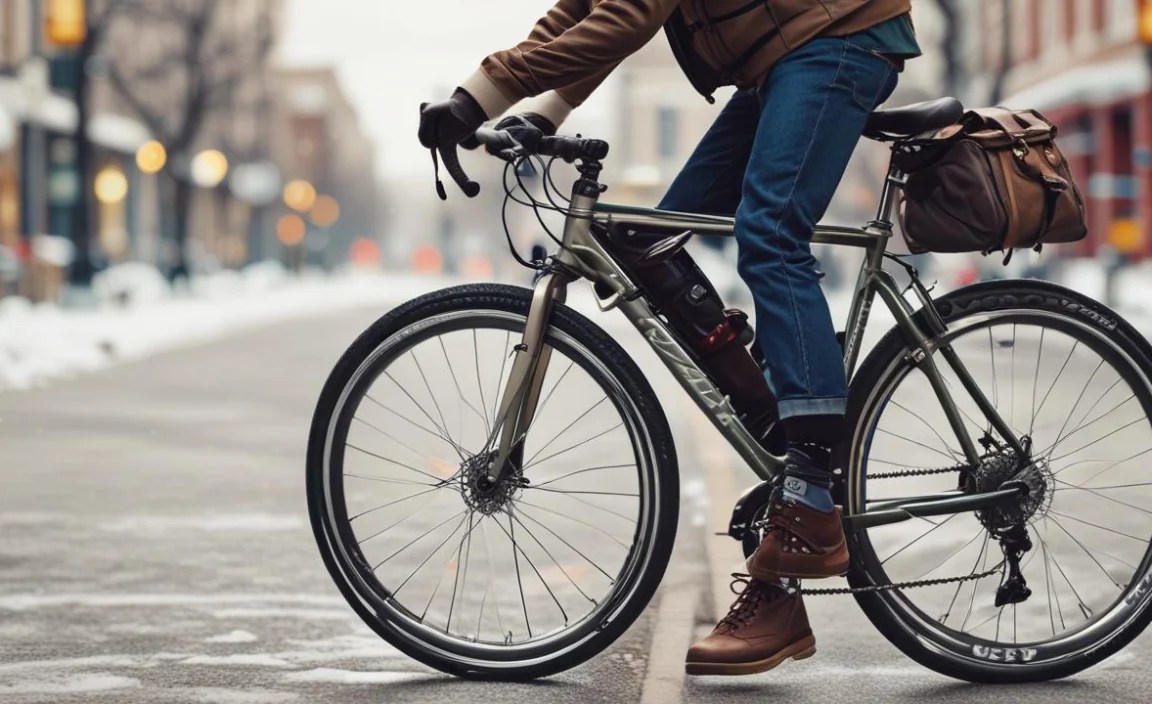
Did you ever try riding your bike with a backpack full of books? It can be wobbly! Now, imagine doing that in the snow. Yikes! That is why knowing how to choose mount for winter gear on commuter bike is super important. It keeps you safe and makes winter biking fun.
Biking in winter needs special gear. You need warm clothes, maybe even skis or a snowboard. Where do you put it all? Let’s learn about bike mounts! They are like magic holders for all your stuff. They make winter bike rides easy and safe.
Bike mounts help you carry things. They keep your hands free to steer. This is very important when it’s icy. So, let’s find out how to choose mount for winter gear on commuter bike. It will make your winter rides awesome!
Key Takeaways
- Selecting the right bike mount ensures safer and more comfortable winter commutes.
- Consider the weight and size of your winter gear when choosing a mount.
- Proper installation of the mount is crucial for stability and preventing accidents.
- Explore different types of mounts like racks, baskets, and trailers for versatility.
- Knowing how to choose mount for winter gear on commuter bike enhances your winter cycling.
How To Choose the Right Mount Type

Choosing the right mount is the first step. Think about what you need to carry. Do you have a lot of gear? Maybe skis or a snowboard? Or just some warm clothes and snacks? Different mounts work best for different things. A bike rack is good for big stuff. A basket is nice for smaller items. A trailer can carry almost anything! Consider what you will usually take with you on your winter adventures. This helps you decide what kind of mount you need. Also, think about the weather. Will it be snowy or icy? You want a mount that keeps your gear safe and dry. Make sure it is easy to use, even with gloves on.
- Racks are great for skis and snowboards.
- Baskets are good for small items like gloves.
- Trailers can carry a lot of heavy gear.
- Think about the weather when choosing a mount.
- Choose a mount that is easy to use with gloves.
- Consider how much gear you need to carry.
Different mounts attach to your bike in different ways. Some attach to the front. Others attach to the back. Some even attach to the middle! Think about where you want the weight to be. Putting too much weight on the front can make steering hard. Putting too much weight on the back can make the bike wobbly. Try to spread the weight out evenly. This will make your bike easier to control. Ask a bike shop for help if you are not sure. They can show you the best way to attach the mount to your bike. They can also help you find a mount that fits your bike perfectly.
What Are the Benefits of Using a Rack?
Racks are super helpful for carrying big things. Imagine trying to hold skis while riding your bike. That would be very hard! A rack holds them for you. It keeps your hands free to steer. Racks attach to the back of your bike. They can carry a lot of weight. Some racks can hold up to 50 pounds! That is like carrying a small dog on your bike. But make sure your rack is strong enough for what you need to carry. Some racks are made of metal. Others are made of plastic. Metal racks are usually stronger. But plastic racks can be lighter. Think about what is more important to you: strength or weight?
When is a Basket the Best Option?
Baskets are great for smaller things. Think about your lunch, gloves, and hat. These things can fit nicely in a basket. Baskets attach to the front of your bike. They are easy to reach while you are riding. But be careful not to put too much weight in the basket. It can make steering tricky. Some baskets have a lid. This is helpful for keeping your things dry in the snow. Other baskets are open. These are good for things you need to grab quickly. Choose a basket that works best for you.
Why Choose a Trailer for Winter Gear?
Trailers are like little wagons that attach to your bike. They can carry a lot of stuff! If you have a lot of gear, a trailer might be the best choice. Trailers are good for carrying skis, snowboards, and even groceries. They are also good for carrying kids! But trailers can be heavy. They can make it harder to pedal your bike. And they can be tricky to turn. Practice riding with a trailer before you go out in the snow. This will help you get used to the way it feels. Make sure the trailer is attached securely to your bike.
Fun Fact or Stat: Did you know that bike racks can increase your bike’s cargo capacity by up to 70 pounds?
Considering Mount Material and Durability
The material of the mount matters a lot. Winter weather can be tough on bike gear. Snow, ice, and salt can cause damage. You need a mount that can handle these conditions. Metal mounts are strong and durable. They can withstand a lot of wear and tear. But they can also rust if not properly cared for. Plastic mounts are lighter and won’t rust. But they might not be as strong as metal mounts. Look for mounts made from stainless steel or aluminum. These metals are resistant to rust. Also, check the quality of the plastic. Make sure it is thick and strong. Read reviews to see what other people say about the mount’s durability. A good mount should last for many winters.
- Metal mounts are strong but can rust.
- Plastic mounts are light but may not be as strong.
- Stainless steel and aluminum resist rust.
- Check the quality of the plastic.
- Read reviews to see how durable the mount is.
- Choose a mount that can handle winter weather.
Think about how often you will use the mount. If you bike every day, you need a very durable mount. If you only bike once in a while, a less expensive mount might be okay. But always choose safety first! Make sure the mount is strong enough to hold your gear. And make sure it is properly attached to your bike. A broken mount can be dangerous, especially in winter. It can cause you to lose control of your bike. This could lead to an accident. So, spend a little extra money on a good quality mount. It will be worth it in the long run.
How Does Weather Affect Mount Materials?
Winter weather can be very harsh. Snow, ice, and salt can damage bike mounts. Metal mounts can rust. Plastic mounts can crack. Make sure to choose a mount that is designed for winter use. Look for mounts that are made from rust-resistant materials. And check the plastic for signs of wear and tear. If you see any cracks, replace the mount right away. Also, clean your mount regularly. This will help to remove salt and other debris. A little bit of care can go a long way in extending the life of your mount.
What are the Best Rust-Resistant Materials?
Some metals are better at resisting rust than others. Stainless steel is a great choice. It is very strong and does not rust easily. Aluminum is another good option. It is light and also resists rust. But aluminum is not as strong as steel. So, if you need a very strong mount, steel might be a better choice. You can also use a rust-preventative spray on your mount. This will help to protect it from the elements. Apply the spray regularly, especially after riding in wet or snowy conditions.
How Can You Maintain Your Mount in Winter?
Taking care of your mount is important. It will help it last longer. Clean your mount regularly with soap and water. This will remove salt and other debris. Dry the mount thoroughly after cleaning. This will help to prevent rust. You can also use a rust-preventative spray. Apply the spray to all metal parts. Check the mount regularly for signs of wear and tear. If you see any cracks or rust, replace the mount right away. A little bit of maintenance can go a long way in extending the life of your mount. It can also keep you safe on the road.
Fun Fact or Stat: Aluminum bike mounts are about 30% lighter than steel mounts, making them easier to handle.
Understanding Mount Weight Capacity
Every mount has a weight limit. This is the maximum amount of weight it can safely carry. It is very important to know the weight limit of your mount. Overloading it can be dangerous. It can cause the mount to break. This could lead to an accident. Check the mount’s label or the manufacturer’s website. The weight limit should be clearly marked. When figuring out the weight, don’t forget to include the weight of the mount itself! Add up the weight of all your gear. Make sure the total weight is less than the mount’s weight limit. If you are not sure, it is better to choose a mount with a higher weight limit. It is always better to be safe than sorry.
- Check the mount’s weight limit before using it.
- Include the weight of the mount when calculating total weight.
- Add up the weight of all your gear.
- Choose a mount with a higher weight limit if unsure.
- Overloading a mount can be dangerous.
- A broken mount can cause an accident.
Think about the heaviest gear you will ever carry. Will you be carrying skis? A snowboard? Or just some warm clothes? Skis and snowboards can be heavy. Make sure your mount can handle their weight. Also, think about the distribution of the weight. If you put all the weight on one side of the mount, it can be unstable. Try to spread the weight out evenly. This will make your bike easier to control. Ask a bike shop for help if you are not sure how to distribute the weight properly. They can give you some tips and advice.
How Does Weight Affect Bike Handling?
Adding weight to your bike changes how it handles. It can make it harder to steer and brake. This is especially true in winter conditions. Snow and ice can make it even more difficult to control your bike. When carrying heavy gear, ride slower and more carefully. Give yourself more time to brake. Be extra cautious when turning. Avoid sudden movements. And be aware of your surroundings. Watch out for cars, pedestrians, and other hazards. The more weight you carry, the more careful you need to be.
What Happens If You Exceed Weight Limits?
Exceeding the weight limit of your mount is dangerous. It can cause the mount to break. This can happen suddenly and without warning. If the mount breaks while you are riding, you could lose control of your bike. This could lead to a serious accident. It is also important to consider the stress on your bike frame. Overloading the mount can put extra strain on the frame. This can cause it to crack or break over time. Always stay within the weight limit of your mount to protect yourself and your bike.
How To Distribute Weight Evenly
Distributing weight evenly is important for bike handling. If you put too much weight on one side, it can make the bike unstable. This can make it harder to steer and control. Try to spread the weight out as much as possible. If you are carrying skis or a snowboard, put one on each side of the mount. If you are carrying a bag, put it in the center of the mount. Make sure the weight is balanced. Ask a bike shop for help if you are not sure how to distribute the weight properly. They can give you some tips and advice.
Fun Fact or Stat: Studies show that evenly distributed weight on a bike improves stability by up to 40%.
| Mount Type | Weight Capacity | Best For | Material |
|---|---|---|---|
| Bike Rack | Up to 50 lbs | Skis, Snowboards | Metal or Plastic |
| Bike Basket | Up to 20 lbs | Gloves, Hats, Lunch | Metal or Wicker |
| Bike Trailer | Up to 100 lbs | Heavy Gear, Groceries | Metal Frame, Fabric Sides |
| Front Rack | Up to 30 lbs | Smaller Items, Backpacks | Metal |
Assessing Bike Frame Compatibility
Not all mounts fit all bikes. Before you buy a mount, make sure it is compatible with your bike frame. Some bikes have special mounting points. These are places on the frame where you can easily attach a mount. Other bikes do not have these mounting points. You might need to use special adapters to attach the mount. Check your bike’s manual or the manufacturer’s website. This will tell you what kind of mounts are compatible with your bike. You can also ask a bike shop for help. They can help you find a mount that fits your bike perfectly. Make sure the mount is securely attached to the frame. A loose mount can be dangerous. It can cause you to lose control of your bike.
- Check your bike’s manual for mount compatibility.
- Look for mounting points on your bike frame.
- Use adapters if your bike doesn’t have mounting points.
- Ask a bike shop for help.
- Make sure the mount is securely attached.
- A loose mount can be dangerous.
Think about the type of bike you have. Do you have a mountain bike? A road bike? Or a hybrid bike? Different bikes have different frame designs. Some mounts are designed for specific types of bikes. For example, a mount designed for a mountain bike might not fit a road bike. Make sure to choose a mount that is designed for your type of bike. This will ensure that it fits properly and is securely attached. A properly fitted mount will make your winter bike rides safer and more enjoyable. It will also protect your bike from damage.
What Types of Bikes Are Suitable for Mounts?
Most bikes can be fitted with mounts. But some bikes are better suited for them than others. Hybrid bikes are a good choice. They are designed for both on-road and off-road riding. They usually have mounting points for racks and baskets. Mountain bikes are also a good choice. They are strong and durable. They can handle heavy loads. Road bikes can be more difficult to fit with mounts. They are designed for speed and efficiency. Adding a mount can slow them down. But it is still possible to find mounts that are compatible with road bikes.
How Do You Identify Mounting Points?
Mounting points are places on your bike frame where you can attach a mount. They usually look like small holes or eyelets. They are often located on the seat stays, chain stays, and fork. Check your bike frame carefully for these mounting points. If you don’t see any, you might need to use special adapters. These adapters attach to the frame using clamps or straps. Make sure the adapters are securely attached. A loose adapter can be dangerous.
What Adapters Can Be Used If There are No Points?
If your bike doesn’t have mounting points, you can use adapters. These adapters attach to the frame using clamps or straps. There are many different types of adapters available. Choose an adapter that is designed for your type of bike and mount. Make sure the adapter is strong and durable. It should be able to handle the weight of your gear. Also, make sure the adapter is securely attached to the frame. A loose adapter can be dangerous. Check the adapter regularly for signs of wear and tear. Replace it if it is damaged.
Fun Fact or Stat: About 60% of hybrid bikes come with pre-installed mounting points for racks and fenders.
Considering Ease of Installation and Removal

Installing and removing a mount should be easy. You don’t want to spend hours trying to attach it to your bike. Look for mounts that come with clear instructions. The instructions should be easy to understand. The mount should also come with all the necessary hardware. This includes screws, bolts, and washers. If you are not comfortable installing the mount yourself, ask a bike shop for help. They can install it for you quickly and safely. Also, think about how often you will need to remove the mount. If you only need to remove it once in a while, a more complicated installation might be okay. But if you need to remove it frequently, choose a mount that is easy to take on and off.
- Choose a mount with clear instructions.
- Make sure the mount comes with all necessary hardware.
- Ask a bike shop for help if needed.
- Consider how often you will remove the mount.
- Easy installation saves time and frustration.
- Proper installation ensures safety.
Some mounts attach to your bike with quick-release mechanisms. These mechanisms allow you to quickly attach and detach the mount. This can be very convenient if you need to remove the mount frequently. Other mounts attach with bolts and screws. These mounts are usually more secure. But they take longer to install and remove. Think about what is more important to you: convenience or security? Choose a mount that meets your needs. And always make sure the mount is securely attached before you ride. A loose mount can be dangerous, especially in winter conditions.
Why is Easy Installation Important?
Easy installation is important for several reasons. First, it saves you time and frustration. You don’t want to spend hours struggling to attach a mount to your bike. Second, it reduces the risk of mistakes. If the installation is complicated, you might make a mistake that could compromise the safety of the mount. Third, it makes it easier to remove the mount when you don’t need it. This can be helpful if you only need the mount for certain rides or seasons. Choose a mount that is easy to install and remove. It will make your life easier.
What Tools Are Needed for Installation?
The tools you need for installation depend on the type of mount. Most mounts require a few basic tools. These include a wrench, a screwdriver, and an Allen wrench. Make sure you have the correct size tools for the job. Using the wrong size tool can damage the mount or your bike. It is also a good idea to have a torque wrench. A torque wrench allows you to tighten bolts to a specific torque. This ensures that they are tight enough but not too tight. Overtightening bolts can damage the mount or your bike.
How Often Should You Check the Mount?
You should check your mount regularly for signs of wear and tear. This is especially important in winter conditions. Snow, ice, and salt can damage the mount over time. Check the mount before each ride. Make sure all the bolts are tight. Look for any cracks or rust. If you see any damage, replace the mount right away. It is also a good idea to clean the mount regularly. This will help to remove salt and other debris. A little bit of maintenance can go a long way in extending the life of your mount.
Fun Fact or Stat: Mounts with quick-release mechanisms can be installed or removed in under a minute, saving valuable time.
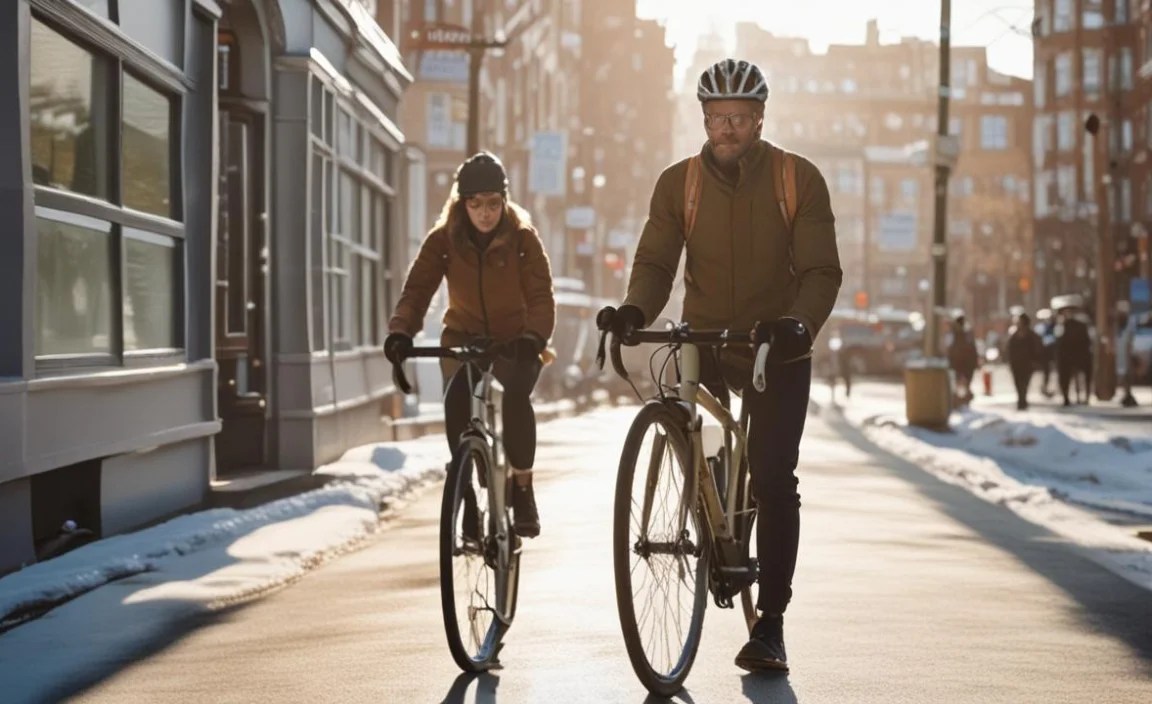
Considering Visibility and Safety Features

Visibility is very important in winter. It gets dark early, and the weather can be bad. You need to make sure you are seen by other drivers and pedestrians. Look for mounts that have reflective strips or lights. These will help you be seen in low light conditions. Also, think about the color of your gear. Bright colors are easier to see than dark colors. Wear bright clothing and use bright-colored bags. Make sure your bike has lights on the front and back. These lights will help you see and be seen. Safety should always be your top priority. Wear a helmet and follow all traffic laws. Be careful and aware of your surroundings.
- Choose mounts with reflective strips or lights.
- Wear bright clothing.
- Use bright-colored bags.
- Make sure your bike has lights.
- Wear a helmet.
- Follow all traffic laws.
Think about how your gear will affect your visibility. Will it block your lights? Will it make it harder for other drivers to see you? Try to position your gear so that it doesn’t block your lights. And make sure it doesn’t make you too wide. You don’t want to hit other cars or pedestrians. If you are carrying skis or a snowboard, make sure they are securely attached to the mount. You don’t want them to fall off and cause an accident. Always be aware of your surroundings and ride defensively.
How Can Reflective Gear Improve Visibility?
Reflective gear is designed to reflect light back to its source. This makes you more visible to drivers, especially at night. Wear reflective clothing, such as a jacket or vest. You can also add reflective tape to your bike and gear. The more reflective gear you wear, the more visible you will be. Reflective gear is especially important in winter, when it gets dark early and the weather can be bad. Make sure you are seen by other drivers and pedestrians. It could save your life.
Why Are Bike Lights Essential in Winter?
Bike lights are essential in winter because it gets dark early. Also, the weather can be bad. A bright headlight will help you see the road ahead. A bright taillight will help other drivers see you from behind. Use both a headlight and a taillight. Make sure they are bright enough to be seen from a distance. Check the batteries regularly. Replace them when they get low. Bike lights are a simple but effective way to improve your safety on the road.
How To Position Gear for Optimal Visibility
Positioning your gear properly can improve your visibility. Make sure your gear doesn’t block your lights. If you are carrying a bag, put it in a place where it won’t obstruct your view. Also, make sure your gear doesn’t make you too wide. You don’t want to hit other cars or pedestrians. If you are carrying skis or a snowboard, make sure they are securely attached to the mount. You don’t want them to fall off and cause an accident. Be aware of your surroundings and ride defensively.
Fun Fact or Stat: Using reflective gear can increase your visibility to drivers by up to 500 feet.
Summary
Choosing the right mount for your winter gear is important. It makes your bike rides safer and more fun. Think about what kind of gear you need to carry. Consider the weight limit of the mount. Make sure the mount is compatible with your bike frame. Choose a mount that is easy to install and remove. And don’t forget about visibility and safety features. Knowing how to choose mount for winter gear on commuter bike will help you have a great winter biking experience. Always prioritize safety and be aware of your surroundings.
Conclusion
Winter biking can be a lot of fun. It is a great way to stay active and enjoy the outdoors. But it is important to be prepared. Choosing the right mount for your winter gear is essential. It will help you carry your gear safely and comfortably. It will also make you more visible to other drivers and pedestrians. Remember to consider all the factors we talked about. This will help you learn how to choose mount for winter gear on commuter bike. Stay safe and have fun!
Frequently Asked Questions
Question No 1: What type of mount is best for carrying skis on a commuter bike?
Answer: A bike rack is usually the best choice for carrying skis. Look for a rack that is designed to carry skis or snowboards. These racks have special holders that will keep your skis secure. Make sure the rack is strong enough to handle the weight of your skis. And make sure it is securely attached to your bike frame. Remember, safety first! Consider how to choose mount for winter gear on commuter bike and whether the rack is easy to load and unload, especially with gloves on. Also, check if the rack affects your balance while riding.
Question No 2: How do I know if a mount is compatible with my bike?
Answer: Check your bike’s manual or the manufacturer’s website. This will tell you what kind of mounts are compatible with your bike. Look for mounting points on your bike frame. These are places where you can easily attach a mount. If you don’t see any mounting points, you might need to use special adapters. A bike shop can help you determine compatibility. They can also help you find a mount that fits your bike perfectly. Ensure the mount doesn’t interfere with your brakes or gears. This is crucial for safe winter riding. Understanding how to choose mount for winter gear on commuter bike includes checking for frame compatibility.
Question No 3: What is the maximum weight I can carry on a bike mount?
Answer: Every mount has a weight limit. This is the maximum amount of weight it can safely carry. Check the mount’s label or the manufacturer’s website. The weight limit should be clearly marked. Do not exceed the weight limit. Overloading the mount can be dangerous. It can cause the mount to break. This could lead to an accident. Always be aware of the weight you are carrying. Distribute the weight evenly for better balance. Remember to consider the weight of the mount itself when calculating the total weight. Knowing how to choose mount for winter gear on commuter bike also means being aware of weight limits.
Question No 4: How do I install a bike mount?
Answer: Most bike mounts come with instructions. Read the instructions carefully before you start. Make sure you have all the necessary tools. If you are not comfortable installing the mount yourself, ask a bike shop for help. They can install it for you quickly and safely. Make sure the mount is securely attached to your bike frame. A loose mount can be dangerous. It can cause you to lose control of your bike. Double-check all bolts and screws to ensure they are tight. Proper installation is key to safe winter biking. The steps for how to choose mount for winter gear on commuter bike always includes safe installation.
Question No 5: How can I improve my visibility while biking in winter?
Answer: Wear bright clothing. Use bright-colored bags. Make sure your bike has lights on the front and back. Add reflective tape to your bike and gear. Choose a mount that has reflective strips or lights. The more visible you are, the safer you will be. Be aware of your surroundings. Watch out for cars, pedestrians, and other hazards. Ride defensively. Assume that other drivers don’t see you. Make eye contact with drivers before crossing the street. Visibility is crucial when thinking about how to choose mount for winter gear on commuter bike.
Question No 6: What maintenance should I do on my bike mount in winter?
Answer: Clean your mount regularly with soap and water. This will remove salt and other debris. Dry the mount thoroughly after cleaning. This will help to prevent rust. Check the mount regularly for signs of wear and tear. If you see any cracks or rust, replace the mount right away. Apply a rust-preventative spray to all metal parts. Keep the mount clean and lubricated. A little bit of maintenance can go a long way in extending the life of your mount. Understanding how to choose mount for winter gear on commuter bike includes maintaining it properly.


