
How to Put Heat Pumps in Defrost Cycle: A Simple Guide
Quick Summary: To manually put a heat pump into defrost cycle, locate the test pins or defrost button (usually inside the outdoor unit’s control panel). Short the test pins with a screwdriver or press the defrost button. The heat pump will then enter defrost mode, melting any accumulated ice on the coils. Remember to consult your heat pump’s manual for specific instructions and safety precautions.
Is your heat pump struggling with ice buildup during those chilly months? It’s a common issue, and knowing how to manually initiate the defrost cycle can save you from a potentially frozen and inefficient system. Don’t worry, it’s not as complicated as it sounds! This guide will walk you through the process step-by-step, ensuring your heat pump stays in top shape. We’ll cover everything from identifying the right components to understanding why defrosting is crucial. Let’s get started and keep your home warm!
Understanding the Defrost Cycle

Before diving into the “how-to,” let’s understand why heat pumps need a defrost cycle in the first place. Heat pumps work by transferring heat from one place to another. In the winter, they extract heat from the outside air and bring it inside your home. When the outdoor temperature drops below freezing, moisture in the air can freeze on the outdoor coil. This ice buildup reduces the heat pump’s efficiency and can even damage the unit if left unchecked. According to the U.S. Department of Energy, regular maintenance, including defrosting, is key to optimal heat pump performance.
The defrost cycle essentially reverses the heat pump’s operation. It temporarily switches to cooling mode, warming the outdoor coil and melting the ice. While the outdoor unit is defrosting, auxiliary heat (usually electric resistance heat) kicks in to keep your home warm.
Why Manually Initiate Defrost?

Most modern heat pumps have an automatic defrost cycle that activates based on factors like coil temperature and time. However, there are situations where manually initiating the defrost cycle might be necessary:
- Excessive Ice Buildup: If you notice a thick layer of ice on the outdoor unit, the automatic defrost might not be working effectively.
- Malfunctioning Sensors: A faulty temperature sensor or timer could prevent the automatic defrost from activating.
- Testing Purposes: You might want to test the defrost cycle after performing maintenance or repairs.
Safety First!
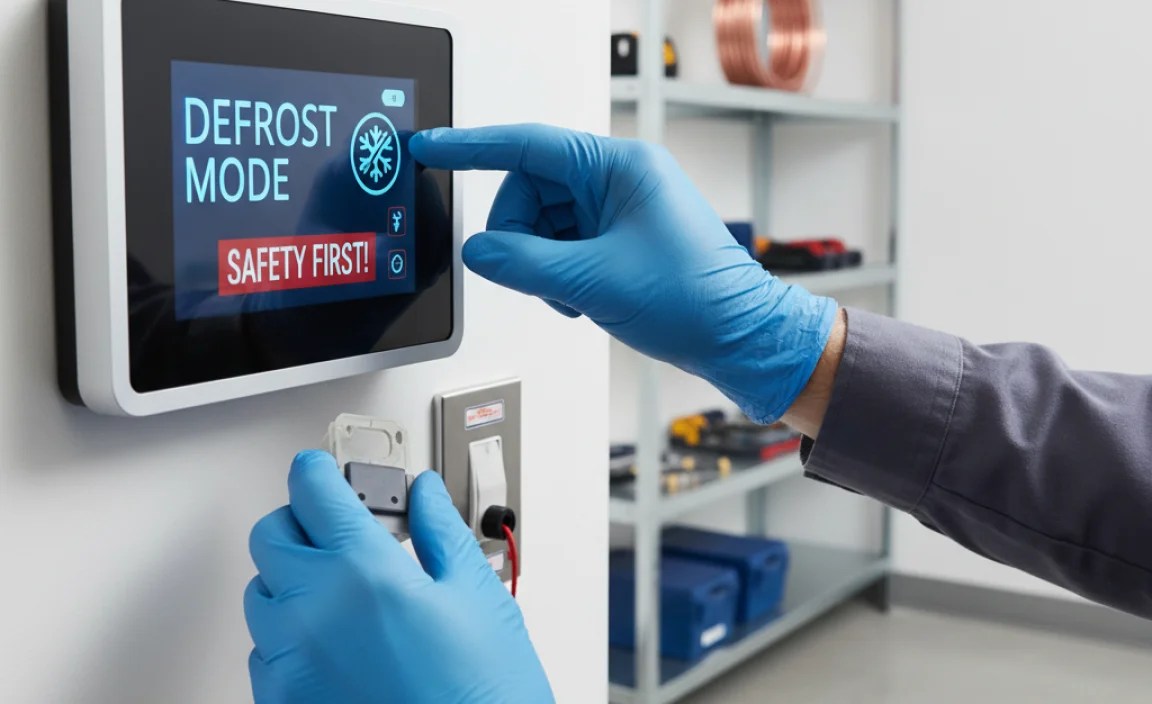
Before you start, it’s important to prioritize safety. Here are a few key precautions:
- Turn Off the Power: Disconnect the power to the outdoor unit at the breaker box. This prevents electrical shock.
- Read the Manual: Consult your heat pump’s manual for specific instructions and warnings related to manual defrosting.
- Use Proper Tools: Use insulated tools to avoid electrical hazards.
- Be Careful: Avoid touching any internal components of the heat pump unless you are confident in your ability to do so safely.
Tools You’ll Need
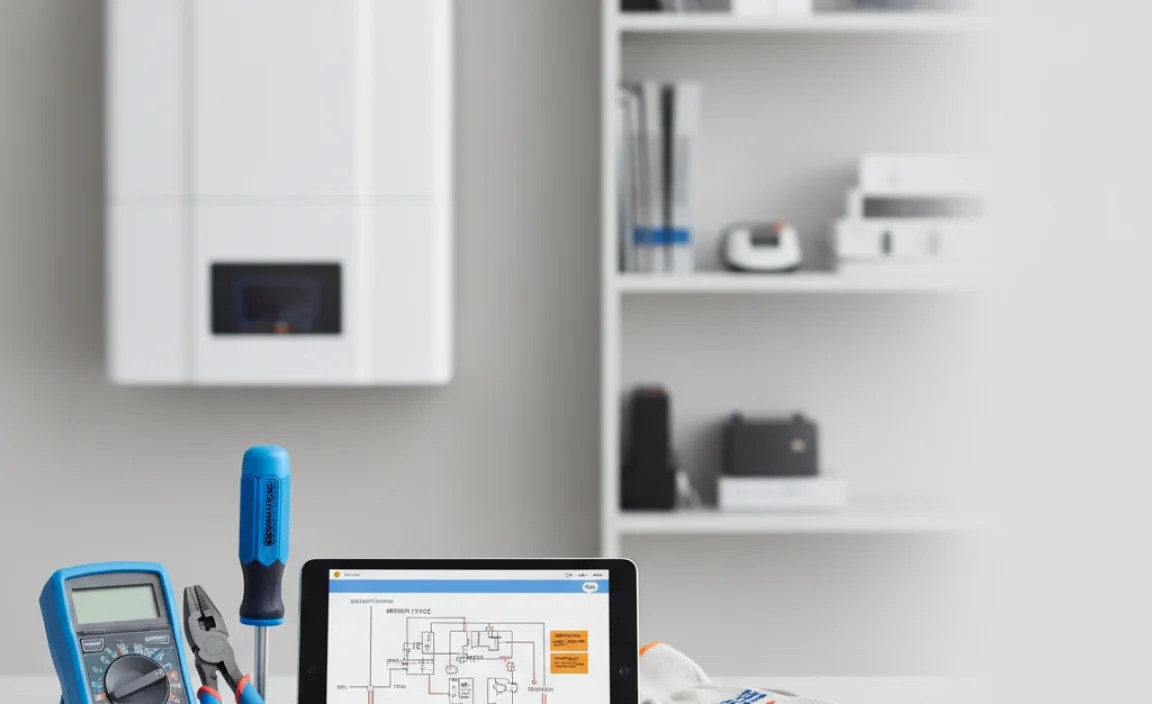
Fortunately, you don’t need a lot of specialized tools for this task. Here’s a basic list:
- Screwdriver: A standard screwdriver (usually a flathead or Phillips head) to open the control panel.
- Insulated Screwdriver or Jumper Wire: To short the test pins (if applicable).
- Heat Pump Manual: Essential for locating the test pins or defrost button and understanding specific instructions.
- Gloves: To protect your hands.
Step-by-Step Guide to Manually Initiating Defrost

Here’s a detailed guide on how to put your heat pump into defrost mode manually. Keep in mind that the exact procedure may vary depending on the make and model of your heat pump, so always refer to your owner’s manual.
Step 1: Turn Off the Power
Locate the circuit breaker that controls the outdoor heat pump unit and switch it to the “off” position. This is a crucial safety step to prevent electrical shock.
Step 2: Locate the Outdoor Unit’s Control Panel
The control panel is usually a small, rectangular compartment on the side of the outdoor unit. It’s typically secured with screws. Use your screwdriver to remove the screws and carefully open the panel.
Step 3: Identify the Defrost Test Pins or Button
Inside the control panel, look for the defrost test pins or a defrost button. The test pins are usually two small metal prongs labeled “Test,” “Defrost Test,” or something similar. The defrost button, if present, will be clearly marked.
Note: Some older models might not have test pins or a button. In this case, manual defrost might not be possible without specialized tools and knowledge. Consult a qualified HVAC technician.
Step 4a: Shorting the Test Pins (If Applicable)
If your heat pump has test pins, use an insulated screwdriver or a jumper wire to momentarily short them together. This simulates a signal that triggers the defrost cycle. Hold the connection for a few seconds and then release. You should hear the unit change operation, which is the reversing valve switching. Often this sounds like a “whoosh” or hiss.
Step 4b: Pressing the Defrost Button (If Applicable)
If your heat pump has a defrost button, simply press and release it. This should initiate the defrost cycle.
Step 5: Observe the Defrost Cycle
After initiating the defrost cycle, observe the outdoor unit. You should see the fan stop and the unit start emitting warm air. The ice on the coil will begin to melt. It’s normal to see steam rising from the unit during this process.
Step 6: Allow the Defrost Cycle to Complete
The defrost cycle typically lasts for a few minutes (usually between 5 and 15 minutes). Allow the cycle to run its course. The unit will automatically switch back to heating mode when the defrost cycle is complete. You’ll hear the fan start up again.
Step 7: Restore Power
Once the defrost cycle is complete, switch the circuit breaker back to the “on” position to restore power to the outdoor unit.
Step 8: Monitor Performance
Monitor the heat pump’s performance to ensure it’s heating your home effectively. If you continue to experience ice buildup or other issues, consult a qualified HVAC technician.
Troubleshooting Common Issues
Sometimes, things don’t go as planned. Here are a few common issues you might encounter and how to troubleshoot them:
| Issue | Possible Cause | Solution |
|---|---|---|
| Heat pump doesn’t enter defrost mode. | Power not properly disconnected, incorrect test pins, faulty defrost button. | Double-check power, consult manual for correct pins, replace button. |
| Defrost cycle doesn’t melt all the ice. | Extremely cold weather, faulty reversing valve, refrigerant leak. | Wait for warmer weather, call HVAC tech for valve/leak repair. |
| Heat pump doesn’t return to heating mode. | Faulty control board, wiring issues. | Call HVAC tech for diagnosis and repair. |
Tips for Preventing Ice Buildup
While knowing how to manually initiate the defrost cycle is helpful, preventing ice buildup in the first place is even better. Here are a few tips:
- Keep the Area Around the Unit Clear: Remove any snow, leaves, or debris that could block airflow around the outdoor unit.
- Ensure Proper Drainage: Make sure the unit has proper drainage to allow melted ice to flow away freely.
- Regular Maintenance: Schedule regular maintenance with a qualified HVAC technician to ensure the unit is operating efficiently.
- Consider a Heat Pump with a Base Pan Heater: Some heat pumps come equipped with a base pan heater that prevents ice from forming in the base of the unit.
- Check the Refrigerant Levels: Low refrigerant levels can lead to ice buildup. Have a technician check and adjust the levels as needed.
Automatic Defrost Cycle Explained
Most modern heat pumps are equipped with an automatic defrost cycle. Understanding how this cycle works can help you troubleshoot issues and maintain your system effectively.
The automatic defrost cycle is typically triggered by a combination of factors:
- Coil Temperature: A temperature sensor on the outdoor coil monitors its temperature. When the temperature drops below a certain threshold (usually around 32°F or 0°C), the defrost cycle is initiated.
- Time: A timer ensures that the defrost cycle is activated periodically, even if the coil temperature hasn’t reached the threshold. This prevents excessive ice buildup.
During the automatic defrost cycle, the following events occur:
- The reversing valve switches, causing the heat pump to temporarily enter cooling mode.
- The outdoor fan shuts off to maximize heat transfer to the coil.
- Auxiliary heat (usually electric resistance heat) is activated to keep your home warm while the outdoor unit is defrosting.
- Once the coil temperature reaches a certain level or the timer expires, the reversing valve switches back, the outdoor fan restarts, and the auxiliary heat turns off.
Heat Pump Efficiency and Defrost Cycles
The defrost cycle can impact the overall efficiency of your heat pump. Here’s why:
- Energy Consumption: The defrost cycle requires energy to reverse the heat pump’s operation and activate auxiliary heat.
- Temperature Fluctuations: During the defrost cycle, the temperature in your home may fluctuate slightly as the heat pump switches between heating and cooling modes.
However, the benefits of the defrost cycle outweigh the drawbacks. By preventing ice buildup, the defrost cycle ensures that your heat pump operates efficiently and avoids potential damage.
Choosing the Right Heat Pump
When selecting a heat pump, consider models with advanced defrost features. Some newer models use smart defrost algorithms that optimize the defrost cycle based on real-time conditions, minimizing energy consumption and temperature fluctuations. According to NREL (National Renewable Energy Laboratory), advanced heat pump technologies are continually improving efficiency and performance in cold climates.
DIY vs. Professional Help
While this guide provides a step-by-step approach to manually initiating the defrost cycle, it’s important to know when to call for professional help. If you’re not comfortable working with electrical components or if you suspect a more serious issue with your heat pump, consult a qualified HVAC technician.
Here’s a quick guide to help you decide:
| Situation | Recommendation |
|---|---|
| Minor ice buildup, comfortable with basic electrical tasks. | Attempt manual defrost following this guide and your manual. |
| Excessive ice buildup, unfamiliar with electrical work. | Contact a qualified HVAC technician. |
| Heat pump not functioning correctly after defrosting. | Contact a qualified HVAC technician. |
| Suspect a refrigerant leak or other serious issue. | Contact a qualified HVAC technician immediately. |
FAQ: Defrosting Your Heat Pump
Here are some frequently asked questions about heat pump defrost cycles:
Q: How often should my heat pump go into defrost mode?
A: The frequency depends on the weather conditions. In very cold and humid weather, it might defrost every hour. In milder conditions, it could be much less frequent.
Q: Is it normal to see steam coming from my heat pump during defrost?
A: Yes, it’s perfectly normal. The steam is simply water vapor from the melting ice.
Q: Why does my heat pump blow cold air during defrost?
A: The outdoor unit is temporarily in cooling mode to melt the ice, so it’s normal for it to blow cold air. Your auxiliary heat should kick in to keep your home warm.
Q: Can I use a hose to melt the ice on my heat pump?
A: No, it’s not recommended. Using a hose can damage the unit and potentially create more ice. Always let the defrost cycle do its job.
Q: What if my heat pump is constantly going into defrost mode?
A: This could indicate a problem with the defrost sensor, timer, or refrigerant levels. Contact a qualified HVAC technician for diagnosis and repair.
Q: How can I tell if my heat pump’s defrost cycle is working properly?
A: You should see the fan stop, hear the unit change operation, and observe ice melting from the coil. If the ice doesn’t melt or the unit doesn’t return to heating mode, there might be a problem.
Q: Does the outside temperature affect how often my heat pump defrosts?
A: Yes, the colder and more humid it is outside, the more frequently your heat pump will need to defrost.
Conclusion
Knowing how to manually put your heat pump into defrost cycle can be a valuable skill, especially during those cold winter months. By following the steps outlined in this guide and prioritizing safety, you can help keep your heat pump operating efficiently and avoid potential damage. Remember to consult your owner’s manual for specific instructions and don’t hesitate to call a qualified HVAC technician if you encounter any issues. With a little knowledge and care, you can ensure your heat pump keeps your home warm and comfortable all winter long!
“`


