
How to Make an Air Pump for Your Bike
Quick Summary: Building a simple bike pump is possible using basic materials like PVC pipes, a valve stem, and a few fittings. This DIY project can get you back on the road in a pinch, offering a lightweight and portable solution. While it won’t replace a professional pump, it’s a great backup or learning experience.
Ever been stranded with a flat tire and no pump? It’s a cyclist’s worst nightmare! Store-bought pumps are great, but sometimes you need a quick fix. Making your own air pump is easier than you might think. This guide will show you how to create a simple, functional bike pump using readily available materials. Let’s get started and ensure you’re never caught out again!
Understanding the Basics of a Bike Pump

Before diving into the construction, let’s understand how a standard bike pump works. A typical pump uses a piston inside a cylinder to force air into your tire. The key components include:
- Cylinder: The main body of the pump where air is compressed.
- Piston: A moving component that pushes air.
- Valve: Controls the direction of airflow.
- Hose and Nozzle: Connects the pump to the tire valve.
Our homemade version will mimic these functions using simpler materials, focusing on portability and ease of construction.
Materials and Tools You’ll Need

Gathering your materials beforehand will make the building process much smoother. Here’s a comprehensive list:
- PVC Pipe (1-inch diameter, 12-18 inches long): This will serve as the cylinder.
- PVC End Cap (1-inch): To seal one end of the cylinder.
- PVC Adapter (1-inch to smaller size, e.g., 1/4-inch): To connect the hose.
- Rubber or Cork Stopper: This will act as the piston. Choose a size that fits snugly inside the PVC pipe.
- Valve Stem (from an old inner tube): To connect to the tire valve.
- Flexible Tubing (1/4-inch inner diameter): To connect the pump to the valve stem.
- Hose Clamps (small): To secure the tubing.
- Drill with Drill Bits: For making holes in the PVC and stopper.
- PVC Cement: To glue the PVC parts together.
- Sandpaper: To smooth rough edges.
- Measuring Tape or Ruler: For accurate cuts and measurements.
- Safety Glasses: To protect your eyes.
- Gloves: To protect your hands.
Step-by-Step Guide to Building Your DIY Bike Pump

Follow these steps carefully to assemble your homemade bike pump. Remember to work in a well-ventilated area, especially when using PVC cement.
Step 1: Prepare the PVC Cylinder
- Cut the PVC Pipe: If your PVC pipe isn’t already the desired length (12-18 inches), cut it using a saw. Ensure the cut is clean and straight.
- Sand the Edges: Use sandpaper to smooth any rough edges on the cut end of the PVC pipe. This prevents injury and ensures a better seal.
Step 2: Seal One End of the Cylinder
- Apply PVC Cement: Apply a thin, even layer of PVC cement to the inside of the PVC end cap and the outside of one end of the PVC pipe.
- Join the Cap and Pipe: Quickly insert the pipe into the end cap and twist slightly to ensure even distribution of the cement.
- Hold Firmly: Hold the cap and pipe together for about 30 seconds to allow the cement to set.
- Let it Cure: Allow the cement to cure completely according to the manufacturer’s instructions (usually a few hours).
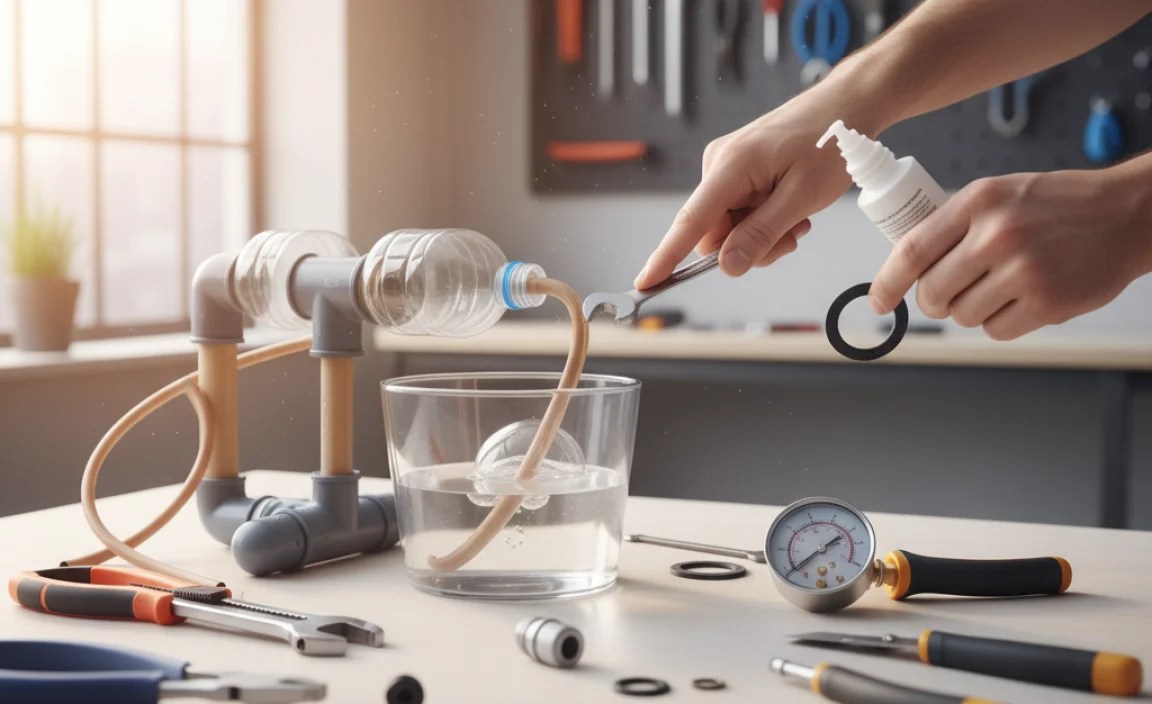
Step 3: Prepare the Piston
- Drill a Hole in the Stopper: Drill a hole through the center of the rubber or cork stopper. The hole should be slightly smaller than the diameter of the flexible tubing you’ll be using.
- Insert the Tubing: Push one end of the flexible tubing through the hole in the stopper. You may need to use a twisting motion to get it through.
- Secure the Tubing (Optional): For a more secure fit, you can use a small hose clamp or zip tie to secure the tubing to the stopper.
Step 4: Create the Hose Connection
- Drill a Hole in the PVC Adapter: Drill a hole in the center of the smaller end of the PVC adapter. The hole should be large enough to accommodate the valve stem.
- Insert the Valve Stem: Insert the valve stem through the hole in the PVC adapter.
- Secure the Valve Stem: Use epoxy or a strong adhesive to secure the valve stem to the adapter. Ensure it’s airtight.
Step 5: Assemble the Pump
- Attach the Adapter to the Cylinder: Apply PVC cement to the inside of the larger end of the PVC adapter and the outside of the open end of the PVC cylinder.
- Join the Adapter and Cylinder: Quickly insert the adapter into the cylinder and twist slightly.
- Hold Firmly: Hold the adapter and cylinder together for about 30 seconds.
- Let it Cure: Allow the cement to cure completely.
- Insert the Piston: Insert the stopper (piston) into the open end of the PVC cylinder.
Step 6: Connect the Hose
- Attach the Flexible Tubing: Attach the free end of the flexible tubing (the one coming from the piston) to the valve stem on your bike tire. Use a hose clamp to secure it tightly.
Step 7: Test Your Pump
- Operate the Pump: Hold the cylinder firmly and push the piston in and out. You should feel air being forced into the tire.
- Check for Leaks: Listen for any air leaks around the connections. If you hear a leak, tighten the hose clamps or apply more sealant.
Troubleshooting Common Issues
Even with careful construction, you might encounter a few issues. Here’s how to troubleshoot them:
- Air Leaks: Check all connections and ensure they are tightly sealed. Use additional sealant or hose clamps if necessary.
- Piston Slipping: If the piston is slipping, try using a larger stopper or adding a layer of rubber or tape to increase friction.
- Low Airflow: Ensure the valve stem is properly connected and not blocked. Also, check that the hole in the stopper is not too large.
Tips for Improving Your DIY Pump
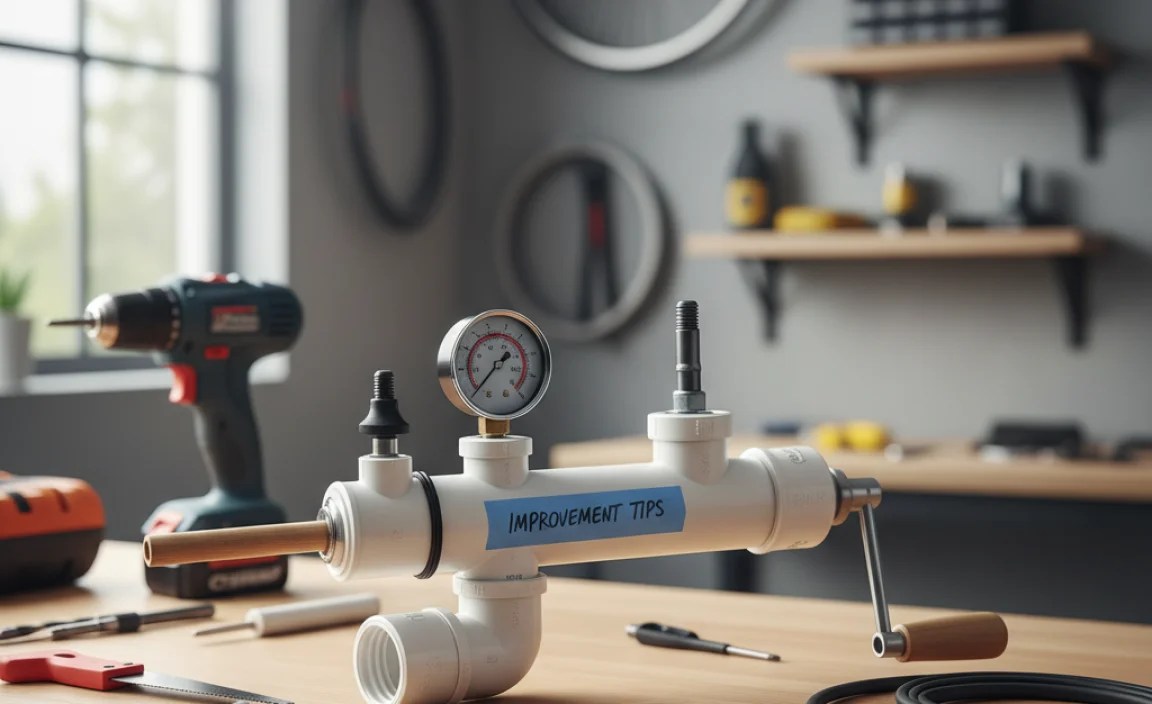
Here are some additional tips to enhance the performance and durability of your homemade pump:
- Add a Handle: Attach a handle to the piston for easier grip and operation. You can use a small piece of wood or PVC pipe.
- Use a Check Valve: Incorporating a check valve will prevent air from flowing back into the pump, improving efficiency.
- Reinforce Connections: Use epoxy or additional PVC cement to reinforce all connections and prevent leaks.
Comparing DIY Pump to Commercial Pumps
While a DIY pump can be a lifesaver in emergencies, it’s essential to understand its limitations compared to commercial pumps.
| Feature | DIY Pump | Commercial Pump |
|---|---|---|
| Cost | Lower (using recycled materials) | Higher (initial purchase) |
| Portability | Good (lightweight and compact) | Variable (some are bulky) |
| Efficiency | Lower (requires more effort) | Higher (designed for efficient airflow) |
| Durability | Lower (materials may degrade faster) | Higher (built to last) |
| Accuracy | None (no pressure gauge) | Often includes a pressure gauge |
Alternative DIY Pump Designs
While the PVC pipe pump is a common design, you can explore other methods using different materials. Here are a couple of ideas:
Syringe Pump
Use a large syringe as the cylinder and plunger. Connect a valve stem to the nozzle. This is a very simple and compact design, but it requires a large syringe.
Bicycle Frame Pump
Integrate a pump into your bike frame using hollow tubes and a piston. This requires more advanced fabrication skills but provides a seamless and convenient solution.
Safety Precautions
When building and using your DIY bike pump, always prioritize safety:
- Wear Safety Glasses: Protect your eyes from debris when cutting or drilling.
- Use Gloves: Protect your hands from sharp edges and chemicals.
- Work in a Well-Ventilated Area: Especially when using PVC cement or other adhesives.
- Test Carefully: Before fully relying on your pump, test it thoroughly to ensure it’s working correctly and there are no leaks.
Maintaining Your DIY Pump
To keep your DIY pump in good working condition, follow these maintenance tips:
- Clean Regularly: Wipe down the cylinder and piston to remove dirt and debris.
- Lubricate the Piston: Apply a small amount of silicone grease to the piston to ensure smooth operation.
- Check for Cracks: Inspect the PVC pipe and connections for cracks or damage. Replace any damaged parts immediately.
- Store Properly: Store the pump in a cool, dry place to prevent degradation of the materials.
Benefits of Making Your Own Bike Pump
Building your own bike pump offers several advantages:
- Cost-Effective: You can save money by using recycled or inexpensive materials.
- Customizable: You can tailor the pump to your specific needs and preferences.
- Educational: You’ll learn about the mechanics of a pump and gain valuable DIY skills.
- Emergency Preparedness: You’ll have a backup pump readily available in case of emergencies.
- Environmentally Friendly: You can reduce waste by repurposing materials.
Where to Find Materials
You can find the necessary materials at various locations:
- Hardware Stores: PVC pipes, fittings, cement, and tools.
- Bike Shops: Valve stems and flexible tubing.
- Recycling Centers: Old inner tubes for valve stems.
- Online Retailers: A wide variety of materials and tools.
External Resources
For further information and inspiration, check out these resources:
- Engineering ToolBox – PVC Pipes Dimensions: Provides detailed information on PVC pipe sizes and specifications.
- Popular Mechanics: Offers various DIY projects and guides, including some related to bike maintenance.
FAQ About DIY Bike Pumps
Here are some frequently asked questions about making your own bike pump:
- Q: Is a DIY bike pump as good as a store-bought one?
- A: Not usually. DIY pumps are great for emergencies but lack the efficiency and accuracy of commercial pumps. They also tend to be less durable.
- Q: Can I use different materials than PVC pipe?
- A: Yes, you can experiment with other materials like metal pipes or even a sturdy plastic bottle. However, PVC is generally the easiest to work with.
- Q: How much pressure can a DIY pump generate?
- A: It depends on the design and materials, but typically, a DIY pump can generate enough pressure to inflate a tire to a usable level for riding, but it might not reach the optimal pressure recommended for performance.
- Q: Do I need any special skills to build a DIY pump?
- A: Basic DIY skills are helpful, but the PVC pipe pump is relatively simple to construct. Just follow the instructions carefully and take your time.
- Q: What if I can’t find a valve stem?
- A: You can salvage a valve stem from an old inner tube or purchase one from a bike shop or online retailer.
- Q: Can I add a pressure gauge to my DIY pump?
- A: Adding a pressure gauge is possible but requires more advanced skills and materials. You’ll need to find a suitable gauge and connect it to the pump in a way that accurately measures the pressure.
- Q: How long will my DIY bike pump last?
- A: The lifespan of your DIY pump depends on the quality of materials and how well you maintain it. With proper care, it should last for several years.
Conclusion
Building your own bike pump is a rewarding project that can save you in a pinch. While it might not replace a high-quality commercial pump, it’s a valuable skill to have and a fun way to learn about bike mechanics. So, gather your materials, follow the steps, and get ready to inflate those tires with your very own homemade creation. Happy cycling!
“`


