
How to Fill Air in Your Cycle with a Pump: A Beginner’s Guide
Quick Summary: Filling your bike tires with air is simple! First, choose the right pump for your valve type (Presta or Schrader). Connect the pump securely, ensuring a tight seal. Then, pump until you reach the recommended PSI (found on your tire’s sidewall). Disconnect the pump carefully and you’re ready to ride. Keeping your tires properly inflated makes cycling easier and safer!
Ever hopped on your bike only to find your tires are flat? It’s a common frustration for cyclists of all levels. Underinflated tires make riding harder, slower, and even increase your risk of a flat tire. But don’t worry, adding air to your bike tires is a simple task you can easily do at home (or even on the road) with the right tools and a little know-how. This guide will walk you through each step, so you can keep your tires properly inflated and enjoy a smooth, safe ride. We’ll cover everything from identifying your valve type to choosing the right pump and inflating your tires to the perfect pressure.
Understanding Bike Tire Valves

Before you start pumping, you need to know what type of valve your bike has. There are two main types: Schrader and Presta. Identifying the valve type is super important because each requires a slightly different pump connection.
Schrader Valves
Schrader valves are the same type you find on car tires. They are wider and sturdier than Presta valves and have a spring-loaded pin in the center. To inflate a Schrader valve, you simply press the pump head onto the valve.
Presta Valves
Presta valves are narrower and typically found on higher-end bikes. They have a locking nut at the top that you need to unscrew before inflating. These valves are designed to hold higher pressures and are less prone to leaks when properly tightened.
Choosing the Right Bike Pump

Selecting the right bike pump makes inflating your tires much easier. There are two main types of pumps you’ll encounter:
- Floor Pumps: These are larger pumps that stand on the floor and are ideal for home use. They provide more leverage and allow you to inflate tires quickly and easily.
- Hand Pumps: These are smaller, portable pumps designed for on-the-go inflation. They are less efficient than floor pumps but are essential for carrying with you on rides in case of a flat tire.
Many pumps come with dual heads that can accommodate both Schrader and Presta valves. If your pump doesn’t have this feature, make sure to get the correct adapter for your valve type.
What You’ll Need
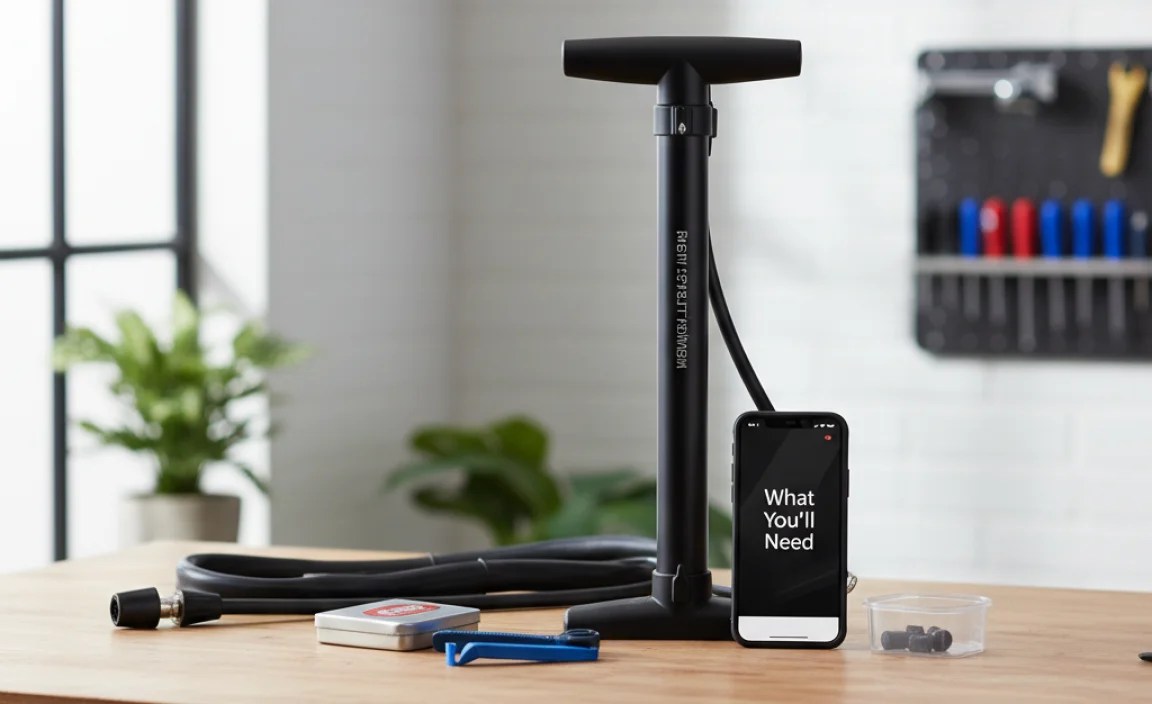
Before you begin, gather these items:
- Bike pump (compatible with your valve type)
- Your bicycle
- A rag (optional, for cleaning the valve)
Step-by-Step Guide: How to Fill Your Bike Tire with Air

Follow these steps to inflate your bike tires properly:
Step 1: Prepare the Valve
For Schrader valves, simply remove the valve cap by unscrewing it counterclockwise and set it aside in a safe place. For Presta valves, remove the valve cap and then unscrew the locking nut at the top of the valve. Gently press the valve stem to release a small amount of air. This ensures the valve isn’t stuck.
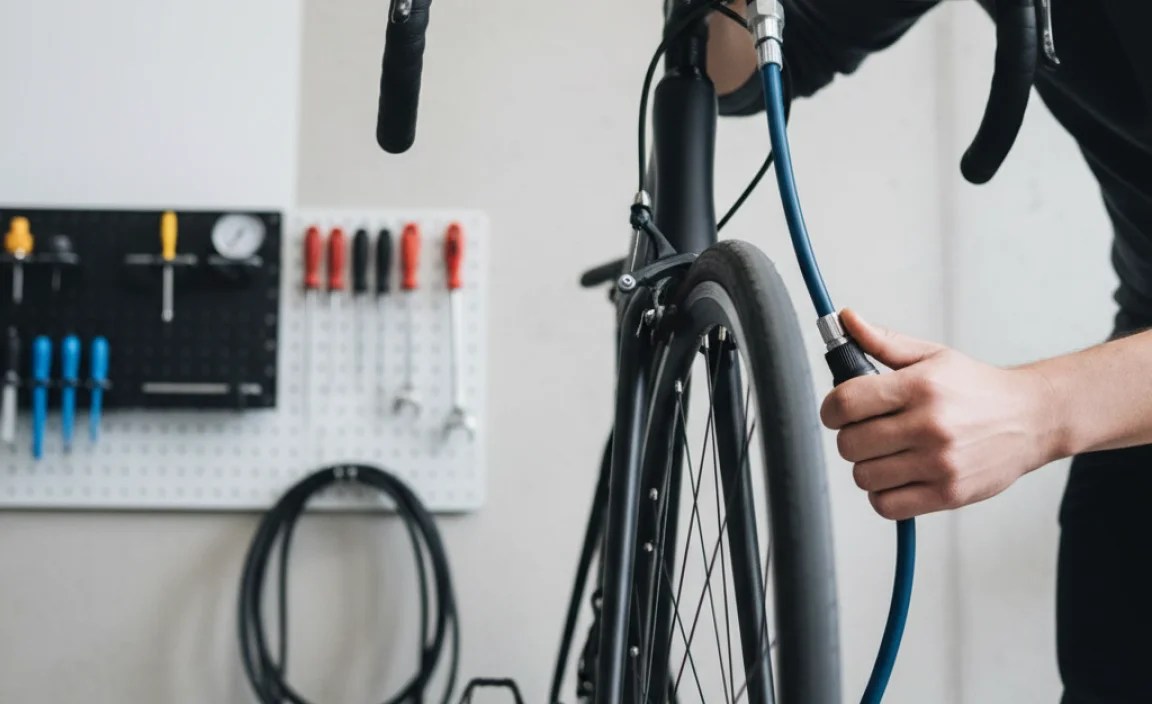
Step 2: Connect the Pump
Attach the pump head to the valve. For Schrader valves, press the pump head straight onto the valve, ensuring a snug fit. You might hear a slight hiss of air escaping; this is normal. Most pump heads have a lever that you need to flip to lock the pump onto the valve. For Presta valves, press the pump head onto the valve and engage the locking lever. Make sure it’s secure to prevent air from leaking.
Step 3: Inflate the Tire
Begin pumping, using smooth, consistent strokes. Watch the pressure gauge on the pump (if it has one). If you’re using a floor pump, place one foot on the base for stability. If you’re using a hand pump, hold the pump firmly and use your body weight to help with the pumping action.
Step 4: Check the Tire Pressure
The recommended tire pressure (PSI or BAR) is usually printed on the sidewall of your tire. Inflate the tire to the recommended pressure range. It’s better to be slightly under-inflated than over-inflated. If your pump doesn’t have a gauge, you can purchase a separate tire pressure gauge to check the pressure accurately.
Step 5: Disconnect the Pump
Once you’ve reached the desired pressure, disengage the locking lever on the pump head and carefully remove it from the valve. For Presta valves, remember to tighten the locking nut. Replace the valve cap on both Schrader and Presta valves to keep dirt and debris out.
Troubleshooting Common Issues
Sometimes, you might encounter problems while inflating your tires. Here are a few common issues and how to resolve them:
- Air Leaking: If you hear air leaking from the valve while pumping, make sure the pump head is securely attached. If the leak persists, the valve core might be damaged and need replacement.
- Pump Not Connecting: Ensure the pump head is compatible with your valve type. If it is, try repositioning the pump head and making sure it’s fully engaged.
- Difficulty Pumping: If you’re struggling to pump, make sure the valve is open (especially for Presta valves). Also, check the pump for any blockages or damage.
Maintaining Your Bike Pump
To keep your bike pump in good working condition, perform regular maintenance:
- Clean the Pump Head: Use a clean cloth to wipe away dirt and debris from the pump head.
- Check for Leaks: Inspect the hose and connections for any signs of wear or leaks.
- Lubricate Moving Parts: Apply a small amount of lubricant to the pump’s moving parts to keep them operating smoothly.
Understanding Tire Pressure
Maintaining the correct tire pressure is crucial for optimal performance and safety. Here’s why:
- Reduced Rolling Resistance: Properly inflated tires roll more efficiently, making your ride faster and easier.
- Improved Handling: Correct tire pressure provides better grip and control, especially when cornering.
- Puncture Prevention: Underinflated tires are more susceptible to pinch flats (snakebites), where the tire gets pinched between the rim and the road.
- Increased Tire Lifespan: Maintaining proper inflation prevents premature wear and tear on your tires.
Recommended Tire Pressure Ranges
The ideal tire pressure depends on several factors, including your weight, riding style, and tire size. Here’s a general guideline:
Note: Always refer to the recommended pressure range printed on the sidewall of your tire. The values below are a general guide.
| Tire Type | Typical Tire Width (mm) | Recommended Pressure Range (PSI) |
|---|---|---|
| Road Bike | 23-28 | 80-130 |
| Hybrid Bike | 32-42 | 50-70 |
| Mountain Bike | 50-75 (2.0-3.0 inches) | 25-40 |
| Gravel Bike | 35-50 | 30-60 |
Pro Tip: Experiment with different tire pressures within the recommended range to find what works best for you. Lower pressures provide more comfort and grip, while higher pressures offer faster rolling speed.
Advanced Tips for Optimal Tire Inflation
Once you’ve mastered the basics, consider these advanced tips to fine-tune your tire inflation:
- Use a Digital Tire Pressure Gauge: These gauges provide more accurate readings than analog gauges, ensuring precise inflation.
- Adjust Pressure for Different Conditions: Lower tire pressure slightly in wet or slippery conditions for improved grip.
- Consider Tubeless Tires: Tubeless tires allow you to run lower pressures without the risk of pinch flats, providing a smoother, faster ride.
- Check Tire Pressure Regularly: Check your tire pressure before each ride to ensure optimal performance and safety.
Essential Cycling Gear: More Than Just a Pump
While a good pump is critical, think about these other must-have items to stay safe and ready for anything on your rides:
- Helmet: Protect your head in case of a fall.
- Bike Repair Kit: Carry tools for basic repairs on the road.
- Water Bottle and Cage: Stay hydrated during your rides.
- Bike Lights: Be visible in low-light conditions.
- Cycling Computer: Track your speed, distance, and other metrics.
Choosing the Right Pump Head: A Detailed Look
The pump head is what connects to your tire’s valve, so getting the right one is essential. Here’s a breakdown of the common types:
| Pump Head Type | Valve Compatibility | Pros | Cons |
|---|---|---|---|
| Dual Head | Schrader and Presta | Versatile, accommodates both valve types | Can be bulkier, may require adjustment between valve types |
| Schrader-Specific | Schrader | Simple, reliable connection | Only works with Schrader valves |
| Presta-Specific | Presta | Provides a secure, leak-free seal | Only works with Presta valves |
| Thread-On | Schrader and Presta (requires adapters) | Compact, can be used with different valve types with adapters | Adapters can be easily lost, requires more setup |
The Importance of Valve Core Tools
Sometimes, you might need to replace the valve core in your tire. This is where a valve core tool comes in handy. Here’s why it’s a valuable addition to your toolkit:
- Easy Removal: Allows you to quickly and easily remove and replace valve cores.
- Prevents Damage: Reduces the risk of damaging the valve stem during removal.
- Versatile: Works on both Schrader and Presta valves (depending on the tool).
Safety First: Tips for Safe Inflation
While inflating your tires is generally safe, keep these tips in mind:
- Wear Eye Protection: Consider wearing safety glasses to protect your eyes from debris.
- Inspect Tires: Check your tires for any signs of wear or damage before inflating.
- Don’t Overinflate: Exceeding the recommended tire pressure can cause the tire to explode.
- Listen for Leaks: If you hear air leaking, stop pumping and check the connection.
Common Cycling Mistakes to Avoid
Even experienced cyclists make mistakes. Here are some common pitfalls to watch out for:
- Ignoring Tire Pressure: Neglecting to check and adjust tire pressure regularly.
- Using the Wrong Pump: Using a pump that’s not compatible with your valve type.
- Overinflating Tires: Exceeding the recommended tire pressure.
- Forgetting Valve Caps: Failing to replace valve caps, which can allow dirt and debris to enter the valve.
- Neglecting Pump Maintenance: Failing to maintain your bike pump, which can lead to malfunctions.
FAQ: Frequently Asked Questions
What is the correct PSI for my bike tires?
The recommended PSI (pounds per square inch) is printed on the sidewall of your tire. Always stay within that range.
Can I use a car tire pump on my bike?
Yes, if your bike has Schrader valves. However, car tire pumps often inflate to higher pressures, so be careful not to overinflate.
How often should I check my tire pressure?
Ideally, check your tire pressure before every ride. At a minimum, check it once a week.
Why do my tires keep losing air?
Tires naturally lose air over time. However, excessive air loss could indicate a leak in the tire, valve, or tube.
Can I overinflate my bike tires?
Yes, overinflating can cause the tire to explode, leading to injury. Always stay within the recommended pressure range.
What is the difference between PSI and BAR?
PSI (pounds per square inch) and BAR are both units of pressure. 1 BAR is approximately equal to 14.5 PSI.
How do I know if my tire is properly inflated without a gauge?
Squeeze the tire. It should feel firm and have minimal give. However, using a gauge is the most accurate way to ensure proper inflation.
Conclusion
Filling your bike tires with air doesn’t have to be a chore. With the right pump, a little knowledge, and these simple steps, you can keep your tires properly inflated and enjoy a smoother, safer, and more efficient ride. Remember to identify your valve type, choose the appropriate pump, and always inflate to the recommended pressure. Regular maintenance and attention to detail will keep you rolling smoothly for miles to come. Now get out there and enjoy the ride!
“`


