
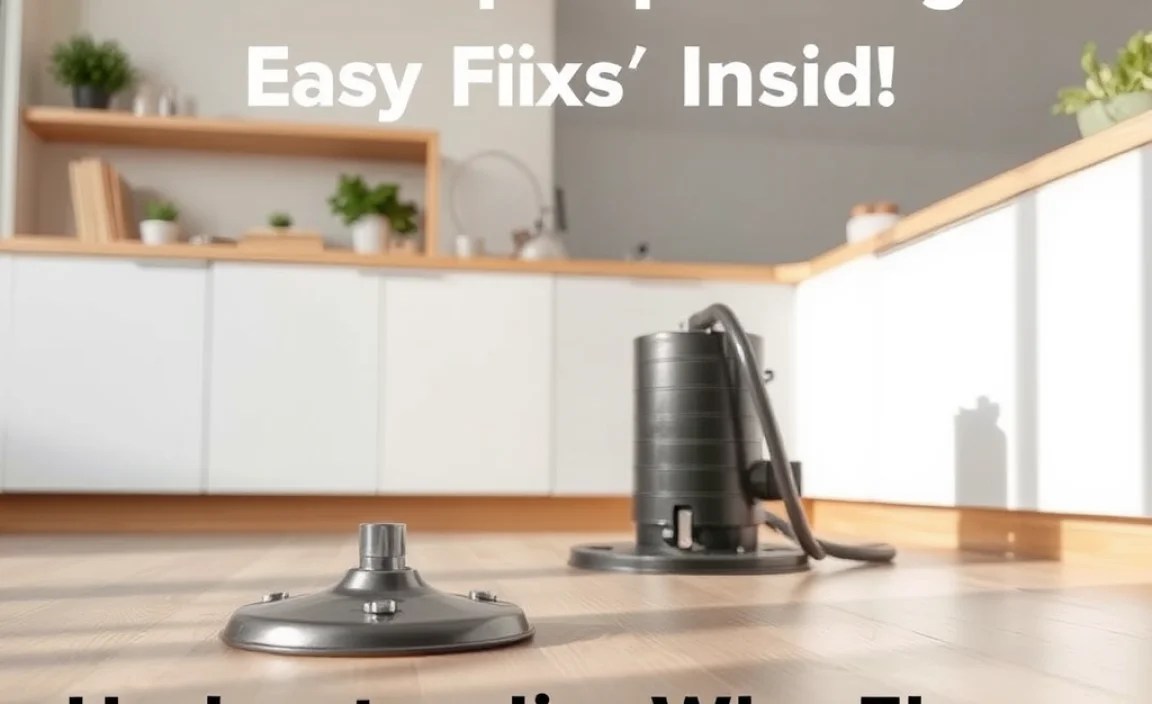
Floor Pump Squealing? Easy Fixes Inside!
Have you ever heard a funny noise when pumping your bike tires? Does your floor pump squeal like a mouse? It can be annoying. It can also mean something is wrong. Let’s find out why your pump might be noisy. We will also learn how to fix it.
Pumping tires should be easy. But sometimes, things go wrong. A squealing pump can make it harder. What can you do about it? Read on to learn more.
Key Takeaways
- A squealing floor pump usually means parts need lubrication or replacement.
- Check the piston, seals, and handle for wear and tear regularly.
- Use silicone-based lubricants to keep your pump working smoothly.
- Regular maintenance prevents squealing and extends the pump’s life.
- Ignoring the squeal can lead to pump failure and flat tires.
Understanding Why Floor Pump Squealing Happens
Have you ever wondered why your floor pump squeals? It’s often due to friction. Parts inside the pump rub together. When they lack grease, they make noise. This noise is usually a squeal. The squeal can be loud and annoying. It means something isn’t moving smoothly. Think of it like a door hinge that needs oil. The same thing happens inside your pump. The parts need lubrication. Without it, metal or plastic rubs together. This creates the squealing sound. Regular use can wear down the grease. Dirt and dust can also get inside. These things make the squeal worse. So, understanding why it happens helps you fix it.
- Friction causes most squealing.
- Lack of grease makes parts rub.
- Dirt can get inside the pump.
- Regular use wears down grease.
- Squealing means something is wrong.
Imagine your bike pump as a car engine. If you don’t change the oil, the engine will make noise. It might even break down. The same is true for your pump. You need to keep it clean and greased. This will stop the squealing. It will also make your pump last longer. Checking your pump often can prevent problems. A little grease can make a big difference. A quiet pump is a happy pump. Happy pumping!
Fun Fact or Stat: The average floor pump lasts 3–5 years with proper maintenance!
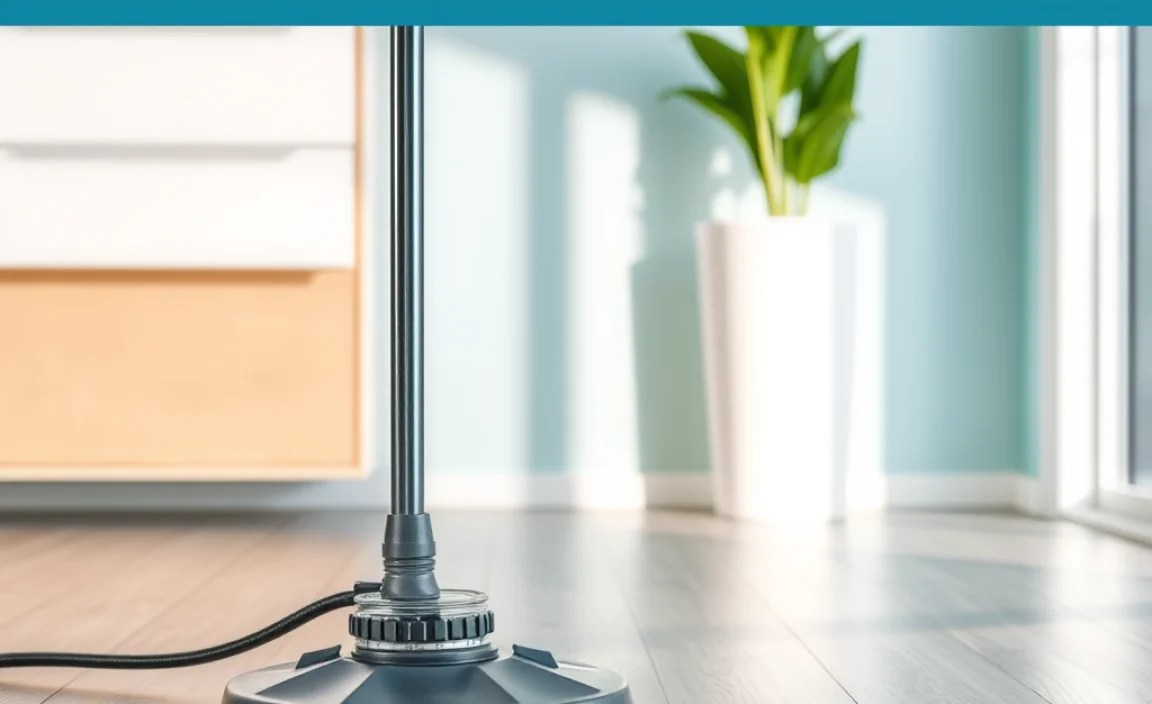
What Parts Cause the Squeal?
Have you ever taken something apart to see how it works? A floor pump squealing can come from different parts. The piston is a big one. It moves up and down to push air. If the piston is dry, it will squeal. The seals around the piston can also dry out. This makes them rub against the pump’s walls. The handle is another place to check. It connects to the piston. If the handle is loose, it can cause noise. Sometimes, the base of the pump can squeal too. This happens if it’s not tight. Checking all these parts can help you find the squeal’s source. Then you can fix it.
How Does Air Pressure Affect It?
Did you know that air pressure can affect your pump’s squeal? When you pump, you create pressure. This pressure pushes the parts harder together. If they are dry, the squeal gets louder. Higher pressure means more friction. More friction means more noise. Also, the type of tire you’re pumping matters. A road bike tire needs high pressure. This will make the pump work harder. A mountain bike tire needs less pressure. This might make the pump squeal less. So, think about the pressure you’re using. It can change how much your pump squeals.
Why Is My New Pump Squealing?
Sometimes, even a new floor pump squeals. This can be surprising. New pumps should work smoothly. But sometimes, they don’t have enough grease. The factory might not have put enough on. Or, the grease might have dried out during shipping. Another reason could be the materials. Some new pumps use different plastics. These plastics might rub together more. Don’t worry if your new pump squeals. It might just need some grease. A little lubrication can make it work perfectly. Check the instructions. They might tell you how to grease it.
Identifying the Source of the Squeal

Finding out why your floor pump is squealing can be like detective work. First, listen carefully. Where is the noise coming from? Is it from the handle? Or is it from the base? Try moving the pump slowly. See if you can make the squeal happen again. Then, check the parts. Look at the piston and the seals. Are they dry or cracked? Feel the handle. Is it loose? Sometimes, you can even see where the parts are rubbing. Look for shiny spots. These spots mean there’s friction. Once you find the source, you’re halfway to fixing it!
- Listen carefully to where the squeal comes from.
- Move the pump slowly to repeat the squeal.
- Check the piston, seals, and handle.
- Look for dry or cracked parts.
- Feel for loose parts.
- Find shiny spots that show friction.
Imagine you’re a doctor. Your pump is the patient. You need to find out what’s wrong. You can’t just guess. You need to check everything. Listen to the sounds. Look at the parts. Feel for problems. The more you check, the better you’ll understand. And the better you understand, the easier it will be to fix. Don’t be afraid to get your hands dirty. A little grease can go a long way. Happy diagnosing!
Fun Fact or Stat: A stethoscope can help you pinpoint the squeal’s exact location!
Listen Closely While Pumping
Close your eyes and just listen. Can you tell where the floor pump squealing is loudest? Is it at the top of the stroke? Or at the bottom? Does the squeal change when you push harder? These clues can help you find the problem. Maybe the squeal only happens when you pull up. This could mean the handle is loose. Or maybe it only happens when you push down. This could mean the piston is dry. Pay attention to when the squeal happens. It can tell you a lot about what’s wrong.
Visually Inspect the Pump
Look at your pump like an artist looks at a painting. What do you see? Are there cracks? Is there dirt? Is there rust? Look at the seals. Are they worn? Look at the piston. Is it scratched? Sometimes, you can see the problem. A crack in the base can cause a squeal. Dirt on the piston can cause a squeal. Rust on the handle can cause a squeal. Take your time and look closely. Your eyes can find what your ears might miss.
Feel for Loose Connections
Use your hands to feel for loose parts. Wiggle the handle. Does it move too much? Wiggle the base. Is it secure? Feel the hose connection. Is it tight? Loose connections can cause squeals. They can also make the pump less efficient. Air can leak out. This means you have to pump more. Tighten any loose connections you find. This might be all you need to do. A tight pump is a quiet pump.
Lubrication: The Key to a Quiet Pump

When your floor pump is squealing, lubrication is often the answer. Think of it like oiling a squeaky door hinge. The right lubricant reduces friction. It lets the parts move smoothly. Silicone-based lubricants are best. They won’t damage the rubber seals. Avoid using oil-based lubricants. These can make the rubber swell and crack. Apply the lubricant to the piston and seals. Also, put some on the handle joints. A little goes a long way. Too much can attract dirt. After lubricating, pump the handle a few times. This spreads the lubricant around. Your pump should be quiet and smooth again.
- Use silicone-based lubricants.
- Avoid oil-based lubricants.
- Apply lubricant to the piston and seals.
- Put some on the handle joints.
- Use a small amount of lubricant.
- Pump the handle to spread the lubricant.
Imagine your pump as a robot. It needs oil to move smoothly. Without oil, the robot will creak and groan. It might even stop working. Your pump is the same. It needs lubricant to keep moving. The right lubricant will keep it quiet. It will also make it last longer. Don’t forget to clean your pump before lubricating. This will remove any dirt. Clean parts work better with lubricant. Happy lubricating!
Fun Fact or Stat: Silicone lubricant was first developed for use in World War II!
Choosing the Right Lubricant
Picking the right lubricant is important. You want something that works well. You also want something that won’t hurt your pump. Silicone lubricants are great. They are safe for rubber and plastic. They also last a long time. Avoid using WD-40. It’s not a lubricant. It’s a solvent. It can dry out the parts. White lithium grease is another good choice. It’s thick and stays in place. Read the labels. Make sure the lubricant is safe for your pump’s materials. The right choice will keep your pump quiet.
How to Apply Lubricant Properly
Putting on lubricant the right way is key. First, clean the parts. Use a clean cloth to wipe away dirt. Then, apply a small amount of lubricant. A drop or two is usually enough. Use your finger to spread it around. Work the lubricant into the seals. Move the handle to coat the joints. Don’t use too much. Too much can attract dirt. Wipe away any extra lubricant. Less is more when it comes to lubrication. This will keep your pump running smoothly.
When to Re-Lubricate Your Pump
How often should you grease your pump? It depends on how much you use it. If you pump every day, grease it more often. If you only pump once a week, grease it less often. Listen to your pump. If it starts to squeal, it’s time to grease it. Also, grease it after cleaning. Cleaning removes the old grease. A good rule is to grease it every few months. This will keep your pump in top shape. Regular lubrication prevents squeals.
Replacing Worn Parts to Stop Squealing
Sometimes, lubrication isn’t enough. Your floor pump squealing might mean parts are worn out. Seals can crack and dry up. Pistons can get scratched. Handles can become loose. When this happens, you need to replace the parts. Check your pump’s manual. It will tell you what parts you can replace. You can often buy replacement parts online. Make sure you get the right size. Replacing worn parts can make your pump like new again. It will also stop the squealing. A new seal can make a big difference.
- Seals can crack and dry up.
- Pistons can get scratched.
- Handles can become loose.
- Check your pump’s manual for parts.
- Buy the right size replacement parts.
- New parts can make your pump like new.
Imagine your pump as a toy car. If the wheels fall off, you can’t play with it. You need to fix the wheels. Your pump is the same. If the parts are broken, it won’t work right. You need to replace them. Replacing parts might seem hard. But it’s often easy. Just follow the instructions. A little work can save you from buying a new pump. Happy fixing!
Fun Fact or Stat: The most commonly replaced part on a floor pump is the rubber seal!
Finding the Right Replacement Parts
Finding the right parts is important. You need to make sure they fit. Check your pump’s brand and model. Look online for parts that match. Some websites sell parts for specific pumps. You can also check with your local bike shop. They might have the parts you need. Make sure you know the size of the part. A seal that’s too big or too small won’t work. The right part will make your pump work like new.
How to Replace Seals and Pistons
Replacing seals and pistons is not too hard. First, take apart the pump. Follow the instructions in your manual. Remove the old seal or piston. Clean the area where the new part will go. Put a little grease on the new part. This will help it slide in. Put the pump back together. Make sure everything is tight. Test the pump. It should work smoothly. If it still squeals, check your work. You might have missed something.
When to Consider a New Pump
Sometimes, it’s better to buy a new pump. If your pump is very old, parts might be hard to find. If many parts are broken, it might cost too much to fix. New pumps have new features. They might be easier to use. They might also be more efficient. Think about how much you use your pump. If you use it a lot, a new pump might be worth it. A new pump can make pumping easier and faster.
Cleaning Your Floor Pump for Optimal Performance
Keeping your pump clean is important. Dirt can cause your floor pump squealing. Dirt can also damage the parts. Clean your pump regularly. Wipe down the outside with a damp cloth. Use a brush to clean the inside. Pay attention to the piston and seals. Remove any dirt or dust. You can use a mild soap. But make sure to rinse it off. Let the pump dry completely before using it. A clean pump works better and lasts longer.
- Wipe down the outside with a damp cloth.
- Use a brush to clean the inside.
- Pay attention to the piston and seals.
- Remove any dirt or dust.
- Rinse off any soap.
- Let the pump dry completely.
Imagine your pump as a toothbrush. You wouldn’t use a dirty toothbrush, right? Your pump is the same. You need to keep it clean. A clean pump is a happy pump. It will work better. It will also last longer. Cleaning your pump is easy. It only takes a few minutes. But it can make a big difference. Happy cleaning!
Fun Fact or Stat: Dust is the number one enemy of a floor pump!
Why Dirt Causes Squealing
Dirt gets inside your pump. It can scratch the parts. It can also dry out the grease. This makes the parts rub together. The rubbing causes the squealing. Dirt can also clog the valves. This makes it harder to pump. Keeping your pump clean prevents these problems. A clean pump is a quiet pump. It’s also a more efficient pump. Regular cleaning makes a big difference.
Best Cleaning Methods and Products
Use a damp cloth to wipe down the outside. A brush can clean the inside. Use mild soap if needed. But rinse it off well. Avoid using harsh chemicals. They can damage the parts. You can also use compressed air. This will blow out any loose dirt. Let the pump dry completely before using it. Clean parts work better than dirty parts. A clean pump is a happy pump.
Preventative Cleaning Tips
Keep your pump in a clean place. Don’t leave it in the dirt. Wipe it down after each use. Clean it regularly. This will prevent dirt from building up. Store it in a bag or box. This will protect it from dust. A little prevention goes a long way. A clean pump is a happy pump. It will last longer. It will also work better. Preventative cleaning is the best cleaning.
Maintaining Air Pressure for Optimal Use
Keeping the right air pressure is key. Too little air can cause problems. Too much air can also cause problems. Check your tires regularly. Use a gauge to measure the pressure. Inflate your tires to the correct pressure. This will make your ride smoother. It will also prevent flats. The right pressure depends on your tires. It also depends on your weight. Check your tire’s sidewall for the recommended pressure. A good pump makes it easy to reach the right pressure. Pay attention to the pressure. It makes a big difference.
- Check your tires regularly.
- Use a gauge to measure the pressure.
- Inflate to the correct pressure.
- Check your tire’s sidewall for recommendations.
- Maintain the right pressure for a smoother ride.
Imagine your tires as balloons. If they don’t have enough air, they’ll be floppy. If they have too much air, they’ll pop. You need to find the right balance. Your tires are the same. They need the right amount of air. This will make them work best. A good pump helps you find that balance. Happy pumping!
Fun Fact or Stat: Proper tire pressure can improve your cycling efficiency by up to 10%!
How to Read a Tire Pressure Gauge
A tire pressure gauge tells you how much air is in your tire. Most gauges have a needle. The needle points to a number. The number tells you the pressure. The pressure is measured in PSI. PSI stands for pounds per square inch. Some gauges are digital. They show the pressure on a screen. Check your tire’s sidewall. It will tell you the recommended PSI. Inflate your tire until the gauge matches that number. Reading a gauge is easy. It just takes practice.
Impact of Under-Inflation and Over-Inflation
Under-inflated tires are soft. They make it harder to pedal. They also increase the risk of flats. Over-inflated tires are hard. They make the ride bumpy. They can also burst. Finding the right pressure is important. It will make your ride safer and more comfortable. Check your tires before each ride. This will ensure they are properly inflated. Proper inflation prevents problems.
Using Your Floor Pump Accurately
Place the pump head on the valve. Make sure it’s secure. Lock the lever. This will seal the connection. Pump the handle up and down. Watch the gauge. Stop when you reach the right pressure. Unlock the lever. Remove the pump head. Check the pressure again. Sometimes, air leaks out when you remove the pump. Add more air if needed. Using your pump accurately is key. It will keep your tires in good shape. That prevents floor pump squealing sounds.
Choosing the Right Floor Pump for Your Needs
Not all floor pumps are the same. Some are better than others. Think about what you need. Do you pump road bike tires? They need high pressure. Do you pump mountain bike tires? They need lower pressure. Some pumps have a built-in gauge. This makes it easy to see the pressure. Some pumps have a long hose. This makes it easier to reach the valve. Some pumps are made of metal. They are more durable. Some pumps are made of plastic. They are lighter. Choose a pump that fits your needs. A good pump will make pumping easier.
- Consider the type of tires you pump.
- Look for a built-in gauge.
- Check the hose length.
- Choose between metal and plastic.
- Select a pump that fits your needs.
Imagine you’re buying a new pair of shoes. You wouldn’t buy shoes that are too small, right? Your pump is the same. You need to choose one that fits your needs. A good pump will make pumping easier. It will also last longer. Don’t just buy the cheapest pump. Think about what you need. Happy shopping!
Fun Fact or Stat: Some high-end floor pumps can cost over $200!
Types of Floor Pumps Available
There are many types of floor pumps. Some are for road bikes. They can reach high pressures. Some are for mountain bikes. They have a larger volume. Some are for both. They have a switch to change between high pressure and high volume. Some have a digital gauge. Some have a regular gauge. Some are small and portable. Some are large and heavy. Choose the type that fits your needs. A good pump will make pumping easier.
Features to Look for in a Quality Pump
Look for a sturdy base. This will keep the pump from tipping over. Look for a comfortable handle. This will make pumping easier. Look for a long hose. This will make it easier to reach the valve. Look for a good gauge. This will help you get the right pressure. Look for a durable construction. This will make the pump last longer. A quality pump is worth the investment.
Comparing Different Brands and Models
Read reviews online. Talk to your friends. Ask your local bike shop. Compare different brands and models. Some brands are known for their quality. Some brands are known for their price. Some models have special features. Some models are simple and basic. Choose the brand and model that fits your needs. A good pump will make pumping easier.
Here is a table comparing different floor pumps:
| Brand | Model | Material | Max PSI | Price |
|---|---|---|---|---|
| Topeak | Joe Blow Sport III | Steel | 160 | $50 |
| Lezyne | Classic Floor Drive | Aluminum | 220 | $80 |
| Park Tool | PFP-8 | Steel | 160 | $60 |
| Serfas | TCPG | Composite | 160 | $40 |
Floor Pump Squealing Prevention Tips
The best way to stop a floor pump from squealing is to prevent it. Keep it clean. Lubricate it regularly. Store it in a clean, dry place. Check the parts often. Replace worn parts quickly. Don’t wait until it squeals. A little prevention goes a long way. A well-maintained pump will last longer. It will also work better. Prevention is the key to a quiet pump.
- Keep the pump clean.
- Lubricate it regularly.
- Store it in a clean, dry place.
- Check the parts often.
- Replace worn parts quickly.
Imagine your pump as a pet. You need to take care of it. You need to feed it. You need to clean it. You need to give it attention. Your pump is the same. You need to take care of it. A well-cared-for pump will last longer. It will also work better. Happy pumping!
Fun Fact or Stat: Regular maintenance can double the lifespan of your floor pump!
Regular Maintenance Schedule
Wipe down the pump after each use. Clean it once a month. Lubricate it every few months. Check the parts every year. Replace worn parts as needed. This schedule will keep your pump in top shape. It will also prevent squealing. A regular schedule makes maintenance easier. A well-maintained pump is a happy pump.
Best Storage Practices
Store your pump in a clean, dry place. Avoid storing it in direct sunlight. Avoid storing it in a damp place. Store it in a bag or box. This will protect it from dust. A good storage place will keep your pump in good condition. Proper storage prevents problems. A well-stored pump is a happy pump.
Spotting Early Warning Signs
Listen for changes in the sound. Look for cracks or wear. Feel for loose parts. Check the pressure gauge. Make sure it’s accurate. Address problems early. This will prevent them from getting worse. Spotting early warning signs is key. It will save you time and money. A well-maintained pump is a happy pump.
Summary
A floor pump squealing is usually caused by friction. Parts inside the pump rub together. Lack of grease makes the noise worse. Dirt and dust can also cause squealing. To fix it, find the source of the squeal. Lubricate the piston and seals. Use silicone-based lubricants. Replace worn parts if needed. Keep your pump clean. Store it in a clean, dry place. Check the tire pressure often. A well-maintained pump will last longer. It will also work better.
Conclusion
A floor pump squealing can be annoying. But it’s usually an easy fix. Lubrication is often the answer. Replacing worn parts can also help. Keeping your pump clean is important. Regular maintenance will prevent squealing. A well-maintained pump will make pumping easier. You’ll be back on the road in no time. Happy riding!
Frequently Asked Questions
Question No 1: Why is my floor pump so hard to push down?
Answer: A hard-to-push floor pump often means the seals are dry or damaged. The seals create a tight fit. This lets the pump push air into your tire. If the seals are dry, they create more friction. This makes it harder to push the handle. Try lubricating the piston and seals. Use a silicone-based lubricant. If that doesn’t work, you might need to replace the seals. Check your pump’s manual for instructions.
Question No 2: How often should I lubricate my floor pump to prevent squealing?
Answer: You should lubricate your floor pump every few months. If you use it often, lubricate it more. If you don’t use it much, lubricate it less. Listen to your pump. If you hear a floor pump squealing, it’s time to lubricate it. Also, lubricate it after cleaning. Cleaning removes the old grease. A little lubrication keeps everything moving smoothly. Regular lubrication prevents squealing and extends the pump’s life.
Question No 3: Can I use WD-40 to lubricate my floor pump?
Answer: No, you should not use WD-40 to lubricate your floor pump. WD-40 is a solvent. It’s designed to loosen things. It’s not a lubricant. It can actually dry out the parts. This can make the squealing worse. Use a silicone-based lubricant instead. These lubricants are safe for rubber and plastic. They will keep your pump working smoothly. Avoid using oil-based lubricants too. They can damage the rubber seals.
Question No 4: What kind of grease is best for a floor pump?
Answer: The best kind of grease for a floor pump is silicone-based grease. Silicone grease is safe for rubber and plastic parts. It won’t cause them to swell or crack. It also lasts a long time. White lithium grease is another good option. It’s thick and stays in place. Avoid using petroleum-based greases. They can damage the seals. Check the label to make sure the grease is safe for your pump’s materials. Using the right grease can prevent floor pump squealing.
Question No 5: How do I know if I need to replace the seals on my floor pump?
Answer: You might need to replace the seals if your pump is hard to push. Also, if you hear a floor pump squealing, the seals might be bad. Look at the seals. Are they cracked or dry? If so, they need to be replaced. Check your pump’s manual for instructions. Replacing the seals can make your pump work like new again. It will also stop the squealing. New seals create a better seal. This makes pumping easier.
Question No 6: What should I do if my floor pump is still squealing after lubricating it?
Answer: If your floor pump is still squealing after lubricating it, try these steps. First, make sure you used the right lubricant. Silicone-based is best. Second, check the parts for wear. The seals or piston might be damaged. Replace any worn parts. Third, clean the pump thoroughly. Dirt can cause squealing. Fourth, make sure all connections are tight. Loose connections can also cause noise. If none of these steps work, consider buying a new pump. Sometimes, it’s just time for a replacement.


