
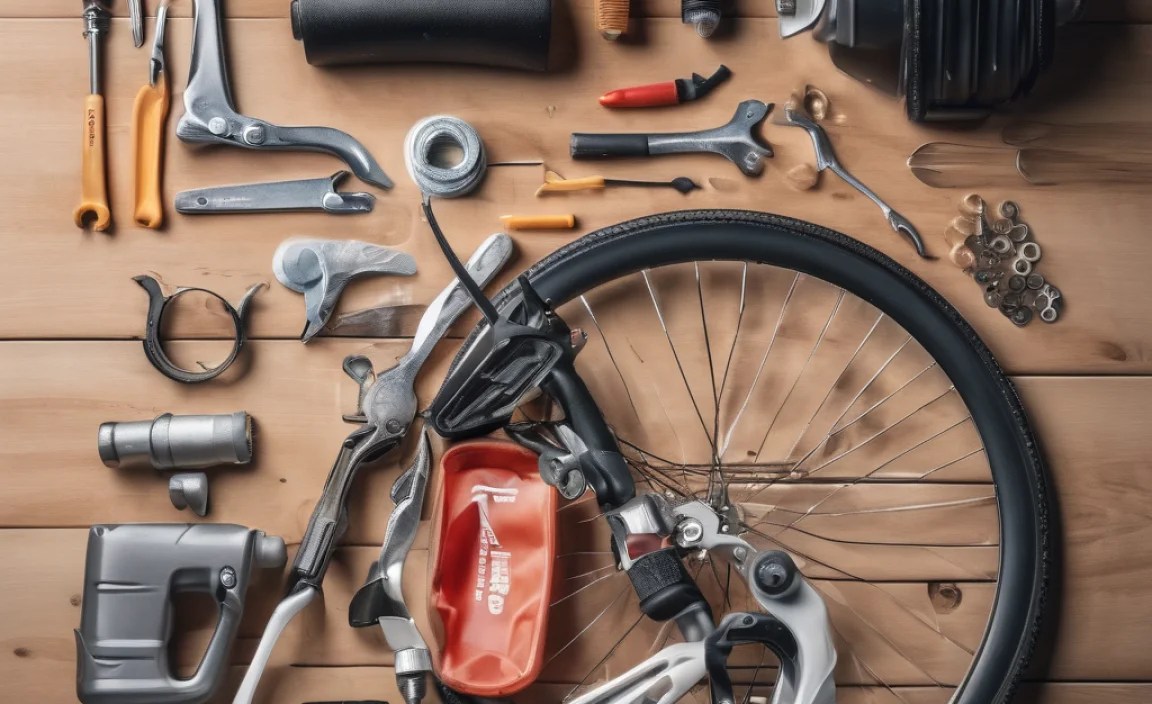
Bicycle Repair Kit Essentials for Beginners: Easy Fixes!
Quick Summary: A basic bicycle repair kit for beginners should include a multi-tool, tire levers, spare inner tube, patch kit, mini pump, and a chain tool. These essentials will help you handle common roadside repairs like flat tires and minor adjustments, keeping you rolling smoothly on your rides.
Getting a flat tire or dealing with a loose bolt can quickly ruin a bike ride. As a beginner cyclist, you might feel helpless when faced with these issues. But don’t worry! Putting together a simple bicycle repair kit will give you the confidence to tackle minor repairs and keep your bike in good shape. This guide will walk you through the essential items to include in your kit, so you can enjoy your rides without the fear of being stranded.
Bicycle Repair Kit Essentials for Beginners

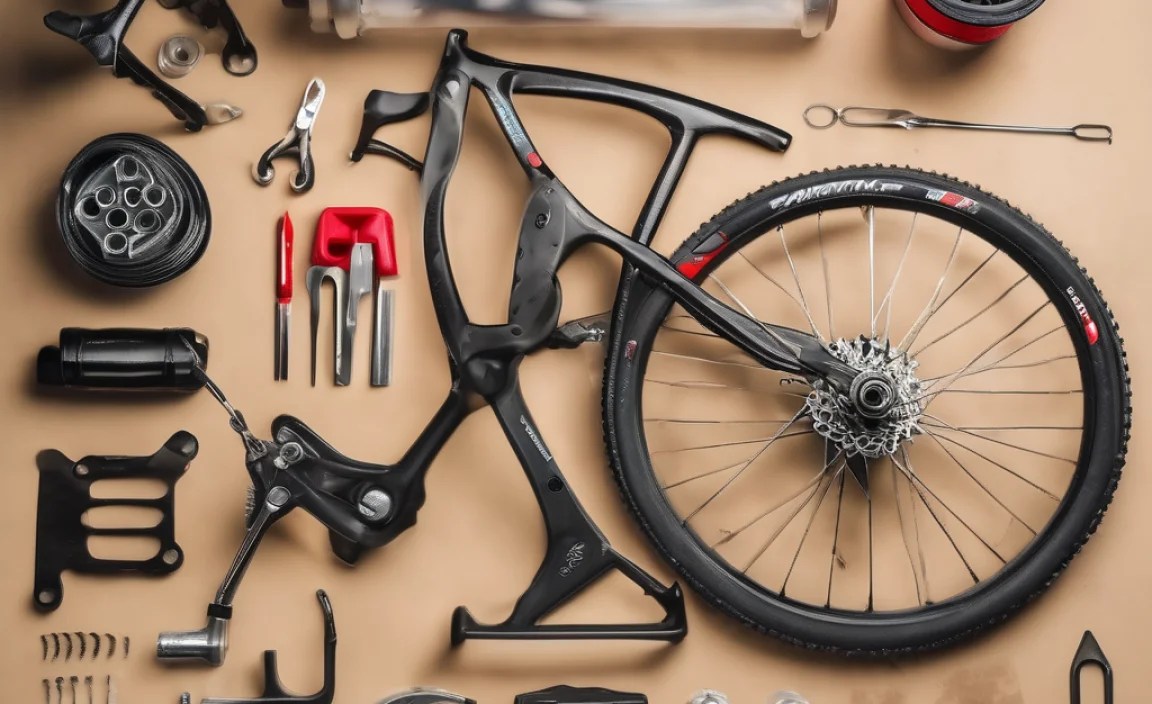
A well-stocked bicycle repair kit is your best friend on the road or trail. It allows you to handle common mechanical issues and get back to riding quickly. Here’s a breakdown of the essential items to include:
1. Multi-Tool
A multi-tool is the heart of any bicycle repair kit. It combines several useful tools into one compact device. Look for one that includes:
- Hex wrenches (Allen keys): Sizes 2.5mm to 8mm are the most common on bikes.
- Screwdrivers: Both Phillips head and flathead are useful.
- Torx wrench: A T25 is often used for disc brake rotors and other components.
Why it’s essential: A multi-tool allows you to adjust brakes, derailleurs, tighten bolts, and handle many other common adjustments without carrying individual tools. It’s compact and lightweight, making it easy to carry on every ride.
2. Tire Levers
Tire levers are small, flat tools used to remove a tire from the rim. They are usually made of plastic or metal.
Why they’re essential: Removing a tire by hand can be difficult and can damage the tire or rim. Tire levers provide the leverage needed to safely remove the tire without causing damage.
How to use them:
- Insert one lever under the tire bead and hook it onto a spoke.
- Insert a second lever a few inches away and pry the tire bead further off the rim.
- Repeat with a third lever if needed, or slide one lever around the rim to completely remove the tire bead.
3. Spare Inner Tube
A spare inner tube is crucial for fixing flat tires. Make sure you have the correct size for your tires. Check the size markings on the sidewall of your tire (e.g., 700x25c, 26×2.1″).
Why it’s essential: A flat tire is one of the most common cycling mishaps. Carrying a spare tube allows you to quickly replace a punctured tube and get back on the road.
Pro Tip: Consider carrying two spare tubes on longer rides.
4. Patch Kit
A patch kit is a cost-effective way to repair small punctures in your inner tube. It typically includes patches, glue (or self-adhesive patches), and sandpaper.
Why it’s essential: A patch kit allows you to repair multiple punctures without needing to replace the inner tube each time. It’s a lightweight and space-saving option for extending the life of your tubes.
How to use it:
- Rough the area around the puncture with sandpaper.
- Apply a thin layer of glue (if using a traditional kit) and let it dry for a few minutes.
- Apply the patch firmly and hold it in place for a minute.
- For self-adhesive patches, simply peel off the backing and apply to the cleaned area.
5. Mini Pump or CO2 Inflator
A mini pump or CO2 inflator is needed to inflate your tires after replacing or patching a tube. Mini pumps are manual, while CO2 inflators use cartridges of compressed carbon dioxide for rapid inflation.
Why it’s essential: You can’t ride on a flat tire! A pump or CO2 inflator allows you to inflate your tire to the correct pressure after a repair.
Mini Pump vs. CO2 Inflator:
| Feature | Mini Pump | CO2 Inflator |
|---|---|---|
| Inflation Speed | Slower | Faster |
| Effort Required | More | Less |
| Reusable | Yes | No (requires new cartridge each time) |
| Cost | Higher initial cost | Lower initial cost, but ongoing cost of cartridges |
| Reliability | More reliable in the long run | Can fail if cartridge is empty or inflator malfunctions |
6. Chain Tool (Chain Breaker)
A chain tool is used to break and rejoin a bicycle chain. It’s essential for repairing a broken chain link.
Why it’s essential: A broken chain can leave you stranded. A chain tool allows you to remove the damaged link and rejoin the chain, enabling you to continue your ride. Some multi-tools include a chain tool, saving space and weight.
How to use it:
- Position the chain tool’s pin on the pin of the chain link you want to remove.
- Turn the tool’s handle to push the pin out of the link.
- Once the damaged link is removed, use the chain tool or a quick link to rejoin the chain.
7. Tire Boot
A tire boot is a small, sturdy piece of material (like a folded dollar bill, duct tape, or a purpose-made patch) used to temporarily repair a large cut or tear in your tire.
Why it’s essential: If you get a large cut in your tire, the inner tube can bulge out and burst. A tire boot reinforces the tire from the inside, preventing the tube from escaping and allowing you to ride home safely.
How to use it:
- Remove the inner tube.
- Place the tire boot over the inside of the cut.
- Reinstall the inner tube, being careful not to pinch it.
- Inflate the tire to a lower pressure than usual.
8. Quick Links
Quick links (also known as master links) are special chain links that can be easily installed and removed without tools. They provide a convenient way to rejoin a broken chain.
Why they’re essential: Quick links simplify chain repair, especially on the road. They are much easier to use than a chain tool for rejoining a chain.
How to use them:
- Insert each half of the quick link into the ends of the chain you want to join.
- Snap the two halves together. Some quick links require you to flex the chain slightly to lock them in place.
9. Small Adjustable Wrench
A small adjustable wrench (also known as a crescent wrench) can be useful for tightening bolts that are too large for your multi-tool or for adjusting brake and derailleur cables.
Why it’s essential: While a multi-tool covers most common bolt sizes, an adjustable wrench provides added versatility for less common sizes or for tasks that require more leverage.
10. Hand Wipes or Rags
Bike repairs can be messy. Hand wipes or a small rag will help you clean your hands and tools after making a repair.
Why they’re essential: Keeping your hands clean makes it easier to handle tools and prevents grease from spreading to other parts of your bike or your clothing.
11. Small First-Aid Kit
Accidents happen. A small first-aid kit with bandages, antiseptic wipes, and pain relievers can help you treat minor injuries on the road.
Why it’s essential: Your safety is paramount. A first-aid kit allows you to address minor cuts, scrapes, and other injuries that may occur during a ride.
12. Zip Ties and Duct Tape
Zip ties and duct tape are versatile tools for temporary repairs. They can be used to secure cables, splint broken parts, or even repair a torn saddle.
Why they’re essential: Zip ties and duct tape are invaluable for improvising repairs in unexpected situations. They are lightweight and take up very little space in your kit.
Assembling Your Bicycle Repair Kit
Now that you know what to include, here’s how to put your repair kit together:
- Choose a container: A small saddlebag, handlebar bag, or even a water bottle cage-mounted tool bottle can work.
- Organize your tools: Arrange the tools in a way that makes them easy to access. Consider using small pouches or compartments to keep things organized.
- Keep it compact: Avoid carrying unnecessary items to keep the kit lightweight and space-efficient.
- Check it regularly: Before each ride, make sure your kit is complete and that all items are in good working order. Replace CO2 cartridges after use, and check the condition of your spare tube and patches.
Where to Buy Your Repair Kit Essentials

You can purchase bicycle repair kit essentials from:
- Local bike shops: Offer expert advice and a wide selection of tools and accessories.
- Online retailers: Provide convenience and competitive pricing. Check out reputable online stores like Amazon, REI, and specialized cycling retailers.
- Sporting goods stores: Carry basic repair tools and accessories.
Pro Tip: Consider purchasing a pre-assembled repair kit to get started. These kits often include the essential items at a discounted price. As you gain experience, you can customize your kit to suit your specific needs.
Maintenance Tips for Your Repair Kit

To keep your repair kit in top condition, follow these maintenance tips:
- Clean your tools: After each use, clean your tools with a rag to remove dirt and grease.
- Lubricate moving parts: Apply a drop of lubricant to the moving parts of your multi-tool and chain tool to keep them working smoothly.
- Replace worn items: Replace worn or damaged tools and accessories promptly.
- Store it properly: Store your repair kit in a dry place to prevent rust and corrosion.
Further Learning
To deepen your understanding of bicycle repair, consider the following resources:
- Online tutorials: Websites like YouTube and Park Tool offer a wealth of instructional videos on bicycle repair and maintenance.
- Bike repair classes: Many local bike shops and community centers offer hands-on bike repair classes.
- Books and manuals: “Zinn & the Art of Road Bike Maintenance” and “The Bicycling Guide to Complete Bicycle Maintenance & Repair” are excellent resources for learning about bicycle repair.
FAQ: Bicycle Repair Kit Essentials for Beginners
What is the most important tool in a bicycle repair kit?
The multi-tool is often considered the most important because it combines several essential tools into one compact device. It allows you to make a wide range of adjustments and repairs on the road.
Can I use a car tire pump for my bicycle?
While you can technically use a car tire pump for a bicycle, it’s not ideal. Car pumps are designed for higher volumes and lower pressures, while bicycle tires require higher pressures. A mini pump or floor pump designed for bicycles is more efficient and accurate.
How often should I check my bicycle repair kit?
You should check your bicycle repair kit before each ride to ensure that all items are present and in good working order. Replace any used or damaged items promptly.
What size inner tube do I need?
The size of inner tube you need depends on the size of your tires. Check the size markings on the sidewall of your tire (e.g., 700x25c, 26×2.1″) and purchase an inner tube that matches those dimensions.
Is it better to patch a tube or replace it?
Patching a tube is a cost-effective way to repair small punctures. However, if the puncture is large or the tube is damaged in multiple places, it’s best to replace it. A new tube is more reliable and will prevent future flats.
How much does a basic bicycle repair kit cost?
A basic bicycle repair kit can cost anywhere from $30 to $100, depending on the quality and quantity of tools included. Pre-assembled kits are often more affordable than purchasing individual items.
What other items should I consider adding to my repair kit?
Depending on your riding style and the length of your rides, you may want to add items such as a chain lube, spoke wrench, derailleur hanger alignment tool, and extra batteries for your lights.
Conclusion
Building your own bicycle repair kit doesn’t have to be daunting. With a few essential tools and a little knowledge, you can confidently handle common roadside repairs and keep your bike running smoothly. Remember to choose quality tools, keep your kit organized, and practice using the tools before you need them on the road. By being prepared, you can enjoy your cycling adventures without the fear of being stranded. Happy riding!


