
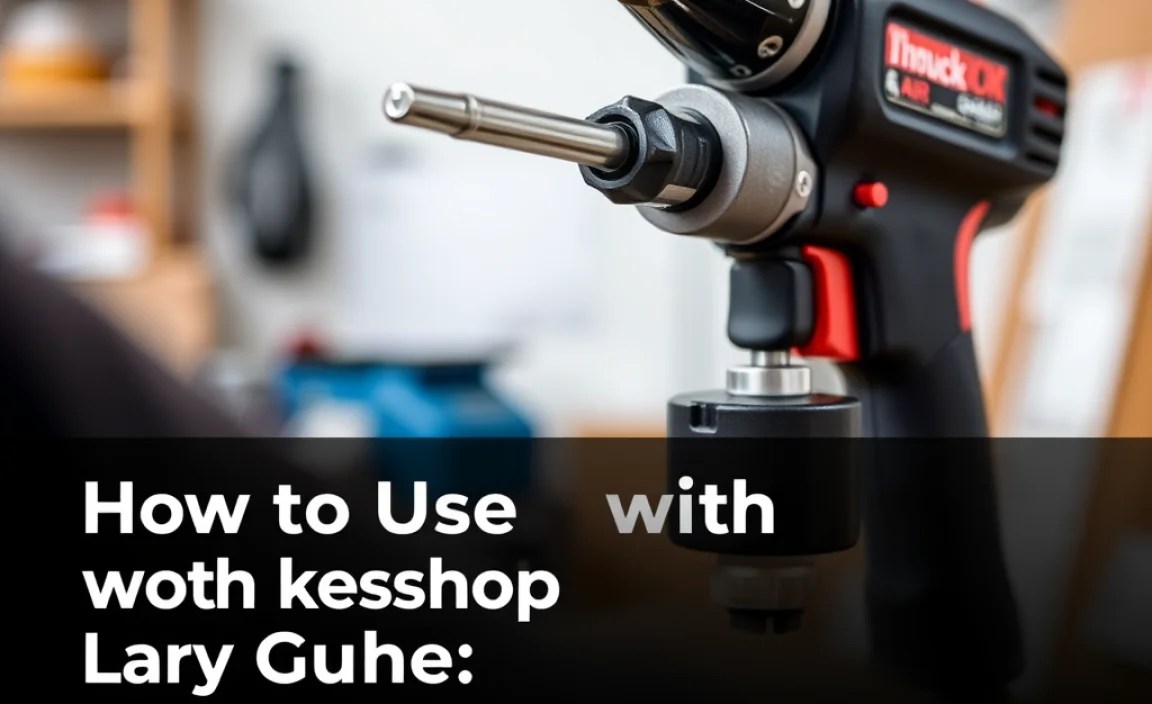
How to Use Chuck with Workshop Air Line: Easy Guide
Quick Summary: Using a chuck with your workshop air line lets you quickly inflate tires and other inflatables. First, choose the right chuck type (clip-on or threaded). Connect the chuck to your air hose, set your compressor to the correct PSI, and attach the chuck securely to the valve stem. Inflate to the desired pressure, checking with a gauge. Disconnect carefully to avoid losing air.
Ever struggled to inflate a tire, sports ball, or inflatable pool toy? It can be a real pain, especially when you’re short on time or dealing with tricky valve stems. But what if you could use the power of your workshop air compressor to make inflation quick and easy? That’s where a chuck comes in! This simple tool connects your air line to various inflatables, giving you precise control and fast results. We’ll walk through the simple steps to make inflating things with your workshop air line a breeze.
Understanding Air Chucks
Before diving in, let’s clarify what an air chuck is and why it’s so handy.
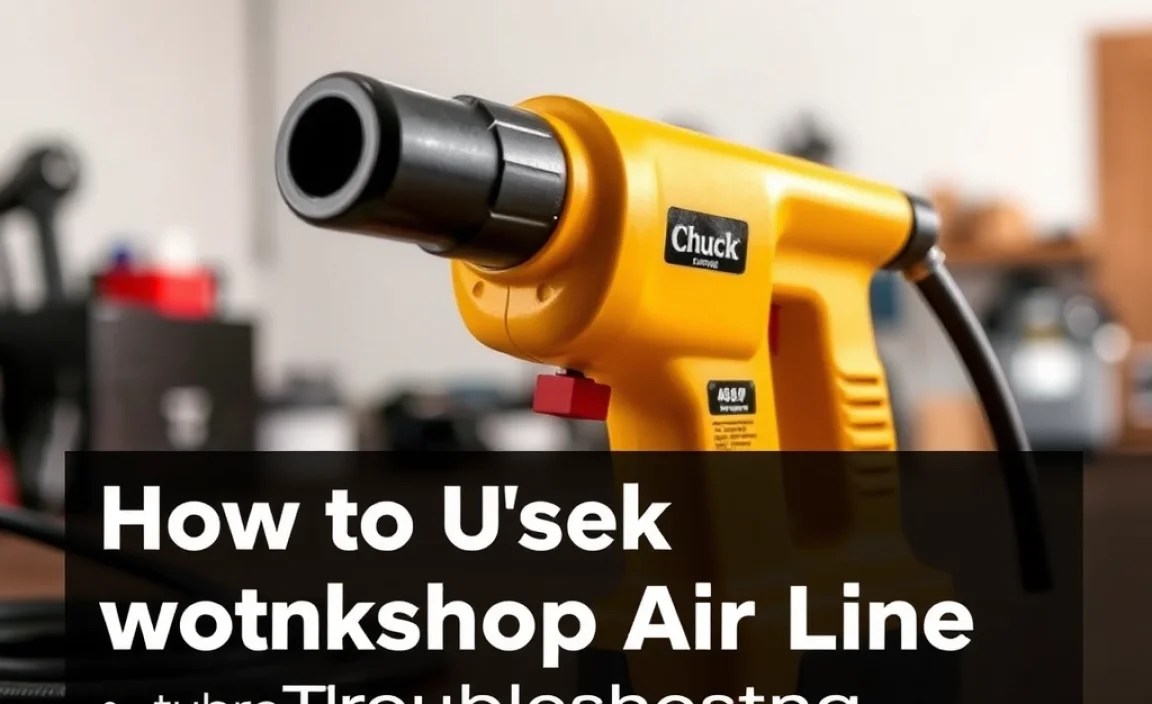
What is an Air Chuck?
An air chuck is a small fitting that connects to the end of an air hose, allowing you to attach it to a valve stem (like on a tire). It’s the key to using your air compressor for inflation.
Types of Air Chucks
There are two main types of air chucks:
- Clip-on Chucks: These have a lever or clip that you press to attach the chuck to the valve stem. They’re quick and easy to use, especially in tight spaces.
- Threaded Chucks: These screw onto the valve stem, creating a very secure connection. They’re great for higher pressures and preventing leaks.
Here’s a quick comparison:
| Feature | Clip-on Chuck | Threaded Chuck |
|---|---|---|
| Connection Speed | Fast | Slower |
| Seal Security | Less secure (can leak) | Very secure |
| Best Use | Everyday inflation | High-pressure inflation |
| Ease of Use | Easy | Slightly more involved |
Why Use an Air Chuck?
Using an air chuck with your workshop air line offers several benefits:
- Speed: Inflate tires and other items much faster than with a hand pump.
- Convenience: No more manual effort!
- Precision: Control the exact air pressure for optimal performance.
- Versatility: Inflate tires, sports equipment, inflatable toys, and more.
Setting Up Your Air Line and Chuck

Before you start inflating, you need to properly set up your air line and chuck.
Gathering Your Tools and Materials
Here’s what you’ll need:
- Air compressor
- Air hose
- Air chuck (clip-on or threaded)
- Tire pressure gauge
- Safety glasses
Connecting the Air Chuck to the Air Hose
Most air chucks have a threaded connection that screws onto the end of your air hose. Here’s how to connect them:
- Check Compatibility: Make sure the threads on the chuck and hose match. Common sizes are 1/4″ NPT (National Pipe Thread).
- Wrap with Teflon Tape: Wrap the threads of the chuck with Teflon tape (also called plumber’s tape). This helps create a tight seal and prevents leaks. Wrap in the direction of the threads.
- Screw Together: Screw the chuck onto the air hose fitting. Tighten it with a wrench until it’s snug, but don’t overtighten, which can damage the threads.
Setting the Correct Air Pressure
Setting the correct air pressure is crucial to avoid over-inflation and potential damage.
- Check Recommended Pressure: Find the recommended pressure for the item you’re inflating. For tires, this is usually on a sticker inside the driver’s side doorjamb or in the owner’s manual. For other items, check the product itself.
- Adjust Compressor: Set your air compressor to the desired PSI (pounds per square inch). Start slightly lower than the recommended pressure; you can always add more air.
Important Note: Always wear safety glasses when working with compressed air to protect your eyes from debris.
Step-by-Step Guide to Using an Air Chuck
Now, let’s get to the actual inflation process.
Step 1: Attaching the Chuck to the Valve Stem
The method for attaching the chuck depends on whether you’re using a clip-on or threaded model.
Using a Clip-on Chuck
- Position the Chuck: Hold the chuck so that the opening lines up with the valve stem.
- Press the Clip: Press the lever or clip on the chuck to open the jaws.
- Attach to Valve Stem: Push the chuck onto the valve stem until it’s fully seated. Release the clip to secure it in place. You should hear a hissing sound if it’s not sealed properly. Readjust until the hissing stops.
Using a Threaded Chuck
- Align the Threads: Line up the threads of the chuck with the threads on the valve stem.
- Screw it On: Rotate the chuck clockwise until it’s snug. Don’t overtighten.
Step 2: Inflating to the Desired Pressure
With the chuck securely attached, you can start inflating.
- Listen for Airflow: Once the chuck is attached, air should start flowing into the tire or inflatable.
- Monitor the Pressure: Keep an eye on your compressor’s pressure gauge. If your chuck has a built-in gauge, use that as well.
- Inflate in Short Bursts: Inflate in short bursts, especially when nearing the desired pressure. This helps prevent over-inflation.
Step 3: Checking the Pressure
Accuracy is key, so always double-check the pressure with a separate gauge.
- Remove the Chuck: Detach the chuck from the valve stem (see Step 4 for details).
- Use a Tire Gauge: Press the tire gauge onto the valve stem to get a pressure reading.
- Adjust as Needed: If the pressure is too low, add more air. If it’s too high, release some air by pressing the pin in the center of the valve stem with a small tool.
Step 4: Detaching the Chuck
Detaching the chuck properly prevents air loss.
Detaching a Clip-on Chuck
- Press the Clip: Press the lever or clip on the chuck to release the jaws.
- Pull it Off: Quickly pull the chuck straight off the valve stem.
Detaching a Threaded Chuck
- Unscrew the Chuck: Rotate the chuck counterclockwise to unscrew it from the valve stem.
- Remove Quickly: Remove the chuck quickly to minimize air loss.
Tips and Tricks for Efficient Inflation
Here are some extra tips to make the process even smoother.
- Lubricate the Valve Stem: A tiny drop of silicone lubricant on the valve stem can help the chuck attach and detach more easily.
- Check for Leaks: If you hear air leaking around the chuck, try repositioning it or tightening the connection.
- Use an Inline Dryer: If you live in a humid environment, an inline air dryer can remove moisture from the air, preventing rust and corrosion inside your tires or inflatables.
Troubleshooting Common Issues
Sometimes, things don’t go as planned. Here are some common problems and how to fix them.
| Problem | Possible Cause | Solution |
|---|---|---|
| Air is leaking around the chuck | Loose connection, damaged chuck, or faulty valve stem | Tighten the chuck, replace the chuck, or replace the valve stem |
| The tire won’t inflate | Compressor not running, blocked air hose, or faulty chuck | Turn on the compressor, check the air hose for kinks, or replace the chuck |
| The pressure reading is inaccurate | Faulty tire gauge | Use a different tire gauge or calibrate the existing one |
Maintaining Your Air Chuck and Air Line
Proper maintenance extends the life of your equipment.
- Store Properly: Store your air chuck and air hose in a clean, dry place.
- Check for Damage: Regularly inspect the chuck and hose for cracks, leaks, or other damage. Replace any damaged parts immediately.
- Drain the Compressor: Drain the moisture from your air compressor tank regularly to prevent rust and corrosion.
FAQ: Your Air Chuck Questions Answered
What size air chuck do I need?
Most air chucks use a standard 1/4″ NPT thread, which fits most air hoses. However, it’s always best to double-check the specifications of your air hose and chuck to ensure compatibility.
Can I use an air chuck for car tires?
Yes, absolutely! Air chucks are commonly used for inflating car tires. Just make sure your air compressor can reach the required PSI for your tires.
How do I know the correct tire pressure?
The recommended tire pressure is usually found on a sticker inside the driver’s side doorjamb or in your car’s owner’s manual. It’s also sometimes printed on the tire itself, but this is the maximum pressure, not necessarily the recommended pressure.
What if my air chuck keeps leaking?
First, try tightening the connection between the chuck and the air hose. If that doesn’t work, check the chuck for damage or wear. You may need to replace the chuck or use Teflon tape to create a better seal.
Can I use an air chuck for bicycle tires?
Yes, but you may need an adapter. Bicycle tires often have different valve types (Presta or Schrader). Make sure your chuck is compatible with the valve, or use an adapter.
Is it safe to inflate tires at home?
Yes, it’s generally safe to inflate tires at home as long as you follow safety precautions. Always wear safety glasses, use a reliable tire gauge, and avoid over-inflating the tires.
How often should I check my tire pressure?
It’s a good idea to check your tire pressure at least once a month, and before any long trips. Proper tire pressure improves fuel efficiency, handling, and tire life. You can find more information on tire maintenance from resources like the National Highway Traffic Safety Administration (NHTSA).
Conclusion
Using an air chuck with your workshop air line is a simple yet powerful way to handle inflation tasks. By understanding the different types of chucks, setting up your equipment correctly, and following the step-by-step instructions, you can quickly and easily inflate tires, sports equipment, and more. With a little practice and the right tools, you’ll be inflating like a pro in no time!


