
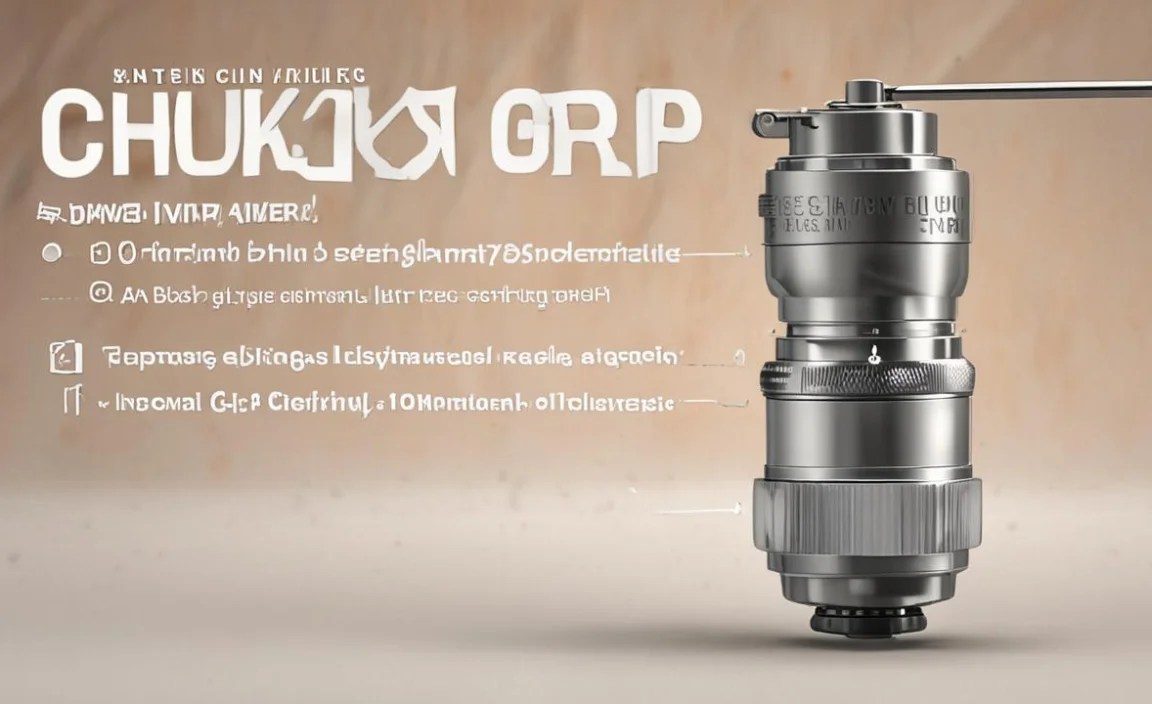
How to Fix Chuck That Won’t Grip Valve: Easy Fix!
**Quick Summary:** If your bike pump chuck won’t grip the valve, first check for debris or damage inside the chuck. Try cleaning it with a small brush or compressed air. Make sure the chuck is fully engaging the valve by pressing firmly and ensuring a straight connection. If problems persist, inspect the valve on your inner tube for damage. Replacing the chuck or the inner tube might be necessary if cleaning doesn’t work.
Hey there, Raymond Ammons from BicyclePumper.com here. Ever get ready to pump up your bike tires only to find the pump chuck just won’t grab onto the valve? It’s super frustrating when your bike pump won’t connect properly! You pump and pump, but no air goes in. Don’t worry, you’re not alone, and it’s usually an easy fix. This guide will walk you through simple steps to get your pump working again, so you can get back to riding in no time. We’ll cover cleaning, adjustments, and when it’s time to replace parts. Let’s get started!
Understanding the Problem: Why Your Chuck Won’t Grip

Before we dive into fixing the chuck, it’s good to know why this happens. A bike pump chuck needs to create a tight seal around the valve on your inner tube to pump air effectively. Several things can prevent this:
- Debris: Dirt, dust, or old sealant can build up inside the chuck, blocking the seal.
- Damage: The chuck’s internal parts can wear out or break over time.
- Valve Issues: The valve on your inner tube might be bent, damaged, or clogged.
- Incorrect Chuck Type: Using the wrong type of chuck for your valve (Presta vs. Schrader) will prevent a secure connection.
Identifying the cause will help you choose the right solution. Let’s start with the simplest fixes and move to more involved solutions if needed.
Tools You’ll Need
Before you start, gather these basic tools. Most of these are common household items or part of a basic bike toolkit:
- Small Brush: An old toothbrush or small cleaning brush
- Compressed Air: A can of compressed air for cleaning electronics
- Needle-Nose Pliers: For gently adjusting or removing small parts
- Spare Chuck: If you need to replace the chuck
- New Inner Tube: In case the valve is damaged beyond repair
- Bike Pump Repair Kit: Some kits include valve adapters and small parts
- Rag or Cloth: For wiping and cleaning
Having these tools ready will make the repair process smoother and faster.
Step-by-Step Guide to Fixing a Chuck That Won’t Grip

Follow these steps in order. Start with the simplest solutions first.
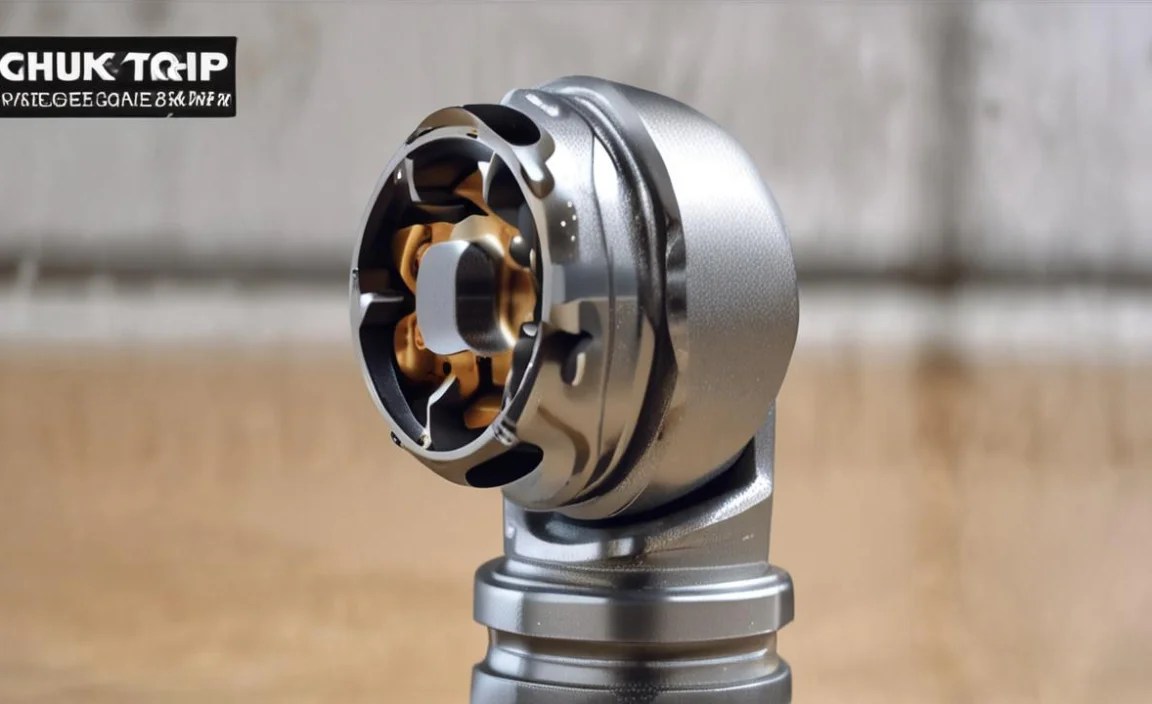
Step 1: Inspect the Chuck and Valve
First, carefully look at both the chuck and the valve. Check for:
- Visible Dirt or Debris: Look inside the chuck opening and around the valve.
- Damage: Check for cracks, bends, or breaks in the chuck or valve stem.
- Valve Core Tightness: For Presta valves, make sure the valve core is screwed in tightly.
A quick visual inspection can often reveal the problem right away.
Step 2: Clean the Chuck
Dirt and debris are common culprits. Here’s how to clean the chuck:
- Use a Small Brush: Gently scrub the inside of the chuck opening with a small brush to loosen any dirt.
- Apply Compressed Air: Blast compressed air into the chuck to remove the loosened debris. Aim the nozzle carefully to avoid spraying debris back at yourself.
- Wipe Clean: Use a clean rag to wipe the outside of the chuck and remove any remaining dirt.
Regular cleaning can prevent future problems.
Step 3: Check Valve Core (Presta Valves)
Presta valves have a removable core that can sometimes loosen or become damaged. Here’s how to check it:
- Deflate the Tire: Press the valve core to release any remaining air.
- Tighten the Core: Use a valve core tool (or needle-nose pliers) to gently tighten the valve core. Be careful not to overtighten it.
- Test the Seal: Try pumping the tire again to see if the chuck now grips properly.
A loose valve core can cause air leaks and prevent the chuck from gripping.
Step 4: Adjust the Chuck (If Adjustable)
Some pump chucks have adjustable parts to tighten or loosen the grip. Look for any adjustment screws or levers on the chuck.
- Locate Adjustment Mechanism: Check for small screws or levers on the chuck body.
- Tighten or Loosen: Use a small screwdriver or your fingers to adjust the mechanism. Experiment with small adjustments to find the right grip.
- Test the Grip: Try pumping the tire after each adjustment to see if the chuck grips better.
Adjusting the chuck can compensate for wear or slight variations in valve size.
Step 5: Inspect the Valve on the Inner Tube
If the chuck seems fine, the problem might be with the valve on your inner tube. Check for:
- Bent Valve Stem: A bent valve can prevent a good seal.
- Damaged Valve Core: The valve core might be cracked or broken.
- Clogged Valve: Debris can block the valve opening.
If the valve is damaged, you might need to replace the inner tube.
Step 6: Try a Different Chuck or Adapter
If you have a spare chuck or a valve adapter, try using it to see if it works. This can help you determine if the problem is with the chuck itself.
- Use a Spare Chuck: If you have a spare pump or chuck, try using it to pump the tire.
- Use a Valve Adapter: Adapters can convert between Presta and Schrader valves, or provide a better grip on damaged valves.
A different chuck or adapter can sometimes bypass the problem.
Step 7: Replace the Chuck
If none of the above steps work, the chuck might be worn out or damaged beyond repair. Replacing the chuck is a relatively simple and inexpensive solution.
- Purchase a New Chuck: Buy a replacement chuck that is compatible with your pump and valve type.
- Remove the Old Chuck: Follow the manufacturer’s instructions to remove the old chuck from the pump hose.
- Install the New Chuck: Attach the new chuck to the pump hose, making sure it is securely fastened.
- Test the New Chuck: Try pumping the tire with the new chuck to see if it grips properly.
A new chuck can often solve the problem and restore your pump to working order.
Step 8: Replace the Inner Tube (If Necessary)
If the valve on your inner tube is damaged beyond repair, you’ll need to replace the inner tube. This is a common bike maintenance task and is relatively easy to do.
- Remove the Wheel: Take the wheel off your bike.
- Remove the Tire: Use tire levers to carefully remove one side of the tire from the rim.
- Remove the Old Tube: Pull the old inner tube out from under the tire.
- Install the New Tube: Insert the new inner tube, making sure the valve is properly seated in the rim.
- Reinstall the Tire: Carefully push the tire back onto the rim, using tire levers if needed.
- Inflate the Tire: Inflate the tire to the recommended pressure.
- Reinstall the Wheel: Put the wheel back on your bike.
Replacing the inner tube ensures you have a properly functioning valve and a reliable seal.
Troubleshooting Tips
Here are some additional tips to troubleshoot a chuck that won’t grip:
- Check the Pump Hose: Make sure the hose is securely connected to the pump and the chuck. A loose hose can reduce air pressure and prevent the chuck from gripping.
- Use Two Hands: Sometimes, applying pressure with both hands can help the chuck engage the valve more securely.
- Listen for Air Leaks: If you hear air leaking around the chuck, try adjusting the chuck or valve position until the leak stops.
- Try a Different Pump: If you have access to another pump, try using it to see if the problem is with your pump or the valve.
These tips can help you narrow down the cause of the problem and find a solution.
Maintaining Your Bike Pump and Valves

Regular maintenance can prevent future problems with your bike pump and valves. Here are some tips:
- Clean the Chuck Regularly: Use a small brush and compressed air to clean the chuck after each use.
- Store the Pump Properly: Store your pump in a clean, dry place to prevent dirt and debris from accumulating.
- Check Valve Cores: Periodically check the valve cores on your Presta valves and tighten them if necessary.
- Replace Worn Parts: Replace worn or damaged parts, such as the chuck or pump seals, as soon as you notice them.
By following these maintenance tips, you can keep your bike pump in good working order and avoid frustrating grip problems.
Understanding Presta vs. Schrader Valves
Bike tires use two main types of valves: Presta and Schrader. Knowing the difference is important for using the right pump chuck and maintaining your tires.
Presta Valves
Presta valves are commonly found on road bikes and high-performance bicycles. They are narrower and have a valve core that needs to be opened before inflating.
Pros of Presta Valves:
- Higher Pressure: Designed to handle higher tire pressures.
- Lighter Weight: The narrower design saves weight.
- Aesthetic: Many cyclists prefer the sleek look of Presta valves.
Cons of Presta Valves:
- More Fragile: Can be bent or damaged more easily than Schrader valves.
- Requires Adapter: Need an adapter to inflate at gas stations.
Schrader Valves
Schrader valves are similar to those found on car tires. They are wider and have a spring-loaded pin in the center.
Pros of Schrader Valves:
- Durable: More resistant to damage.
- Easy to Inflate: Compatible with most air compressors and gas station pumps.
- Common: Found on many types of bikes, including mountain bikes and commuter bikes.
Cons of Schrader Valves:
- Lower Pressure: Not ideal for very high tire pressures.
- Heavier: Slightly heavier than Presta valves.
Make sure your pump chuck is compatible with the type of valve on your inner tube. Some pumps have dual chucks that can handle both Presta and Schrader valves.
| Feature | Presta Valve | Schrader Valve |
|---|---|---|
| Common Use | Road bikes, high-performance bikes | Mountain bikes, commuter bikes, car tires |
| Width | Narrower | Wider |
| Pressure | Higher pressure | Lower pressure |
| Durability | More fragile | More durable |
| Inflation | Requires opening valve core | Simple inflation |
FAQ: Fixing a Bike Pump Chuck That Won’t Grip
Here are some frequently asked questions about bike pump chucks and valve problems.
- Why won’t my bike pump stay on the valve?
- The chuck might be dirty, damaged, or not fully engaged with the valve. Make sure to clean the chuck and valve, and press firmly to ensure a tight connection.
- How do I know if my Presta valve is damaged?
- Check for bends, cracks, or leaks. If the valve core is loose or damaged, air will leak out. Replace the inner tube if the valve is beyond repair.
- Can I use a Schrader pump on a Presta valve?
- Yes, but you’ll need a Presta-to-Schrader adapter. These adapters screw onto the Presta valve and allow you to use a Schrader pump.
- Why is my bike tire losing air even after I pump it?
- There might be a leak in the inner tube, a damaged valve, or a poor seal between the chuck and the valve. Inspect the tire and valve for damage, and make sure the chuck is properly connected.
- How often should I replace my bike pump chuck?
- It depends on how often you use your pump. Inspect the chuck regularly and replace it if you notice any wear, damage, or loss of grip.
- What’s the best way to clean a bike pump chuck?
- Use a small brush to scrub the inside of the chuck, then blast it with compressed air to remove any debris. Wipe the outside with a clean rag.
- Is it harder to pump a Presta valve than a Schrader valve?
- Not necessarily. Presta valves require you to open the valve core before inflating, but the pumping action should be similar to Schrader valves. Make sure the valve core is fully open for easy inflation.
Conclusion
Dealing with a bike pump chuck that won’t grip can be a real pain, but with a few simple steps, you can usually get it working again. Start by inspecting and cleaning the chuck and valve. Check the valve core if you have Presta valves. If necessary, adjust the chuck, try a different adapter, or replace the chuck or inner tube. Regular maintenance and proper storage can prevent future problems. Now you’re equipped to keep your tires properly inflated and enjoy smooth, hassle-free rides. Happy cycling!


