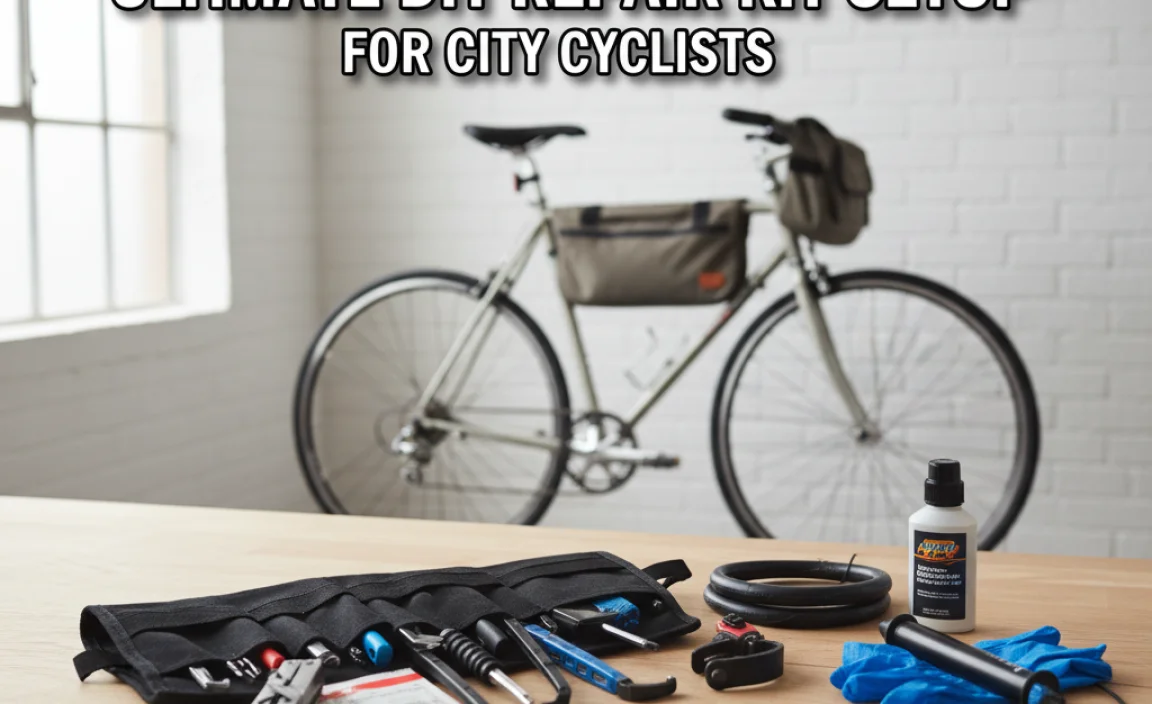
Ultimate DIY Repair Kit Setup for City Cyclists
Want to be prepared for any bike mishap while cruising around town? A DIY repair kit is your answer! This guide helps you assemble a compact, effective kit with essential tools and spares. You’ll learn what to include, how to pack it, and basic roadside repair skills to keep you rolling. No more getting stranded – just smooth, confident city cycling!
City cycling offers freedom and fitness, but unexpected mechanical issues can quickly derail your ride. A flat tire, a loose bolt, or a broken chain can leave you stranded and frustrated. But don’t worry! Putting together your own DIY repair kit is easier than you think. This guide will walk you through each step, from selecting the right tools and spares to organizing your kit for easy access. You’ll gain the confidence to handle common cycling problems and keep your city adventures rolling smoothly. We’ll cover everything, including essential tools, must-have spares, and even a few pro tips for packing your kit efficiently.
Essential Tools for Your City Cycling Repair Kit
Every cyclist needs a basic set of tools for roadside repairs. Here’s a breakdown of the essentials:
1. Multi-Tool
A multi-tool is the heart of your repair kit. Look for one that includes:
- Hex wrenches (Allen keys): Sizes 2.5mm, 3mm, 4mm, 5mm, and 6mm are the most common.
- Screwdrivers: Both flathead and Phillips head.
- Torx wrench: A T25 is useful for disc brake rotors and some components.
- Chain tool: For breaking and rejoining your chain.
Recommendation: Crankbrothers Multi 17 or Topeak Mini 20 Pro.
2. Tire Levers
Essential for removing tires from the rim to fix a flat. Plastic levers are less likely to damage your rims than metal ones.
Recommendation: Park Tool TL-1.2 Tire Lever Set.
3. Mini Pump or CO2 Inflator
Inflating your tire after a repair is crucial. Choose either a mini pump or a CO2 inflator, or carry both for redundancy.
- Mini Pump: Reliable and reusable, but requires more effort.
- CO2 Inflator: Quick and easy, but requires CO2 cartridges.
Recommendations:
- Mini Pump: Lezyne Micro Floor Drive HP.
- CO2 Inflator: Genuine Innovations Ultraflate CO2 Inflator.
4. Adjustable Wrench
An adjustable wrench can be helpful for tightening nuts and bolts of various sizes. A compact 6-inch wrench is ideal for a repair kit.
Recommendation: Channellock 6″ Adjustable Wrench.
Must-Have Spares for City Cycling

Tools are useless without the right spare parts. Here’s what to include in your kit:
1. Inner Tube
Carry at least one spare inner tube that matches your tire size. Check the size printed on your tire sidewall (e.g., 700x25c or 26×1.5). Presta or Schrader valve type is also crucial.
Pro Tip: Consider carrying two tubes for longer rides or areas prone to punctures.
2. Patch Kit
A patch kit allows you to repair punctures and save your spare tube for emergencies. Look for self-adhesive patches for easy application.
Recommendation: Park Tool GP-2 Self Adhesive Patch Kit.
3. Chain Quick Link
If your chain breaks, a quick link allows you to rejoin it easily. Make sure you get the correct size for your chain (e.g., 8-speed, 9-speed, 10-speed, 11-speed, or 12-speed).
4. Brake and Gear Cables
Pack a universal brake and gear cable. Although these are less common repairs, having them on hand can be a lifesaver for longer rides.
5. Zip Ties and Duct Tape
Zip ties and duct tape are incredibly versatile for temporary repairs. Use them to secure loose cables, repair broken fenders, or even hold a torn tire together.
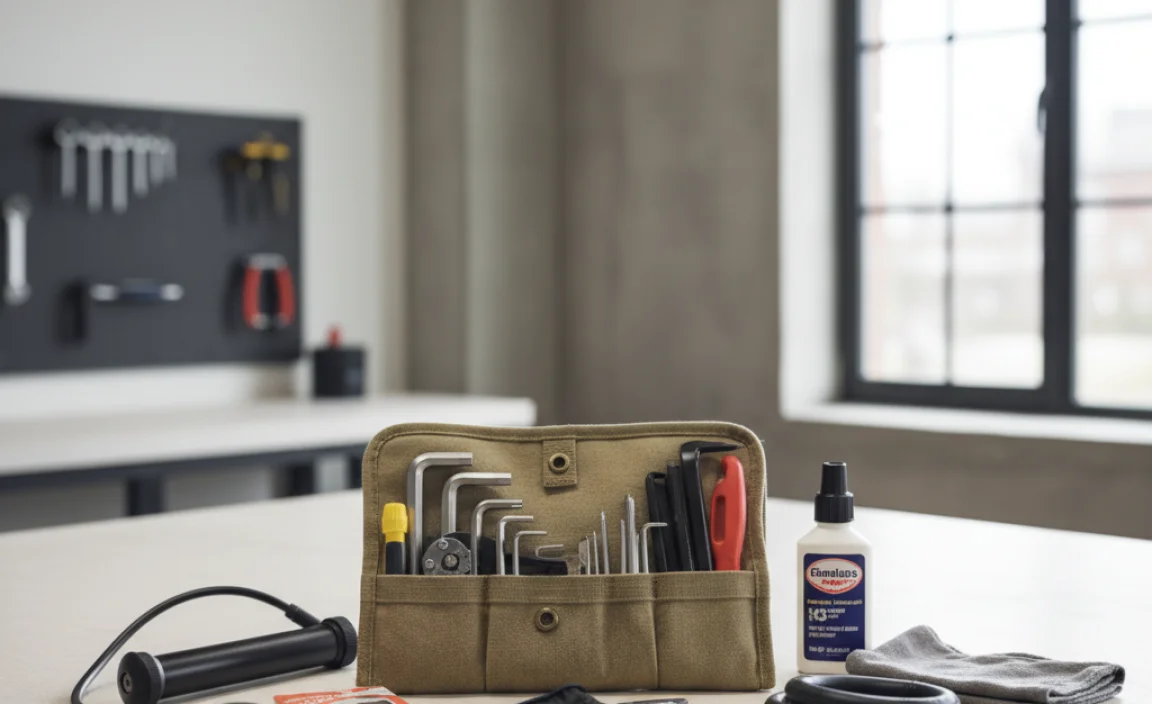
Organizing Your Repair Kit
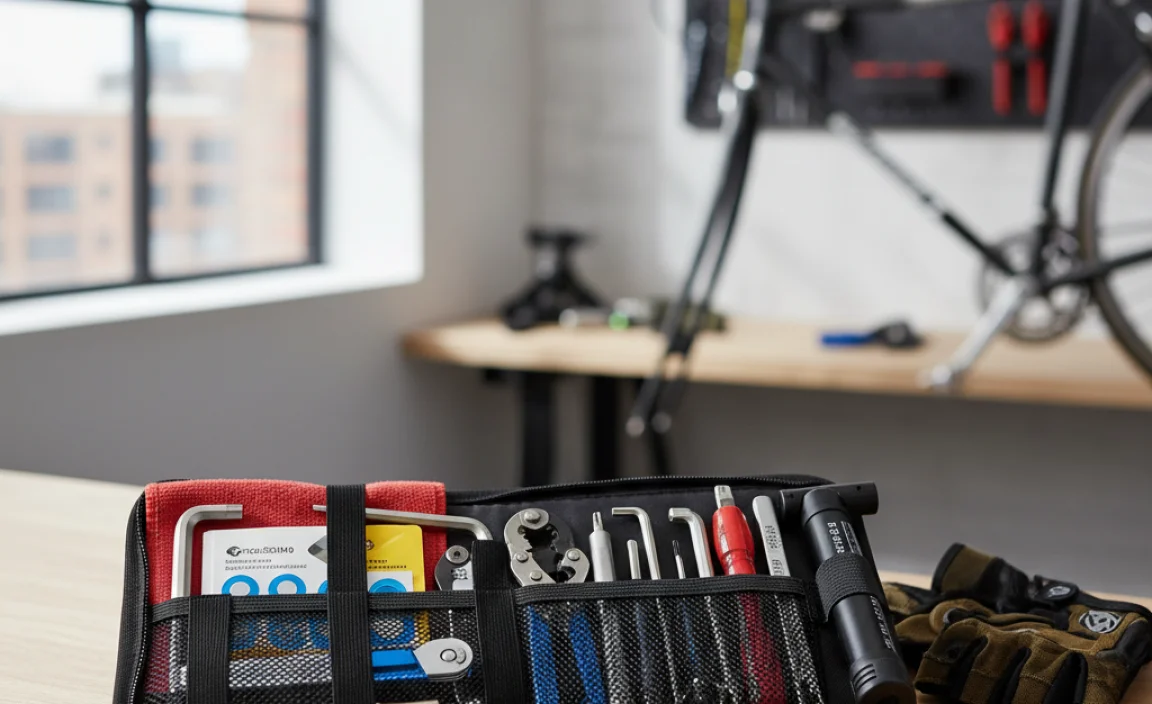
A well-organized kit is easy to use and saves space. Here are some tips:
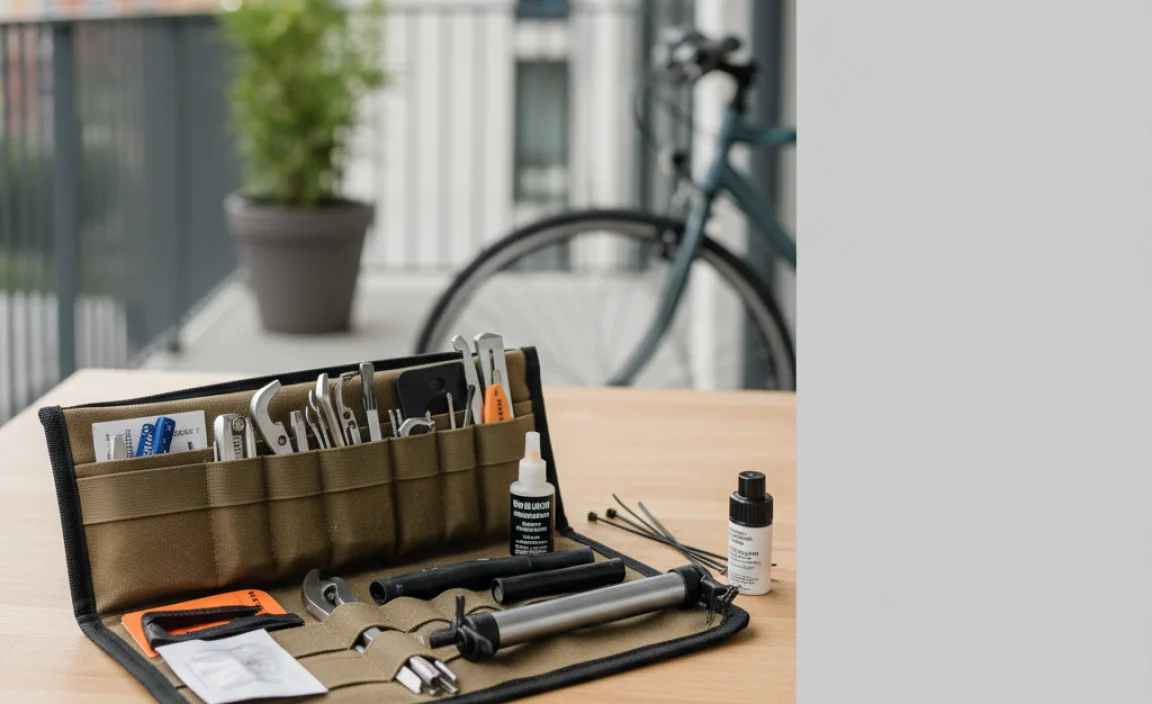
1. Choose the Right Bag
Select a bag that fits your needs and bike type:
- Saddle Bag: Attaches under your saddle. Good for smaller kits.
- Frame Bag: Attaches to your frame. Offers more space.
- Handlebar Bag: Attaches to your handlebars. Convenient access.
Recommendation: Topeak Aero Wedge Pack (saddle bag) or Ortlieb Frame-Pack Toptube (frame bag).
2. Compartmentalize
Use small bags or containers to organize your tools and spares. This prevents items from rattling around and makes it easier to find what you need.
3. Prioritize Accessibility
Place frequently used items (like tire levers and your mini pump) in an easily accessible location. Save less frequently used items for the bottom of the bag.
Essential Repair Skills for City Cyclists
Having the right tools is only half the battle. You also need to know how to use them.
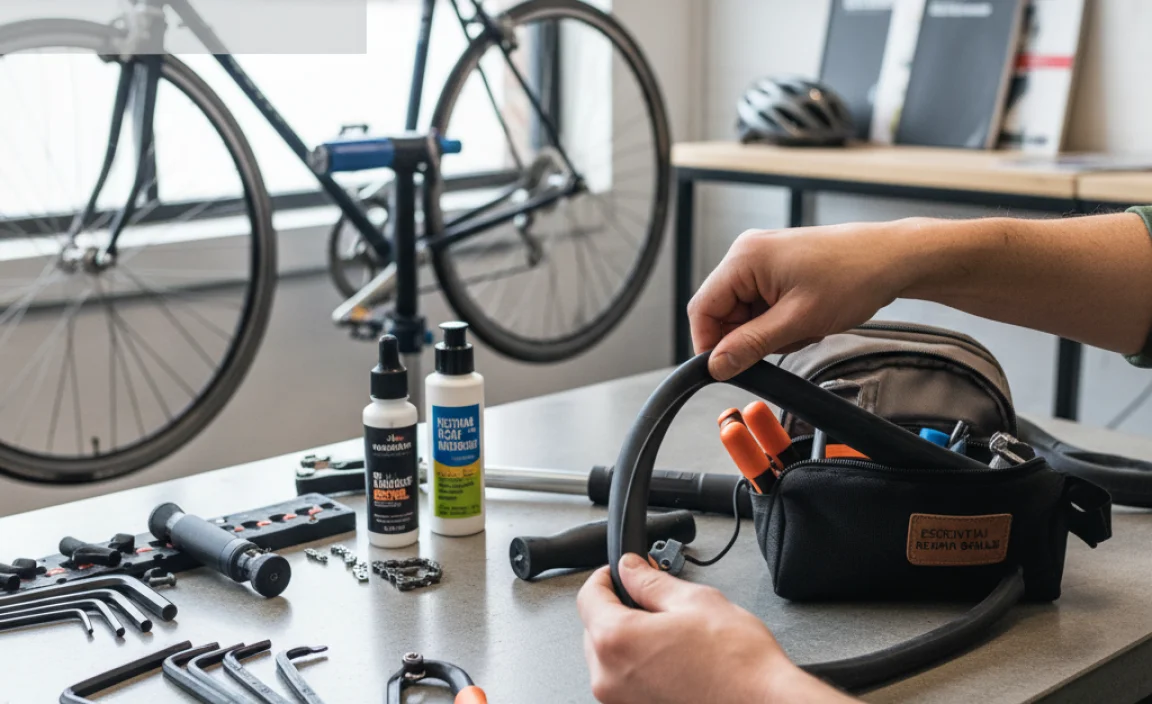
1. Fixing a Flat Tire
This is the most common roadside repair. Here’s a quick overview:
- Remove the wheel from your bike.
- Use tire levers to remove one side of the tire from the rim.
- Pull out the inner tube.
- Inspect the tire for the cause of the puncture (glass, thorn, etc.) and remove it.
- Slightly inflate the new inner tube.
- Insert the new tube into the tire.
- Use your thumbs to seat the tire bead back onto the rim.
- Inflate the tire to the correct pressure (printed on the tire sidewall).
- Reinstall the wheel on your bike.
Tip: Practice this at home before you need to do it on the road. Watch videos from reputable sources like the Park Tool website.
2. Chain Repair
If your chain breaks, you’ll need a chain tool and a quick link.
- Use the chain tool to push out the broken pin from the chain.
- Remove the broken section of the chain.
- Insert the two ends of the chain into the quick link.
- Close the quick link (some require pliers).
3. Basic Adjustments
Learn how to make basic adjustments to your brakes and derailleurs. This can prevent minor issues from becoming major problems.
- Brake Adjustment: Tighten or loosen the brake cable to adjust brake lever travel.
- Derailleur Adjustment: Use the barrel adjusters on your shifters to fine-tune your shifting.
Building a Budget-Friendly Repair Kit
You don’t need to spend a fortune to build a reliable repair kit. Here are some tips for saving money:
- Buy a pre-assembled kit: These kits often offer good value for money, especially for beginners.
- Purchase used tools: Check online marketplaces or local bike shops for used tools in good condition.
- Repurpose old items: Use old socks as rags, or cut up an old inner tube to make tire boots.
Advanced Items for Experienced Cyclists
Once you’re comfortable with the basics, consider adding these items to your kit:
- Tire Boot: A small piece of material (like a dollar bill or a purpose-made tire boot) to protect the tube from protruding through a damaged tire.
- Spoke Wrench: For tightening loose spokes.
- Derailleur Hanger Alignment Tool: For straightening a bent derailleur hanger.
Sample Repair Kit Contents Checklist
Use this checklist to ensure you have everything you need:
| Item | Quantity | Notes |
|---|---|---|
| Multi-Tool | 1 | With hex wrenches, screwdrivers, and chain tool |
| Tire Levers | 2-3 | Plastic levers recommended |
| Mini Pump or CO2 Inflator | 1 | Plus CO2 cartridges if using an inflator |
| Spare Inner Tube | 1-2 | Match your tire size and valve type |
| Patch Kit | 1 | Self-adhesive patches recommended |
| Chain Quick Link | 1 | Match your chain speed |
| Adjustable Wrench | 1 | Compact 6-inch wrench |
| Brake Cable | 1 | Universal brake cable |
| Gear Cable | 1 | Universal gear cable |
| Zip Ties | 3-5 | Various sizes |
| Duct Tape | 1 roll | Small roll |
Packing Your Kit for Easy Access
The way you pack your kit is just as important as what you include. Keep these tips in mind:
- Group Similar Items: Keep all tire repair items together (levers, tube, patch kit). Group chain repair items together (chain tool, quick link).
- Use Small Bags: Small zip-top bags or tool rolls can keep items organized and prevent rattling.
- Accessibility: Place frequently used items (like tire levers and your mini pump) in an easily accessible location. Save less frequently used items for the bottom of the bag.
Finding the Right Bag for Your Bike
The type of bag you choose depends on your bike and personal preferences. Here’s a quick guide:
| Bag Type | Pros | Cons | Best For |
|---|---|---|---|
| Saddle Bag | Compact, lightweight, doesn’t interfere with riding | Limited space, can sway if overloaded | Short rides, essential tools and spares |
| Frame Bag | More space than a saddle bag, keeps weight centered | Can interfere with water bottle cages, may rub on legs | Longer rides, carrying extra gear |
| Handlebar Bag | Easy access to items, good for carrying snacks and electronics | Can affect handling, may interfere with lights or accessories | Commuting, touring, carrying frequently used items |
Common Mistakes to Avoid
Here are a few common mistakes cyclists make when setting up their repair kits:
- Forgetting essential tools: Always double-check your kit before heading out.
- Using the wrong size tube: Make sure your spare tube matches your tire size.
- Over-inflating your tires: Check the maximum pressure printed on your tire sidewall and don’t exceed it.
- Not practicing repairs: Practice fixing a flat tire and repairing a chain at home before you need to do it on the road.
Frequently Asked Questions (FAQ)
1. What size inner tube do I need?
Check the sidewall of your tire for the size. It will be something like 700x25c or 26×1.5. Make sure your spare tube matches these dimensions.
2. Presta or Schrader valve?
Look at your current inner tubes to see what valve type you have. Presta valves are narrow and have a lock ring at the top. Schrader valves are wider, like those on car tires.
3. How often should I check my repair kit?
Check your kit before every long ride, and at least once a month. Make sure your tools are in good condition, your spare tube is still good, and your CO2 cartridges (if using) are full.
4. Can I use a car tire pump on my bike?
Yes, if your bike has Schrader valves. If you have Presta valves, you’ll need an adapter.
5. What if I can’t fix my bike on the road?
Don’t panic! Call a friend, family member, or ride-sharing service for a ride. Alternatively, some cities have bike-specific roadside assistance programs.
6. Is it worth buying a pre-made repair kit?
Yes, especially for beginners. Pre-made kits offer good value and ensure you have all the essentials. You can always customize it later.
7. Where can I learn more about bike repair?
Check out online resources like Park Tool’s website and YouTube channel. Local bike shops often offer repair classes as well.
Conclusion
Building a DIY repair kit for your city bike is a smart investment in your cycling enjoyment and safety. By gathering the right tools, spares, and skills, you’ll be prepared to handle common mechanical issues and keep your rides rolling smoothly. Don’t let a flat tire or a broken chain ruin your day. Take control of your bike maintenance and enjoy the freedom of confident city cycling!