
How to Cycle Your Bike’s Water Pump: A Simple Guide
Quick Summary: Cycling a water pump on your bike means priming it to get coolant flowing properly. You usually do this after replacing the coolant or the pump itself. Start by filling the coolant system, then manually turn the pump or the engine over until you see coolant circulating. This ensures your engine stays cool and runs smoothly.
Hey there, Raymond Ammons from BicyclePumper.com here! Ever changed your bike’s coolant and then wondered if everything was working right? Or maybe you’ve replaced the water pump and felt a little unsure about the next steps? You’re not alone! Getting the water pump going – “cycling” it – is super important to keep your engine cool. It might sound tricky, but I’m here to show you it’s actually quite simple. We’ll walk through it step-by-step, so you can be confident your bike is running smoothly. Let’s get started!
Why Cycling Your Water Pump Matters

Think of your bike’s water pump as the heart of its cooling system. It pushes coolant through the engine to prevent overheating. When you replace the coolant or the pump, air can get trapped in the system. This air can stop the coolant from flowing properly, which can lead to your engine overheating – a big problem! Cycling the water pump gets rid of that trapped air and makes sure the coolant flows smoothly. It’s a simple step that can save you a lot of trouble down the road.
Tools You’ll Need
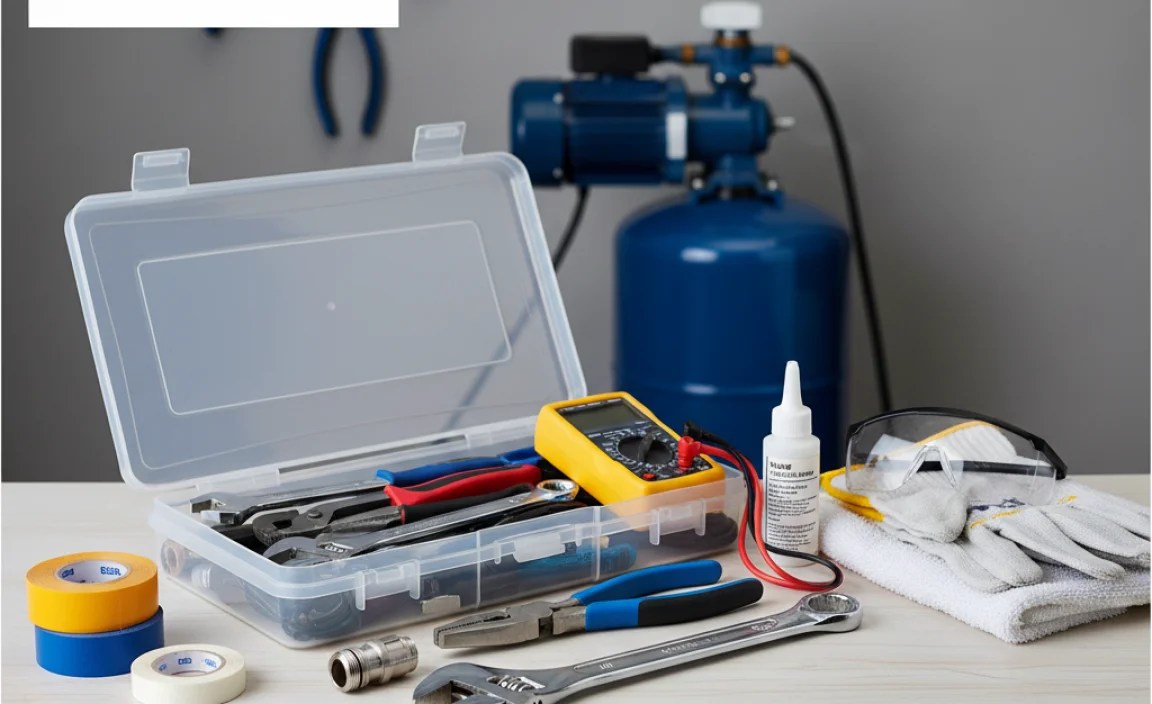
Before we start, let’s gather the tools you’ll need. Don’t worry, it’s a short list!
- New Coolant: Make sure it’s the right type for your bike. Check your owner’s manual if you’re not sure.
- Wrench or Socket Set: You might need these to remove any access panels or bleed screws.
- Screwdriver: Both flathead and Phillips head might be useful.
- Coolant Funnel: This helps prevent spills when you’re filling the system.
- Gloves: To protect your hands from the coolant.
- Eye Protection: Safety first!
- Shop Rags: For cleaning up any spills.
Step-by-Step Guide to Cycling Your Water Pump

Alright, let’s get to the good stuff. Here’s how to cycle your bike’s water pump:
Step 1: Prepare Your Bike
Make sure your bike is parked on a level surface. This helps ensure the coolant fills evenly. Let the engine cool down completely before you start. Working on a hot engine can be dangerous, and you could get burned.
Step 2: Locate the Water Pump
The water pump is usually located on the front of the engine, driven by a belt. Refer to your bike’s service manual if you’re unsure of its exact location. Knowing where it is will help you understand how the system works.
Step 3: Fill the Coolant System
Remove the radiator cap or the coolant reservoir cap. Slowly pour the new coolant into the system using a coolant funnel. Fill it until the coolant reaches the “full” line or the bottom of the filler neck. Filling slowly helps prevent air pockets from forming.
Step 4: Check for Leaks
Before moving on, take a quick look around for any leaks. Check the hoses, the water pump itself, and the radiator. If you see any leaks, tighten the connections or replace the damaged parts before proceeding.
Step 5: Manually Cycle the Pump (Method 1)
Some bikes allow you to manually turn the water pump. If yours does, locate the pump’s pulley. Use your hand (with gloves on!) to gently turn the pulley clockwise. You should feel some resistance. Turn it several times to help prime the pump. This method is often easier on older bikes.
Step 6: Cycle the Engine (Method 2)
If you can’t manually turn the pump, you can cycle the engine. Turn the ignition key to the “on” position, but don’t start the engine. Some bikes have a “prime” setting that will run the fuel pump and circulate the coolant. If not, briefly crank the engine for a few seconds at a time, pausing in between. This will help the water pump start circulating the coolant.
Step 7: Check the Coolant Level Again
After cycling the pump or engine, the coolant level will likely drop as air bubbles are released. Add more coolant until it reaches the “full” line again. Replace the radiator cap or coolant reservoir cap securely.
Step 8: Start the Engine and Monitor
Now, start the engine and let it idle for a few minutes. Keep an eye on the temperature gauge. It should stay within the normal range. If the engine starts to overheat, turn it off immediately and check for any issues, like a stuck thermostat or a blockage in the system.
Step 9: Check for Leaks Again
While the engine is running, check for leaks one more time. Pay close attention to the water pump, hoses, and radiator. If you see any leaks, address them right away.
Step 10: Bleed the System (If Necessary)
Some bikes have bleed screws located on the radiator or near the thermostat housing. These screws allow you to release trapped air from the system. With the engine running, carefully open the bleed screw until coolant starts to come out. Then, close it tightly. Be careful, as the coolant can be hot! Refer to your bike’s service manual for the location of the bleed screws.
Step 11: Final Coolant Level Check
After bleeding the system, let the engine cool down completely. Then, check the coolant level one last time. Add more coolant if needed. This ensures the system is completely full and ready to go.
Troubleshooting Tips
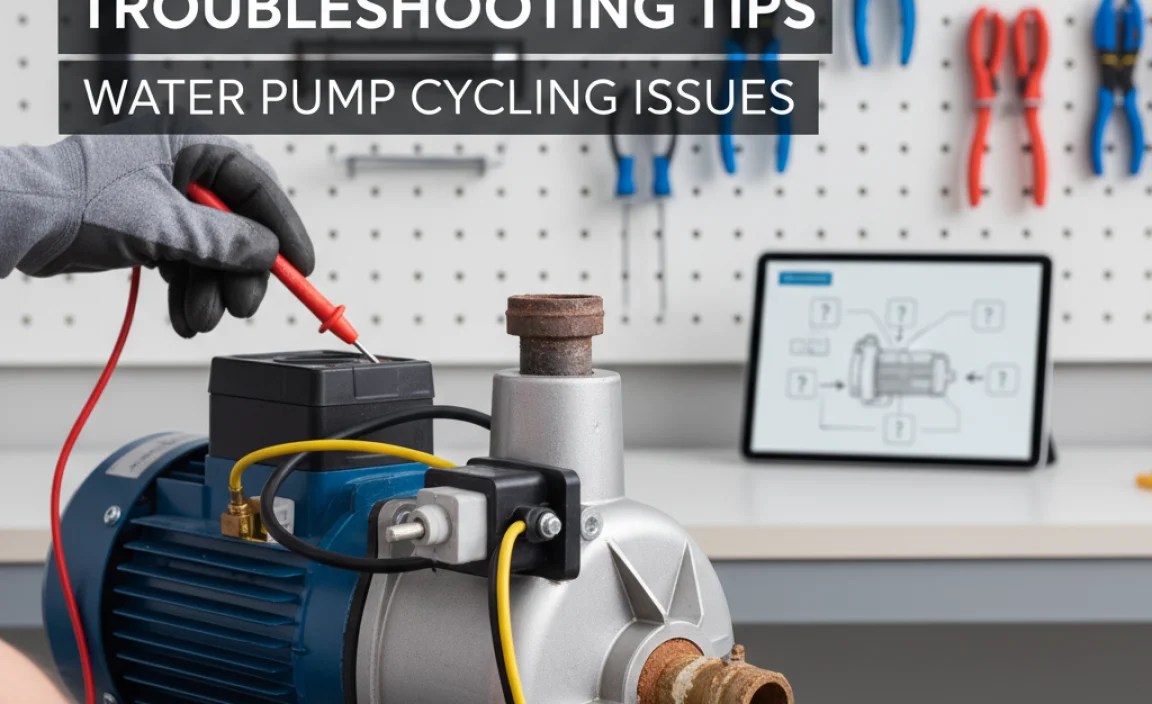
Sometimes, things don’t go exactly as planned. Here are a few troubleshooting tips to help you out:
- Engine Overheating: If the engine overheats after cycling the water pump, there may still be air trapped in the system. Try bleeding the system again. Also, check the thermostat to make sure it’s opening properly.
- Coolant Leaks: Coolant leaks can be caused by loose hoses, damaged seals, or a cracked radiator. Tighten the hoses, replace the seals, or repair the radiator as needed.
- Water Pump Noise: A noisy water pump can indicate a worn bearing or a damaged impeller. If the noise persists after cycling the pump, it may need to be replaced.
When to Replace Your Water Pump
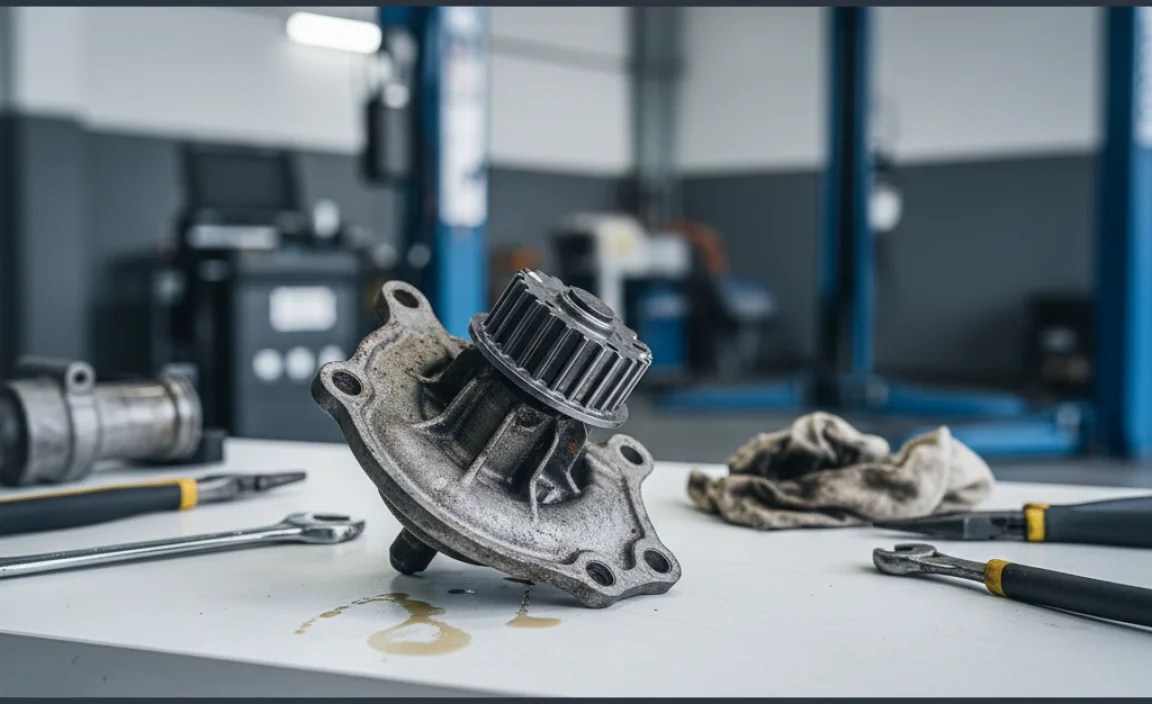
Water pumps don’t last forever. Here are some signs that it’s time to replace yours:
- Coolant Leaks: If you see coolant leaking from the water pump, it’s a sign that the seals are failing.
- Overheating Engine: If your engine is constantly overheating, even after cycling the water pump, the pump may not be working properly.
- Noisy Water Pump: A grinding or squealing noise from the water pump is a sign of worn bearings.
- Low Coolant Flow: If the coolant isn’t circulating properly, the water pump may be failing.
Understanding Coolant Types
Choosing the right coolant is crucial for your bike’s health. Here’s a quick guide to the different types:
| Coolant Type | Color | Pros | Cons |
|---|---|---|---|
| Green Coolant (IAT) | Green | Affordable, good for older bikes | Shorter lifespan, can corrode aluminum |
| Orange Coolant (OAT) | Orange | Longer lifespan, better for aluminum engines | Not compatible with all bikes |
| Blue Coolant (HOAT) | Blue | Longest lifespan, compatible with most bikes | More expensive |
Always check your bike’s service manual to determine the correct coolant type. Mixing different types can cause corrosion and damage to your cooling system. Prestone offers a universal coolant that is compatible with all makes and models of cars and light duty trucks. Ensure it is also safe for your Motorcycle.
Tips for Preventing Cooling System Problems
Prevention is always better than cure. Here are some tips to keep your bike’s cooling system in top shape:
- Regular Coolant Flushes: Flush the coolant system every two years or 30,000 miles, or as recommended by your bike’s manufacturer.
- Use the Right Coolant: Always use the coolant type recommended in your bike’s service manual.
- Check Coolant Levels Regularly: Check the coolant level at least once a month and top it off as needed.
- Inspect Hoses and Clamps: Inspect the hoses and clamps for cracks, leaks, or damage. Replace them as needed.
- Keep the Radiator Clean: Clean the radiator fins regularly to remove dirt, debris, and bugs. A dirty radiator can reduce cooling efficiency.
FAQ: Cycling Your Water Pump
Here are some common questions about cycling your water pump:
- Q: Why do I need to cycle my water pump?
- A: Cycling the water pump removes trapped air from the cooling system, ensuring proper coolant flow and preventing overheating.
- Q: How often should I cycle my water pump?
- A: You only need to cycle the water pump after replacing the coolant or the water pump itself.
- Q: Can I damage my engine if I don’t cycle the water pump?
- A: Yes, if air is trapped in the cooling system, your engine can overheat and suffer serious damage.
- Q: What if my engine still overheats after cycling the water pump?
- A: Check for coolant leaks, a faulty thermostat, or a blocked radiator. You may also need to bleed the system again.
- Q: Is it hard to cycle a water pump?
- A: No, it’s a relatively simple process that can be done with basic tools and a little patience.
- Q: Can I use regular tap water instead of coolant?
- A: No, tap water can cause corrosion and damage to your cooling system. Always use the recommended coolant type.
- Q: Where can I find the bleed screws on my bike?
- A: The location of the bleed screws varies depending on the bike model. Refer to your bike’s service manual for the exact location.
Additional Resources
For more in-depth information, check out these resources:
- Your bike’s service manual (the ultimate source of truth!)
- YouTube tutorials (search for your specific bike model)
- Online forums for your bike’s make and model
Conclusion
So there you have it! Cycling your bike’s water pump is a straightforward task that can save you from potential engine damage. By following these steps, you can ensure your cooling system is working efficiently and your engine stays cool. Remember to always prioritize safety, use the correct coolant, and refer to your bike’s service manual for specific instructions. Now get out there and enjoy the ride, knowing your bike is running smoothly!
“`


