
Shock Pump Digital: The Easy Pressure Secret
Quick Summary:
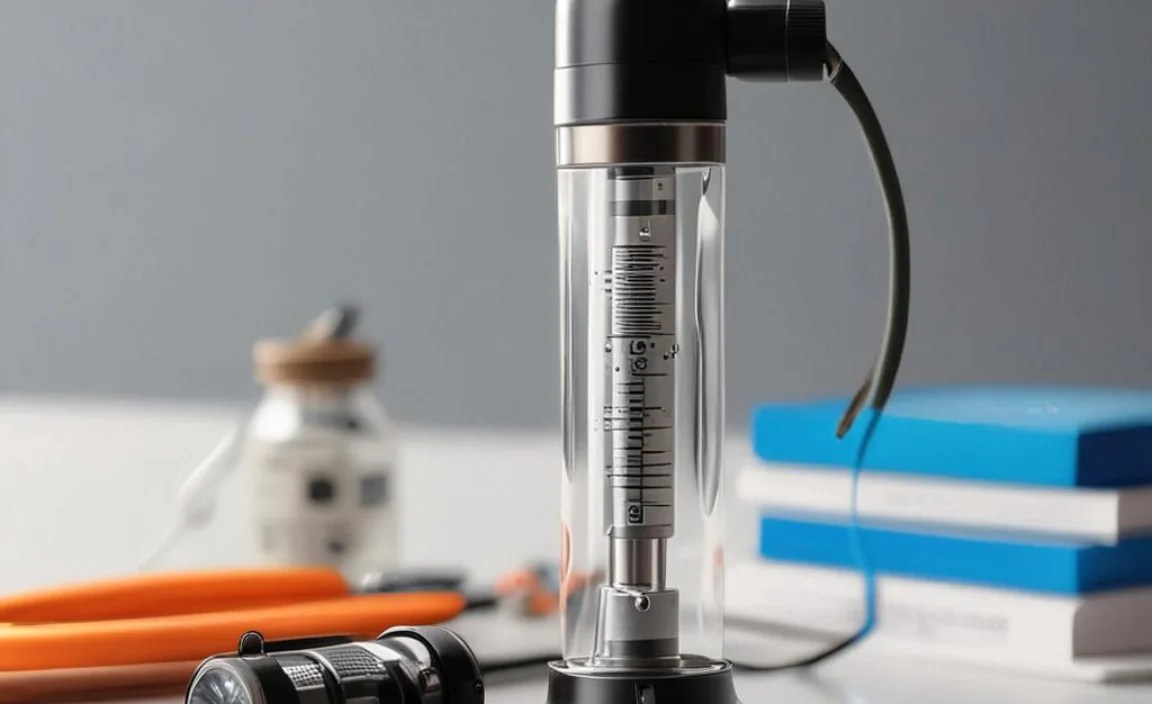
A digital shock pump lets you precisely inflate your bike’s air suspension
forks and shocks. To use one, attach the pump head securely to the valve,
check the initial pressure, and then inflate to your desired PSI. The digital
gauge ensures accurate readings, preventing over or under-inflation. Bleed
off any excess pressure with the bleed valve for fine-tuning.
Maintaining the air suspension on your mountain bike, gravel bike, or even
some e-bikes can feel daunting. Getting the pressure just right is crucial
for optimal performance and comfort. Traditional analog shock pumps can be
tricky to read, leading to guesswork and inconsistent results.
That’s where a digital shock pump comes in! It offers precise pressure
readings, making suspension tuning easier and more accurate than ever. In
this guide, I’ll walk you through everything you need to know about using a
digital shock pump to keep your ride smooth and controlled. We’ll cover
choosing the right pump, step-by-step usage, essential tips, and more!
What is a Digital Shock Pump?

A digital shock pump is a specialized hand pump designed for inflating the
air chambers in bicycle suspension forks and rear shocks. Unlike regular tire
pumps, shock pumps deliver very small volumes of air at high pressures, often
up to 300 PSI or more.
The key difference with a digital model is the integrated digital pressure
gauge. This gauge provides a precise, easy-to-read display of the current
air pressure in the suspension component. This eliminates the parallax errors
and general uncertainty associated with analog gauges.
Here’s a quick breakdown of the typical components:
- Pump Body: The main cylinder and handle for generating air pressure.
- Hose: A high-pressure hose connecting the pump to the valve.
-
Pump Head: The connector that attaches to the Schrader valve on your
fork or shock. Usually features a no-loss design. - Digital Gauge: Displays the air pressure in PSI or Bar.
-
Bleed Valve: A small valve for fine-tuning pressure by releasing
small amounts of air.
Why Use a Digital Shock Pump?

There are several compelling reasons to choose a digital shock pump over a
traditional analog model:
-
Accuracy: Digital gauges provide much more accurate pressure
readings, often within +/- 1 PSI. -
Repeatability: Easily replicate suspension settings for consistent
performance. -
Ease of Reading: Digital displays are clear and easy to read, even
in low light conditions. -
Fine-Tuning: The bleed valve, combined with the accurate gauge,
allows for precise adjustments to dial in your suspension. -
Prevents Over-Inflation: Avoid damaging your suspension components by
over-inflating, thanks to the precise readings.
Choosing the Right Digital Shock Pump

With various models on the market, here’s what to consider when selecting a
digital shock pump:
-
Pressure Range: Ensure the pump’s maximum pressure meets the
requirements of your fork and shock. Most pumps go up to at least 300 PSI,
but some offer higher ranges. -
Gauge Resolution: Look for a gauge with a resolution of 1 PSI for
precise adjustments. -
Pump Head Design: A “no-loss” pump head is essential. This design
prevents air from escaping when disconnecting the pump, ensuring accurate
pressure readings. -
Ergonomics: Consider the handle design and overall comfort of the
pump, especially if you’ll be using it frequently. -
Durability: Choose a pump made from high-quality materials that can
withstand regular use. -
Battery Life: Digital pumps require batteries. Check the battery
type and expected lifespan. Some models have auto-shutoff features to
conserve battery power.
Here’s a quick comparison of some popular digital shock pumps:
| Model | Max Pressure (PSI) | Gauge Resolution (PSI) | Features |
|---|---|---|---|
| RockShox Digital High-Pressure Pump | 300 | 1 | No-loss head, rotating hose |
| Topeak Digital Shock ‘n Roll | 360 | 1 | Two-stage pumping, pressure release button |
| SKS Germany Digital Suspension Air Pump | 365 | 1 | Swivel head, ergonomic handle |
| Lezyne Digital Shock Drive | 350 | 0.5 | Compact design, bleed button |
Step-by-Step Guide: Using a Digital Shock Pump
Here’s a detailed guide to using your digital shock pump effectively:
Step 1: Prepare Your Bike and Pump
-
Clean the Valve: Use a clean cloth to wipe any dirt or debris from
the Schrader valve on your fork or shock. -
Check the Pump: Ensure the pump is in good working order. Check the
battery level and make sure the hose is securely connected. -
Know Your Pressure: Consult your suspension manufacturer’s
recommendations for the correct air pressure based on your weight and riding
style. These charts are often found on the fork leg or shock body, or on
the manufacturer’s website.
Fox Racing’s support page
is a great resource.
Step 2: Attach the Pump Head
- Remove the Valve Cap: Unscrew the valve cap from the Schrader valve.
-
Connect the Pump Head: Carefully thread the pump head onto the valve.
Ensure it’s snug but not overtightened. A secure connection is crucial to
prevent air leaks.
Step 3: Check the Initial Pressure
-
Turn on the Pump: Most digital pumps will automatically turn on when
pressure is detected. If not, press the power button. -
Read the Gauge: The digital display will show the current air
pressure in your suspension component. Note this reading.
Step 4: Inflate to the Desired Pressure
-
Begin Pumping: Using smooth, consistent strokes, pump air into the
suspension. -
Monitor the Gauge: Keep a close eye on the digital display as you
pump. Stop when you reach your target pressure. -
Avoid Over-Inflation: It’s better to slightly under-inflate and then
fine-tune with the bleed valve than to over-inflate and risk damaging your
suspension.
Step 5: Fine-Tune the Pressure (If Needed)
-
Use the Bleed Valve: If you’ve slightly over-inflated, use the bleed
valve to release small amounts of air until you reach the exact pressure
you want. -
Small Bursts: Depress the bleed valve in short bursts to avoid
releasing too much air at once. -
Recheck the Gauge: After each adjustment, recheck the digital
display to ensure you’re at the correct pressure.
Step 6: Disconnect the Pump
-
Carefully Disconnect: Slowly unscrew the pump head from the valve.
The “no-loss” design should prevent any significant air loss during
disconnection. -
Listen for Leaks: If you hear air escaping after disconnecting the
pump, double-check the valve core for damage or looseness.
Step 7: Replace the Valve Cap
-
Reinstall the Cap: Screw the valve cap back onto the Schrader valve.
This protects the valve from dirt and debris.
Tips for Accurate Readings and Inflation

Here are some additional tips to ensure accurate readings and proper
inflation:
-
Temperature Matters: Air pressure changes with temperature. Inflate
your suspension at a consistent temperature for repeatable results. -
Check Regularly: Air can slowly leak from suspension components over
time. Check your pressure before each ride, or at least weekly. -
Service Your Suspension: Regular servicing, including seal
replacement, helps maintain proper air retention and overall suspension
performance. -
Use Suspension Fluid: Some forks and shocks require a small amount of
suspension fluid in the air chamber. Consult your manufacturer’s
recommendations. -
Calibrate Your Pump: If you suspect your pump’s gauge is inaccurate,
compare it to another reliable gauge or have it professionally calibrated.
Troubleshooting Common Issues
Here are some common issues you might encounter and how to resolve them:
| Issue | Possible Cause | Solution |
|---|---|---|
| Pump won’t turn on | Dead battery | Replace the battery |
| Air leaking when attaching the pump | Loose or damaged valve core | Tighten or replace the valve core |
| Inaccurate pressure readings | Faulty gauge, temperature changes | Calibrate the pump, inflate at consistent temp |
| Difficulty pumping | Clogged pump head, worn seals | Clean the pump head, replace seals |
Understanding Suspension Settings
Using a digital shock pump is just the first step. Understanding how to
adjust your suspension based on pressure readings is crucial for optimal
performance.
Sag
Sag is the amount your suspension compresses when you sit on the bike in your
normal riding position. It’s a critical factor in determining how your
suspension responds to bumps and terrain changes.
To measure sag:
-
Set the O-ring: Carefully slide the O-ring (or zip tie) on your fork stanchion
or shock shaft against the seal. -
Mount the Bike: Sit on the bike in your normal riding position, with your
weight evenly distributed. - Dismount Carefully: Without bouncing, carefully get off the bike.
-
Measure the Distance: Measure the distance between the O-ring and the seal.
This is your sag measurement.
Consult your suspension manufacturer’s recommendations for the correct sag
percentage for your fork and shock. Typically, mountain bikes aim for 15-20%
sag in the fork and 20-30% in the rear shock.
Rebound and Compression Damping
In addition to air pressure, most suspension forks and shocks also have
adjustable rebound and compression damping. These settings control the speed
at which the suspension compresses and rebounds.
-
Rebound Damping: Controls how quickly the suspension returns to its
original position after being compressed. Too little rebound damping can
result in a “bouncy” feel, while too much can cause the suspension to pack
down over repeated bumps. -
Compression Damping: Controls the resistance to compression. More
compression damping makes the suspension feel firmer and more efficient for
climbing, while less compression damping allows the suspension to absorb
bumps more easily.
Experiment with these settings in small increments to find the optimal
balance for your riding style and terrain.
Digital Shock Pumps for Different Bikes
The principles of using a digital shock pump are the same regardless of the
type of bike, but here are some specific considerations:
Mountain Bikes
Mountain bikes typically have both front and rear suspension, requiring you to
adjust the air pressure in both components. Accurate pressure settings are
crucial for maintaining traction and control on challenging terrain.
Gravel Bikes
Some gravel bikes feature front suspension forks or even rear suspension
systems. A digital shock pump allows you to fine-tune the suspension for
comfort and performance on rough gravel roads.
E-Bikes
E-bikes often weigh more than traditional bikes, so you may need to run
slightly higher air pressures in your suspension to compensate.
FAQ About Digital Shock Pumps
1. What is the ideal PSI for my bike’s suspension?
The ideal PSI depends on your weight, riding style, and the specific
suspension components. Consult the manufacturer’s recommendations, usually
found on the fork or shock, or on their website.
2. How often should I check my suspension pressure?
Check your suspension pressure before each ride or at least once a week, as
air can slowly leak over time.
3. Can I use a regular tire pump for my suspension?
No, regular tire pumps deliver too much air volume at once and don’t have the
precision needed for suspension. Always use a dedicated shock pump.
4. What does “no-loss” mean on a shock pump?
A “no-loss” pump head prevents air from escaping when you disconnect the
pump, ensuring an accurate pressure reading.
5. How do I know if my shock pump is accurate?
Compare your pump’s readings to another reliable gauge or have it
professionally calibrated to ensure accuracy.
6. What is a bleed valve used for?
A bleed valve allows you to release small amounts of air for fine-tuning the
pressure in your suspension.
7. Why does the pressure reading change when I disconnect the pump?
If your pump doesn’t have a “no-loss” design, some air may escape when
disconnecting, causing a slight drop in pressure. This is why a no-loss pump
is crucial.
Conclusion
A digital shock pump is an invaluable tool for any cyclist who wants to
optimize their suspension performance. The precise pressure readings and
fine-tuning capabilities allow you to dial in your suspension for a smooth,
controlled, and comfortable ride.
By following this guide and understanding the principles of suspension setup,
you’ll be well-equipped to maintain your bike’s suspension and enjoy every
ride to the fullest. Don’t be afraid to experiment with different pressure
settings and damping adjustments to find what works best for you and your
riding style. Happy trails!


